Or "Resilience"
Let's continue then
Preparing the shoot
As I wrote before, Team USA had contacted Lazio Airguns with a view to have some "quiet time" to prepare for the WFTC's. We had done the same in Germany, New Zealand, Poland, and England; so we knew it was important.
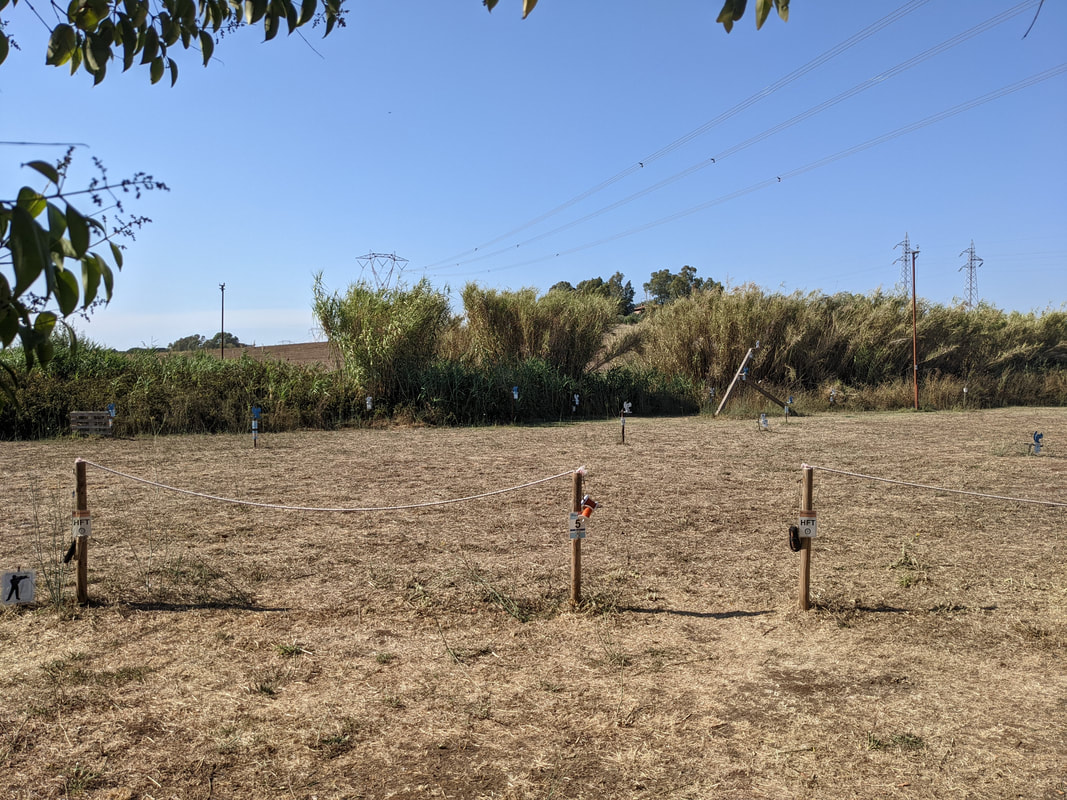
When we arrived, we saw a very well setup field. Mostly for HFT, but perfectly adequate to our needs.
When we arrived, we saw a very well setup field. Mostly for HFT, but perfectly adequate to our needs.
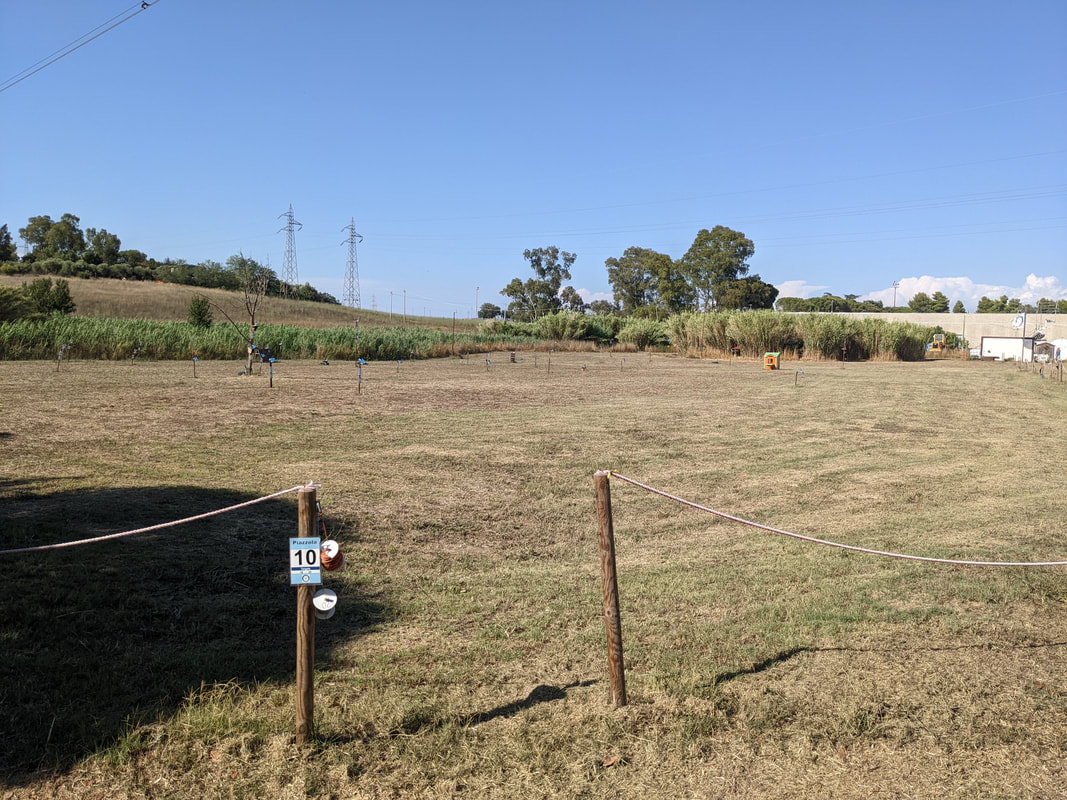
Targets were out, but strings needed to be run. As you can see they remain spooled at the gates.
Here are some more pictures of the excellent Lazio Airguns field:
Here are some more pictures of the excellent Lazio Airguns field:
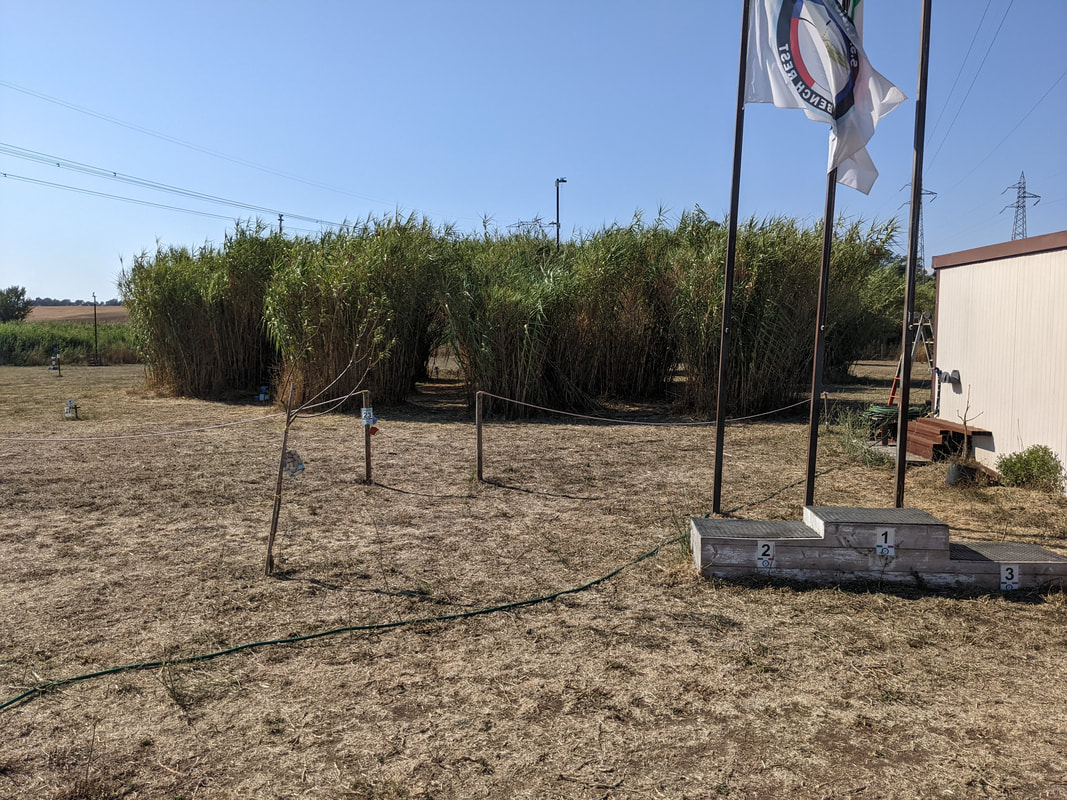
A permanent and well used Podium, clearly signaling to all who can see that the field is used often
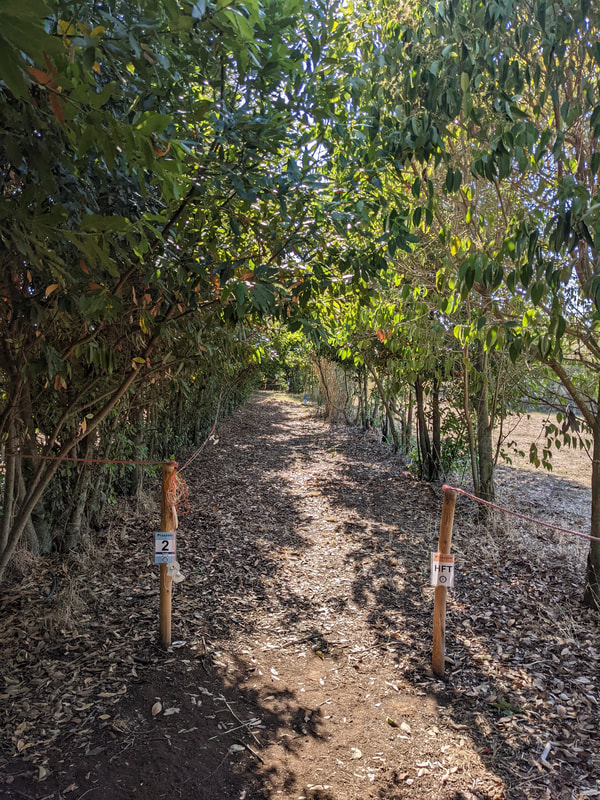
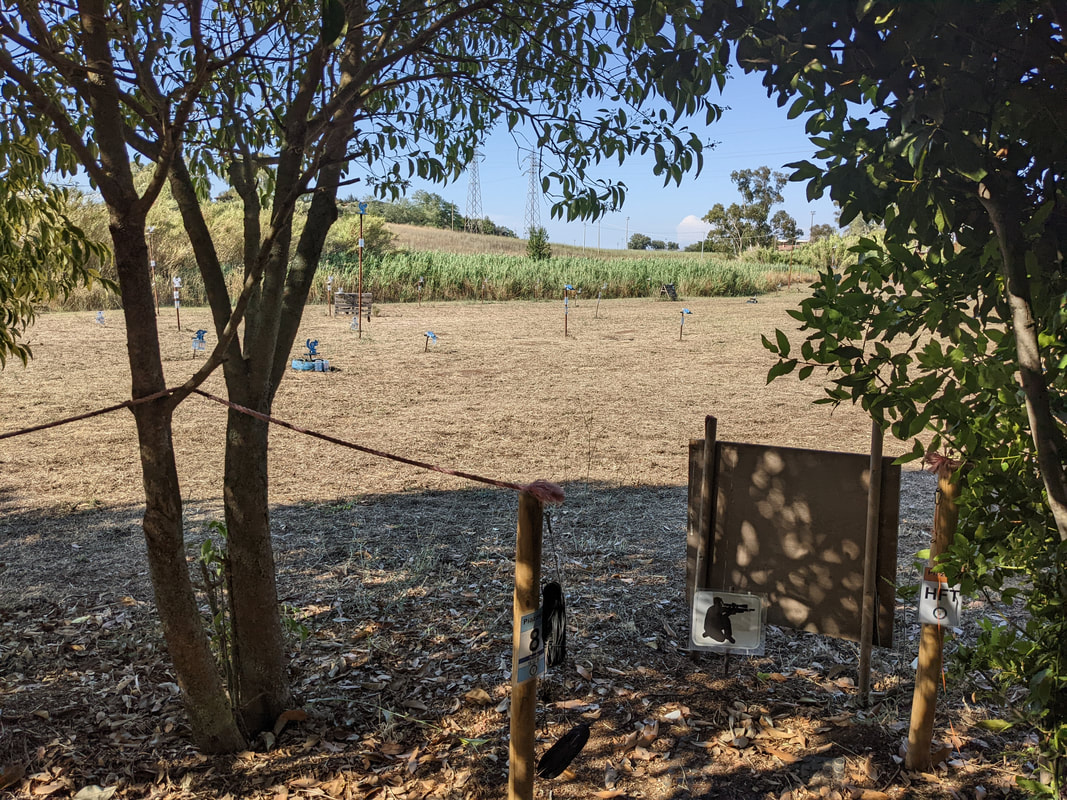
Some lanes are shaded
Some are transitional
Some lanes are in the open sun
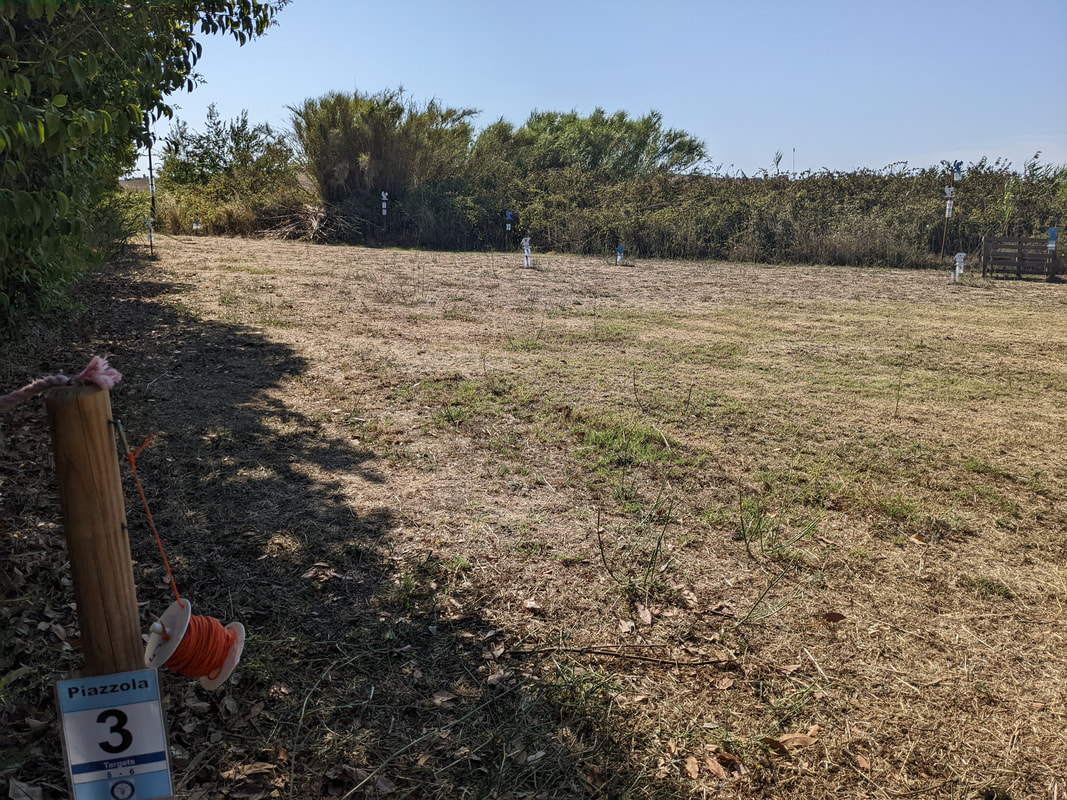
Positionals
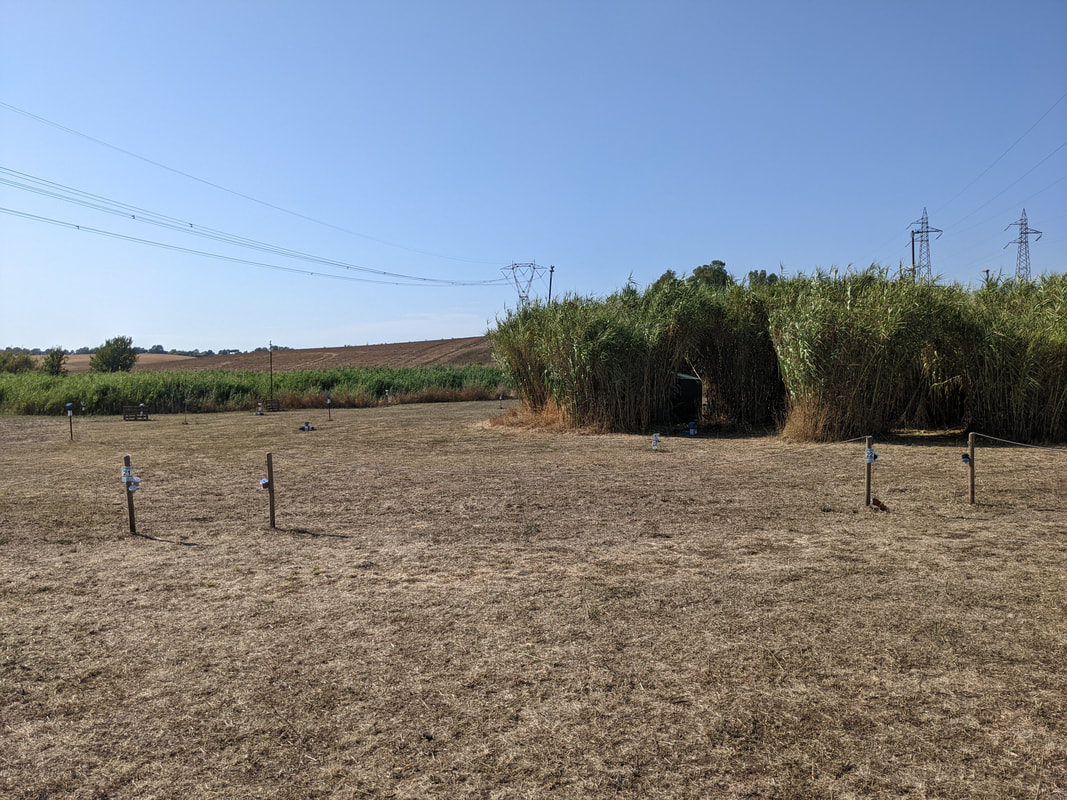
Some challenging locations due to wind and light differences along the pellet path .Do observe the "mast" target at rear.
Shooting under 230 kV lines was particularly amusing for me, as an EE I have built a number of these lines, LOL!
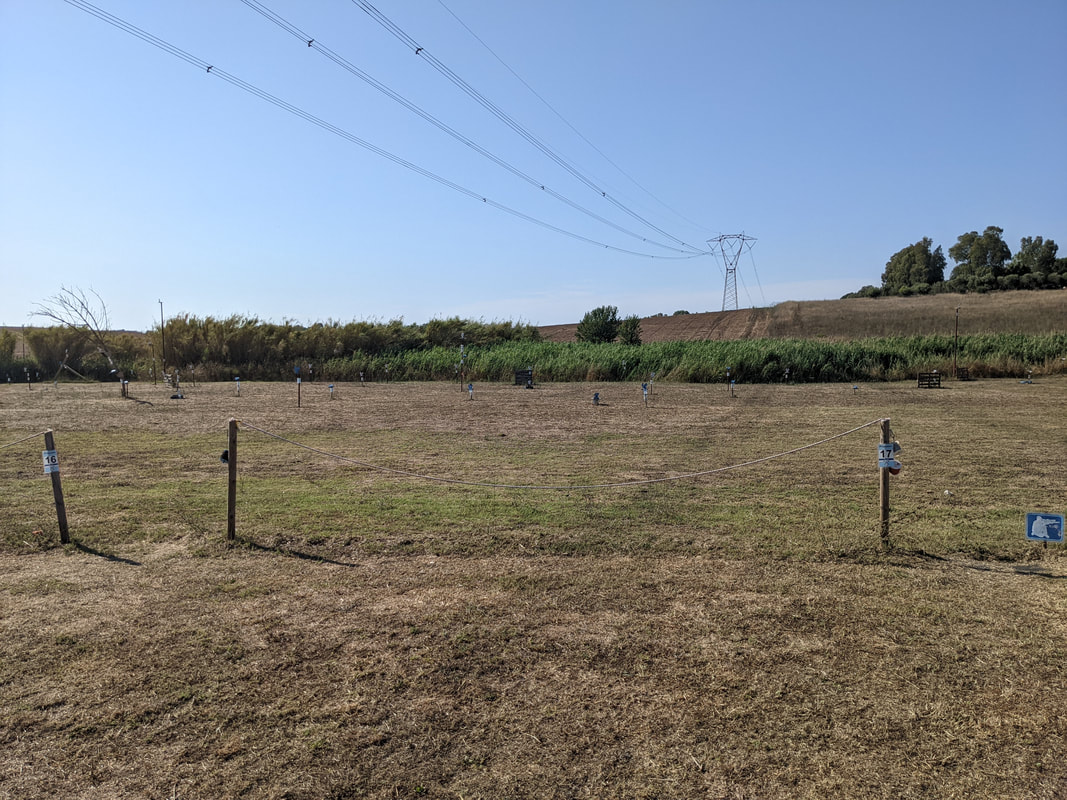
For the next three days, this would "FT Shooting Home" and we were very grateful to have this opportunity.
Sadly, some of the members of the team were experiencing extreme delays in getting to Rome. Some shooters even arrived without a rifle to shoot, and so, some agonizing trips to the Fiumicino Airport ensued, trying to get hold of the guns.
In then end, "with a little bit of Luck" all shooters and guns showed up, in time for the official "Zeroing/Practice range" to open.
The two terrains
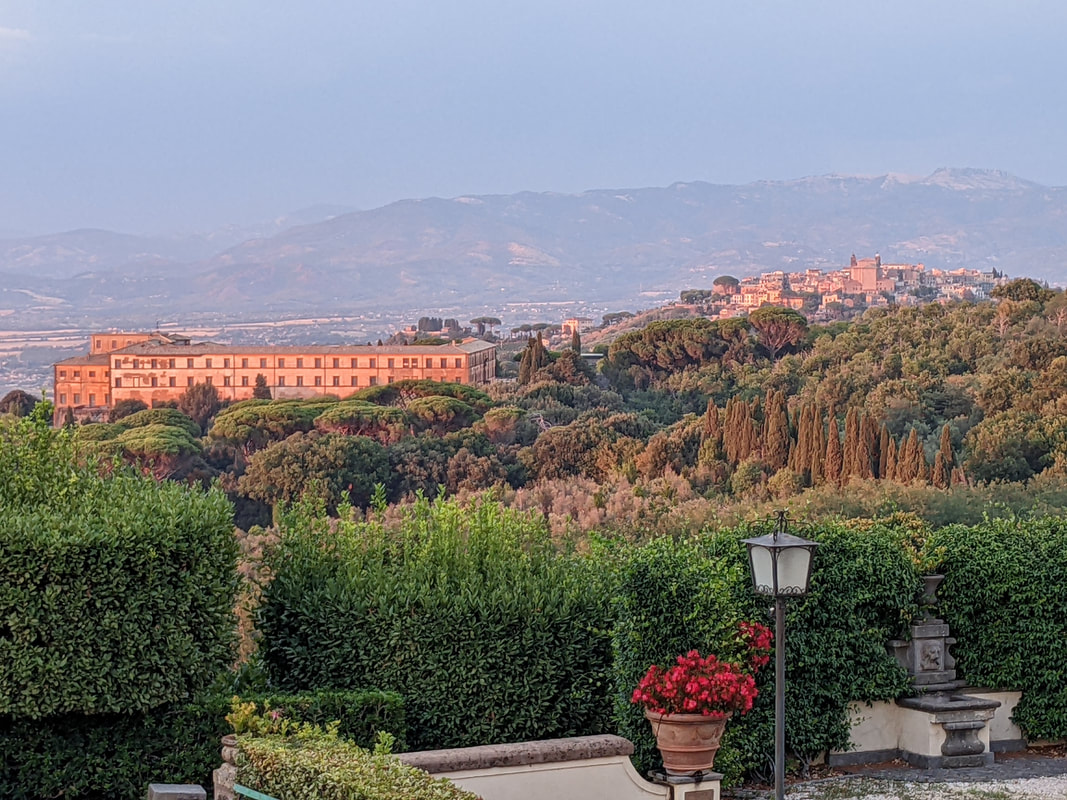
As originally planned, the shoot was going to take place in the mountainous region of GrottaFerratta.
GrottaFerrata is a small town in the "Parco dei Castelli Romani" that basically houses all the "Summer Manor Homes" of the most powerful families in Rome.
Next to GrottaFerrata is the well known (and famous for its wine) town of Frascati. Where the new "Social Venue" was located, Villa Tuscolana.
But the terrain between GrottaFerratta and Frascati is pretty similar:
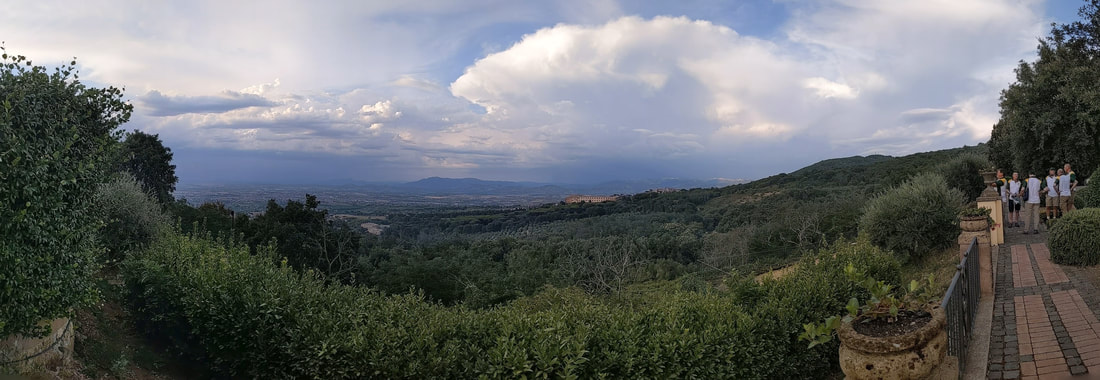
Mountains and trees, old orchards and vineyards. There is not a in² that is not owned by someone, and the region has a long history of agricultural development.
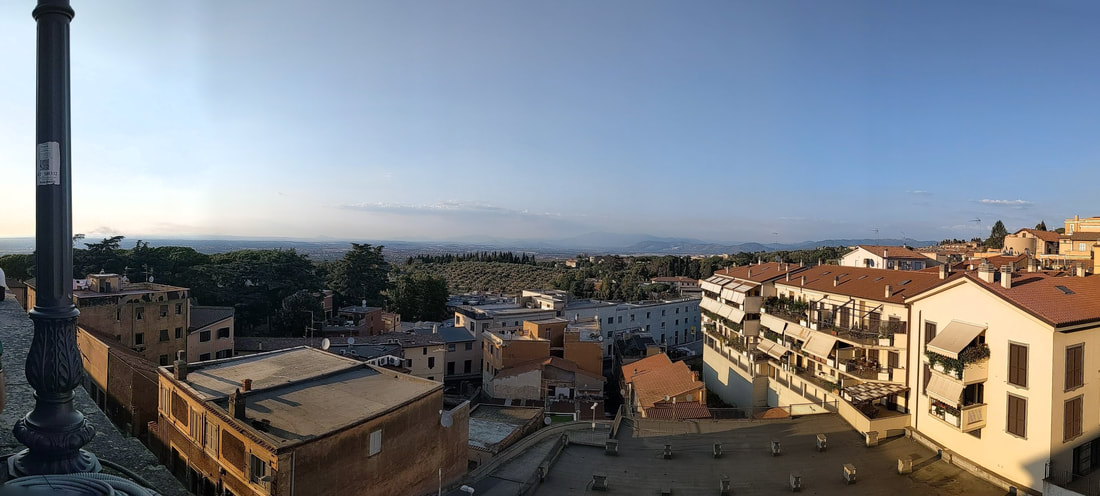
The towns themselves, sit atop hills and are more distributed vertically than horizontally.
From town to town, from Villa to Villa, deep ravines and manicured 100' tall trees show that the hand of men has been actively stewarding nature for centuries.
Now, compare the region originally intended for the match to the one that had to be used, given the difficulties encountered:

Once moved to the final shooting venue, gone are all the possibilities of interesting shots. Only the challenges presented by the sun, the temperature and the ever shifting wind, remain.
As a long time Piston shooter, I have come to the conclusion that you should not fight reality. For sure, you are going to loose; and spend much energy doing so.
As soon as we could register our equipment and get it approved for competition at Villa Tuscolana, we adjourned to the range and took some time trying to learn the conditions.
As soon as we could register our equipment and get it approved for competition at Villa Tuscolana, we adjourned to the range and took some time trying to learn the conditions.
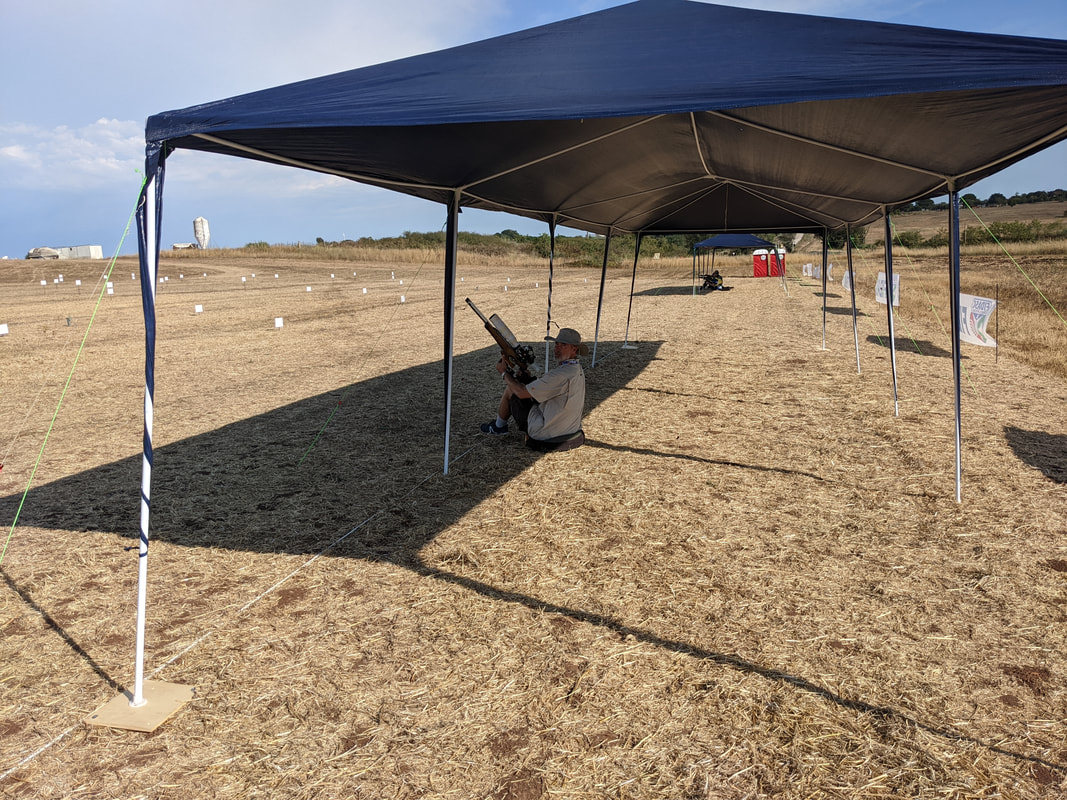
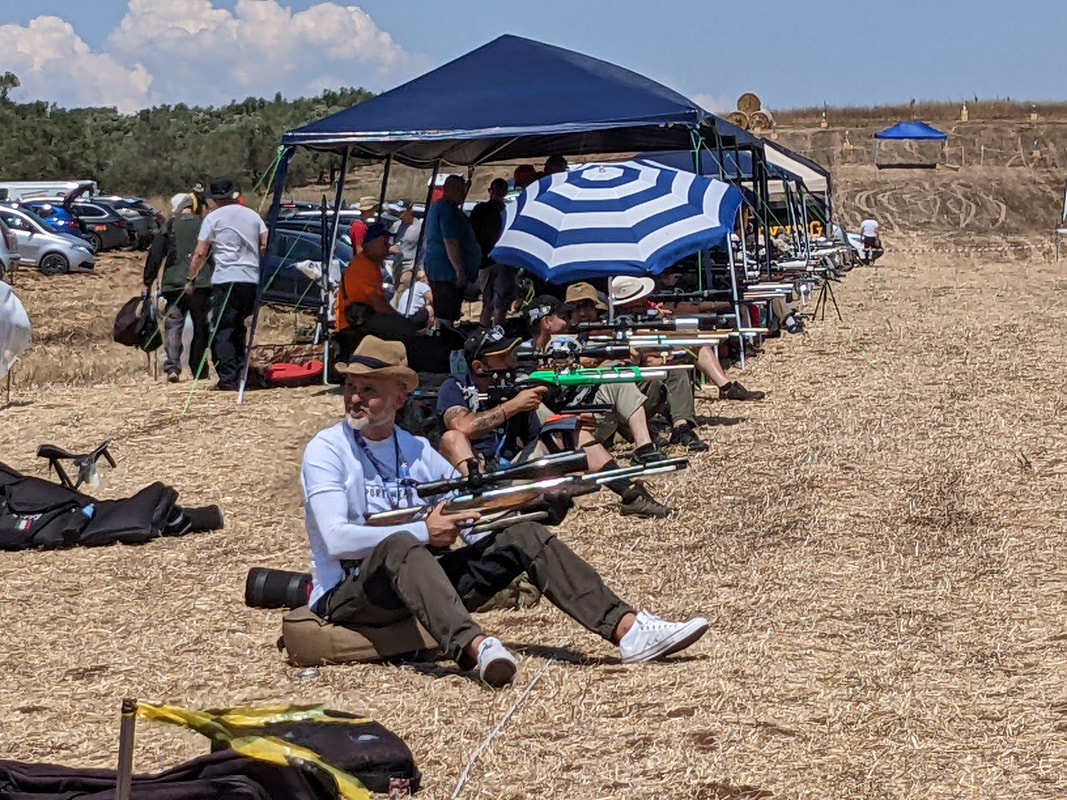
The sighting-in range line had a number of gazebo's.

As time passed, the line filled up.
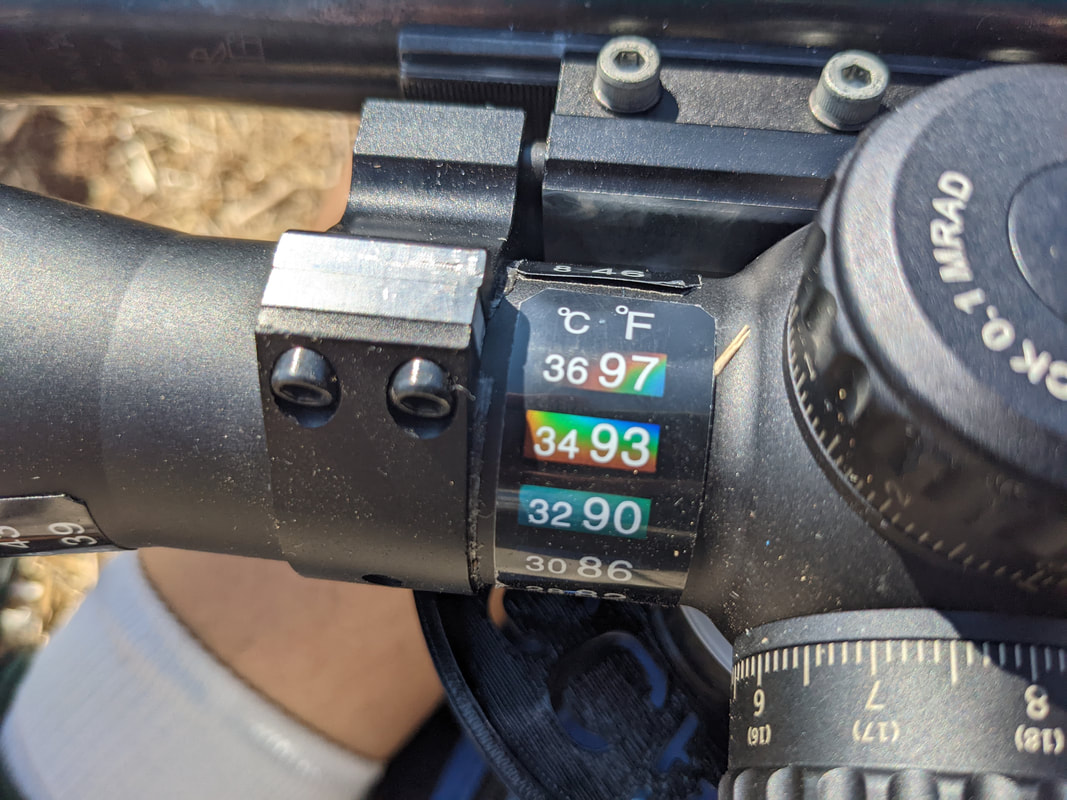
And temperatures started rising. This picture is interesting because it shows how heat enters a scope through the objective and moves towards the erector assembly. ¿Do you REALLY think that an erector assembly that is subject to a few degrees difference between front and back is going to range with absolute consistency?
It would have been difficult for us to travel across the Atlantic with an "umbrella'ed seat", those that were able to drive to the matches, and had more experience than us, did.
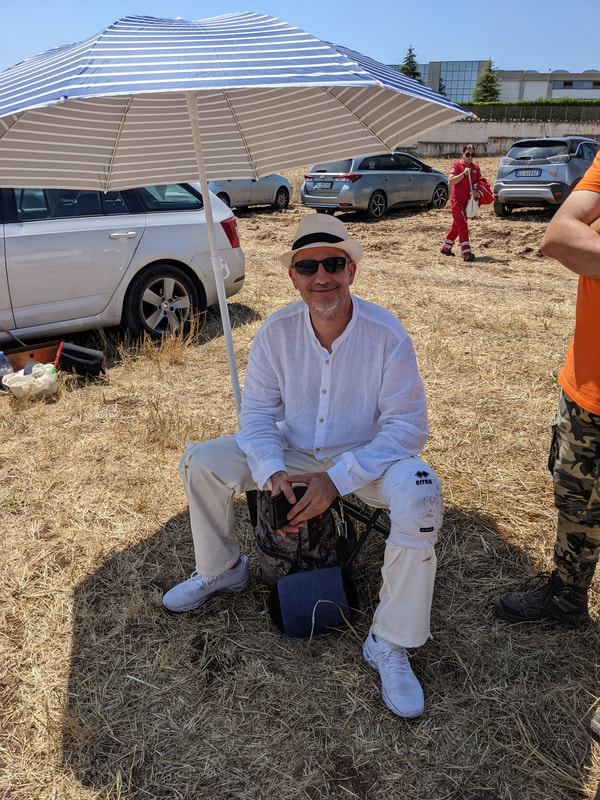
We even had some celebrities around. For those that do not know him, this is Alessandro DiMaggio. He is a well known Italian blogger under "AleDiMaggio" handle.
Once the first day of "practice and zeroing" was done, and somewhat satisfied that everything was doing what it was supposed to be doing, we adjourned to Villa Tuscolana for a night's sleep and the first day of competition.


 RSS Feed