Connecticut Custom Airguns
  • Welcome!
  • Hector's Airgun Blog
  • Products and Products Blog
    • One-Off's
    • The "Héctors Special'" scope by Sightron
    • K1050i FT
    • The Hex Louver or "Secret Sunshade"
    • Pellet Path Calculator >
      • Questions, Answers and Comments on P-P Calc
      • Privacy Policy for PP-Calc
    • The Nautilus SideWheel
    • The X-10 TiltMeter
  • Zimmer-Silhouetten
    • Results 2017-2018
    • Results 2016-2017
    • Results 2015-2016
    • Results 2014-2015
    • Results 2013-2014
  • References and Links
  • Contact us
  • Store

Hector's Airgun Blog

Where we discuss, CIVIILY,  anything airgun.

Return Home

World-Class

9/14/2019

5 Comments


The 2019 Pyramyd Air Cup

I like to use a single word to define watershed events along the year but, this time, the 2019 PAC gets two words  because it will be a watershed event along the years (yes, plural).
And the reasons are simple, though not completely evident:
- It has become the largest airgun shoot in the country with about 300 entries into the three different events
- Even in just FT, it was capped at 120 shooters and the field was complete, except for some last minute drop-offs that had no "backup"/waiting list.
- It attracted more press and more media than ever before
- It has found a new venue with lots of potential
- It has started to attract formal "Teams" from the manufacturers
- It had some very high caliber international attendance (pun intended).

Of course some of this great success comes from the great prizes offered. Let's be sincere: not everyone can take an trans-Atlantic or trans-Pacific flight to shoot a few hundred pellets and then go home.
If we want the airguns sports (all of them) to grow and gain respect from the other shooting disciplines, we need to get more "professional" and the quotes are not unintentional.

I truly do NOT want ANYONE to take these statements as an endorsement of a "Savage Equipment Race". Or an endorsement of a "requirement" to offer prizes (whether cash or kind) at all regional, or national, scale matches.
On the contrary, this is a WARNING, that we (as the airgun shooters' community) will start treading the thin red line between growing the sport, and spoiling the sport.
And everyone will have different opinions and sensibilities. That is OK, we may be a great bunch, but no one has said that, individually, we are not opinionated, EVER!                           LOL!
To be able to put the discussion front and center is necessary at all levels, whether it is AAFTA, WRAB/ASA, or a nascent 100 yards Airgun Benchrest (if you want to call it 'extreme', or not, is up to you), is absolutely essential.

So, you, my dear readers, have now a role to play:
Write to the regulating boards of your choice and let them know how you feel.
Club reps will have to write to AAFTA to express what they feel about FT
Members will have to write to WRAB/ASA to express what they feel about 100 yards BR
Shooters will have to write to Pyramyd Air to express what they feel about the Gunslynger

​So, with that out of the way and without trying to repeat what other great reviews of the PAC 2019 have shown or said, let me try to transmit to you what I felt and experienced during the 5 days that the competition took.

It has become evident to me that in reality, people don't read the write-up, they want to see the pictures, so I will post the pictures and shut-up, LOL!
Picture
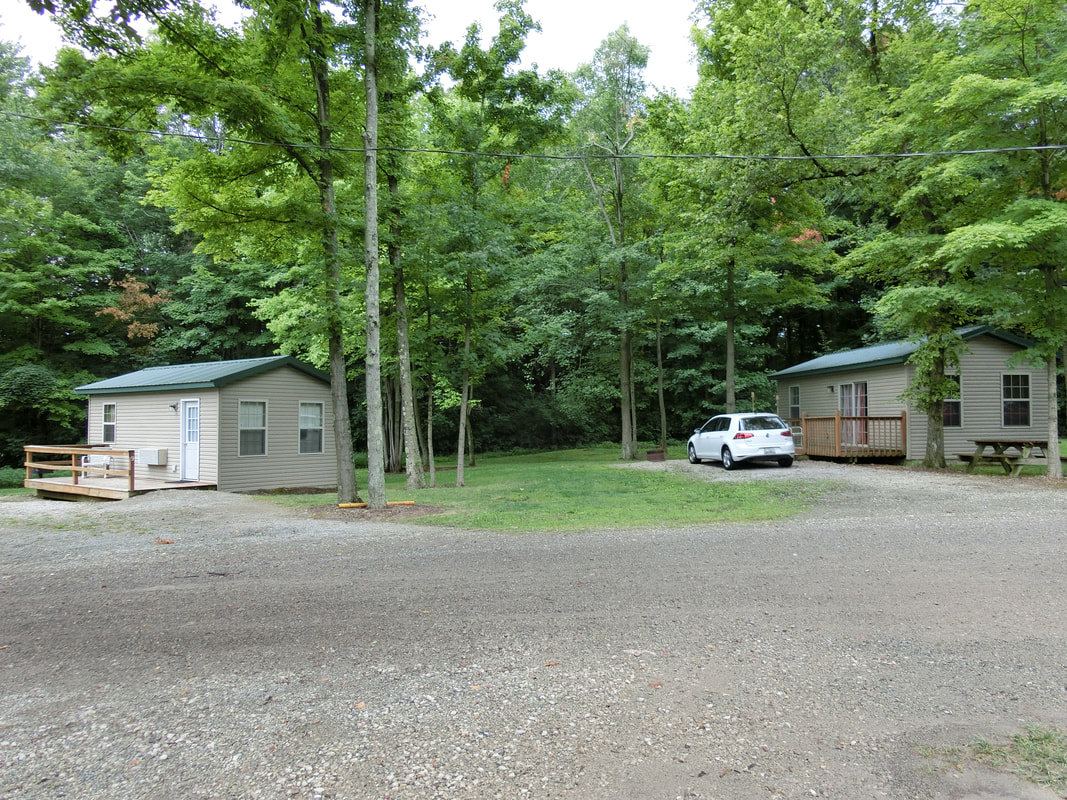
Tobias Schmidt (DIANA) and myself, arrived at the Cardinal Shooting Center on Wednesday night, we each had a cabin reserved. The one on the right is the "deluxe" (obviously for the boss ;-) )
Picture
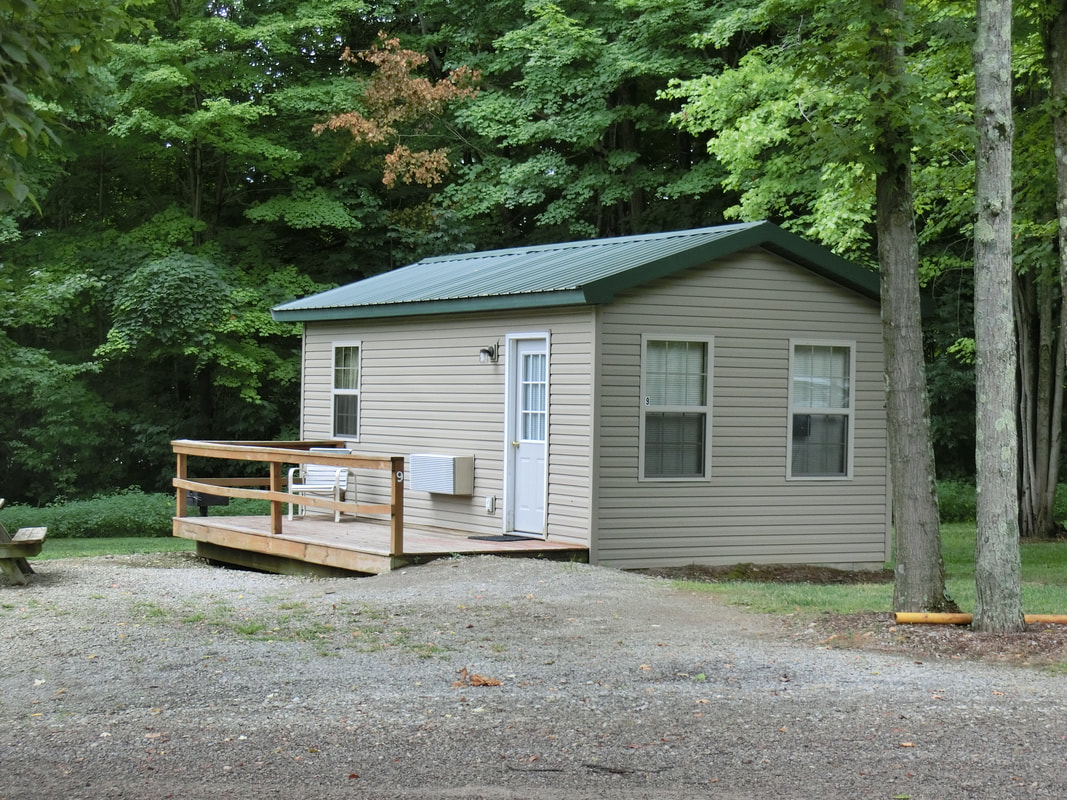
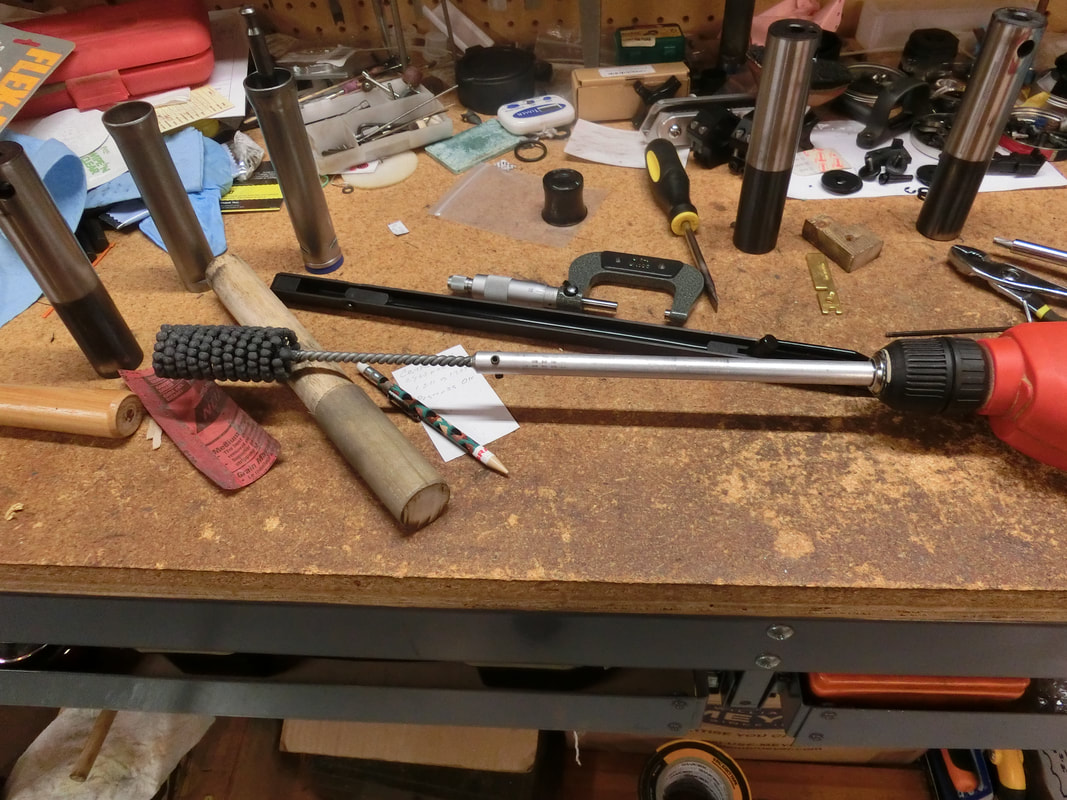
Even the Std. Cabin is enough for one or two shooters, or a small family with younger kids. It's a wortwhile investment to stay at the range. We used the Thursday to work, yes, it is a requirement, these days.
Picture
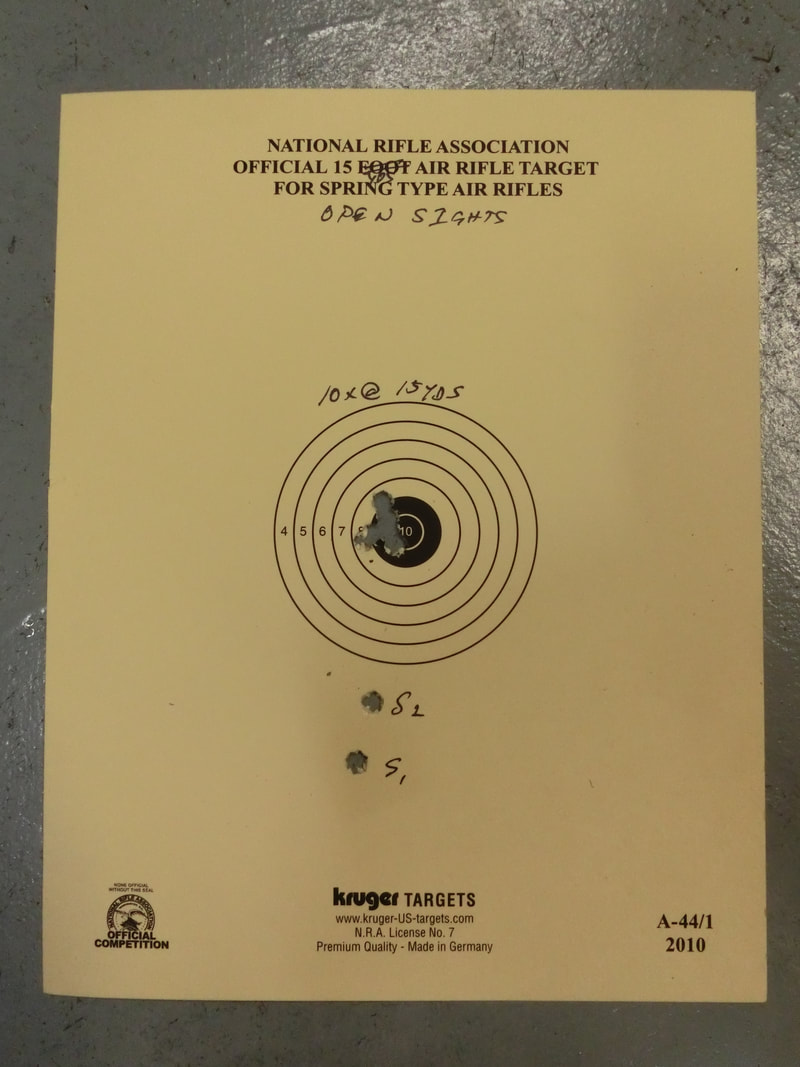
Friday morning I sighted in my FT rifle and then the Gunslynger was taking place.
Picture
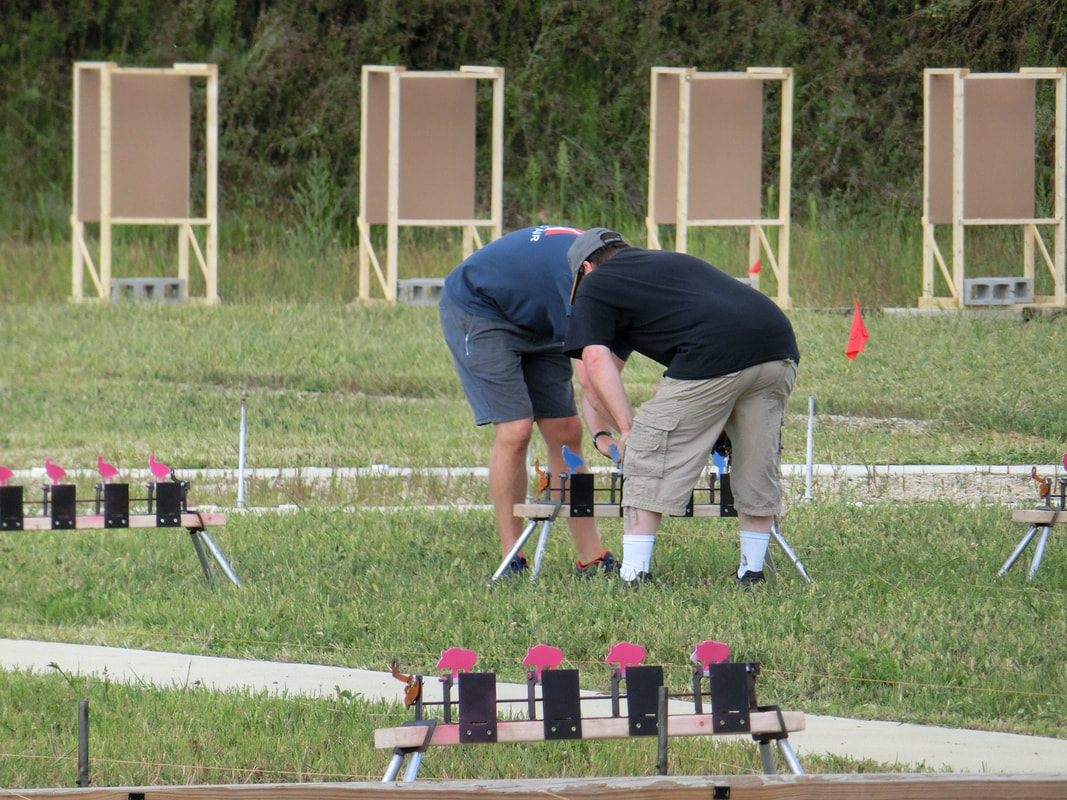
The field was set in relatively little time, after the BR shooting had stopped.
Picture
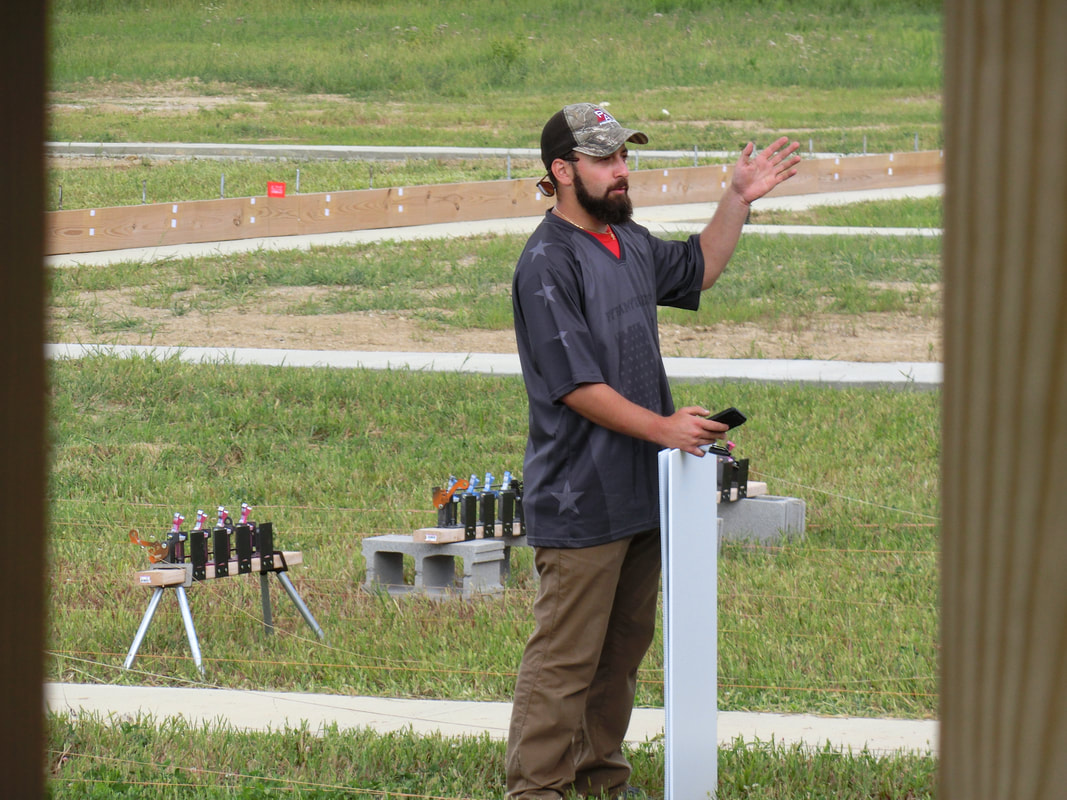
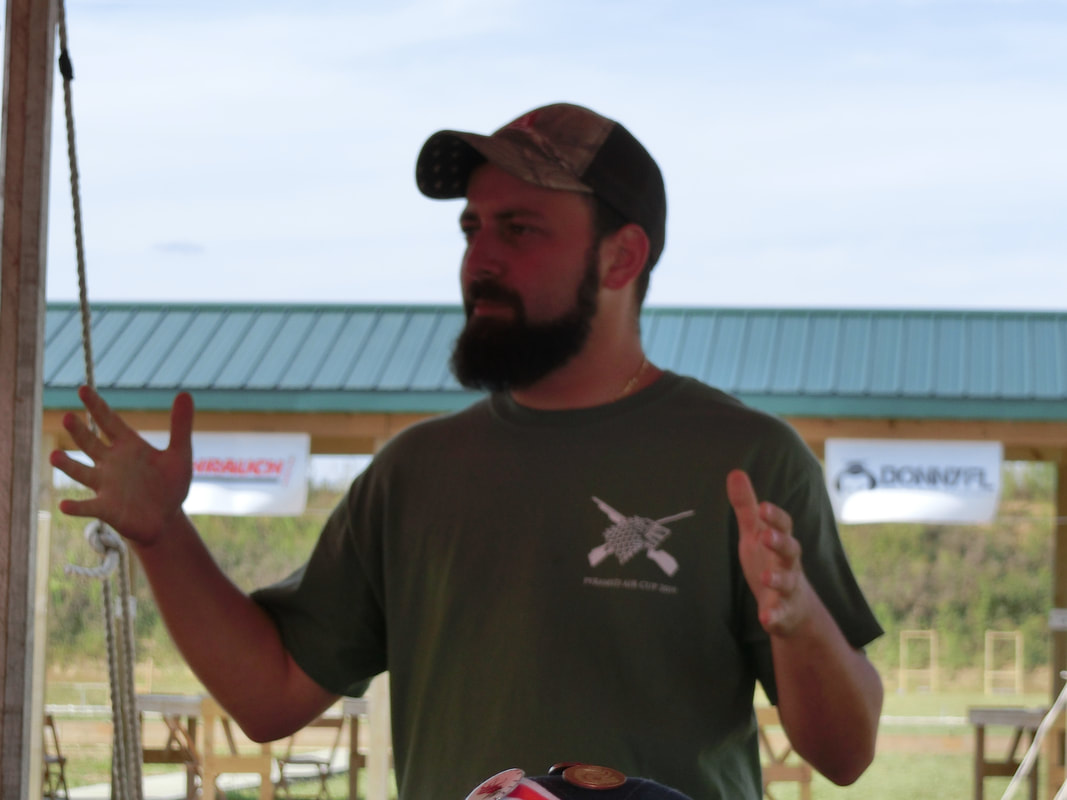
MD Tyler Patner explained the competition and after that, everything went smoothly. I hadn't picked my 0.20"cal. NTec D34 since the last Gunslynger and, predicatbly, it was a disaster for me, but still fun just to be there.
Picture
This year, we had the more normal basculating silhouettes that performed very well, even at the extreme power levels that are used. In PCP a lot of shooters go to the max (35 ft-lbs), but in Piston guns, you seldom see a gun yielding more than 16-17 ft-lbs. HOPEFULLY, the maker of these "banks" of silhouettes will extend the concept to the Standard 5 in line, looking to the right, and properly spaced silhouettes, as they would allow clubs to host excellent silhouette shoots with relatively little investment. After the Gunslynger, we worked some more and prepared for the next day's FT shoot.
Picture
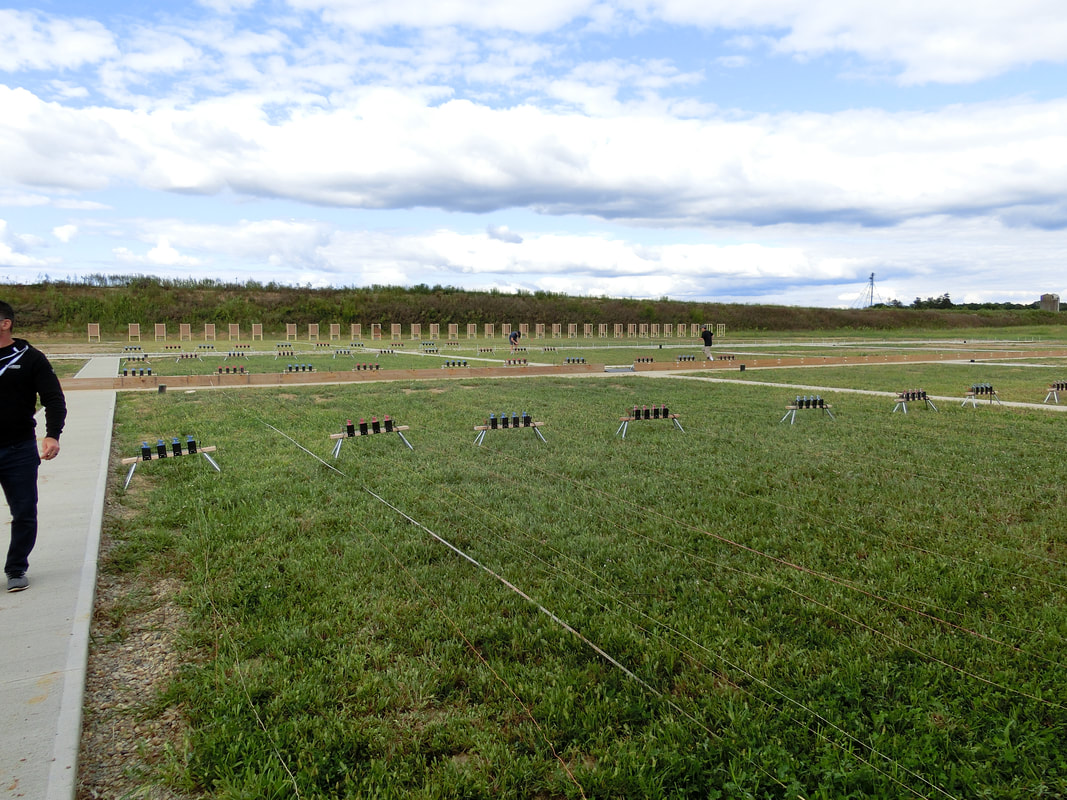
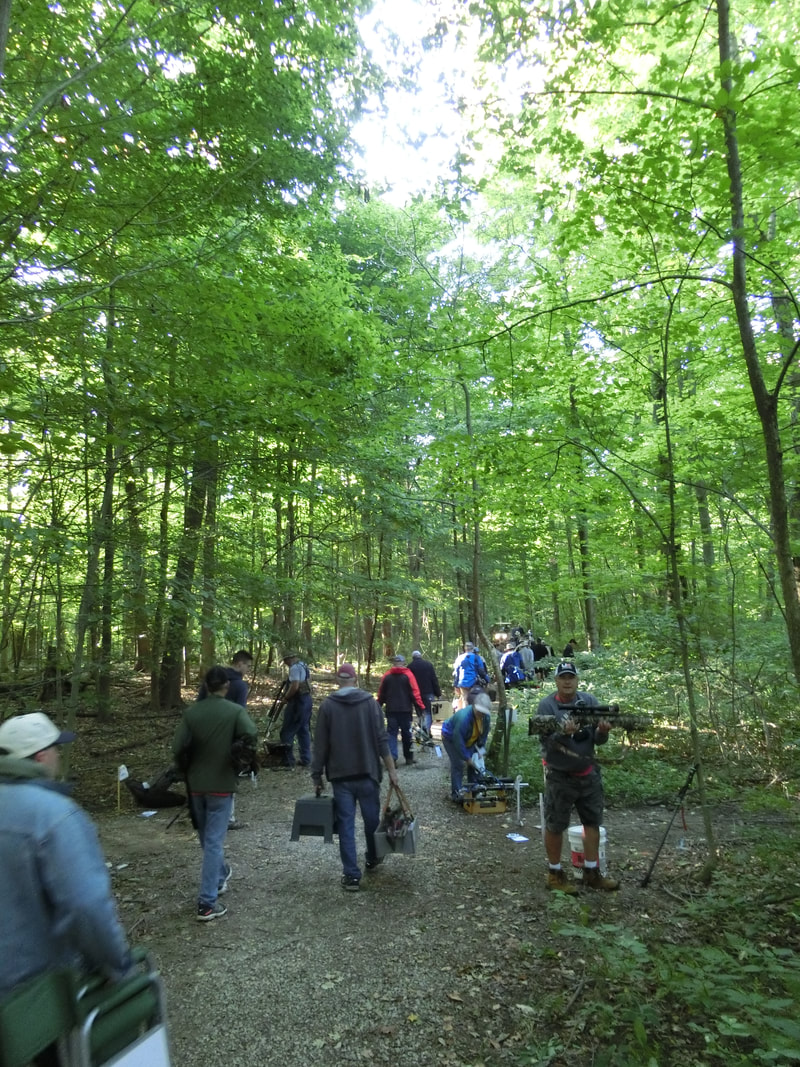
Cardinal Center Shooting Range is a fantastic place. You surely must have read already about the size of the place, I will only add to what others have said that you can get an idea of the size when you consider that there are 2 (TWO) state routes that cross the range. Yes it is big. But that also means that MD's can have great places to put targets on. Differently from other shoots, targets were scattered and staggered, so you HAD to be IN YOUR GAME, to not skip a lane, or shoot a wrong one. Interesting twist.
Picture
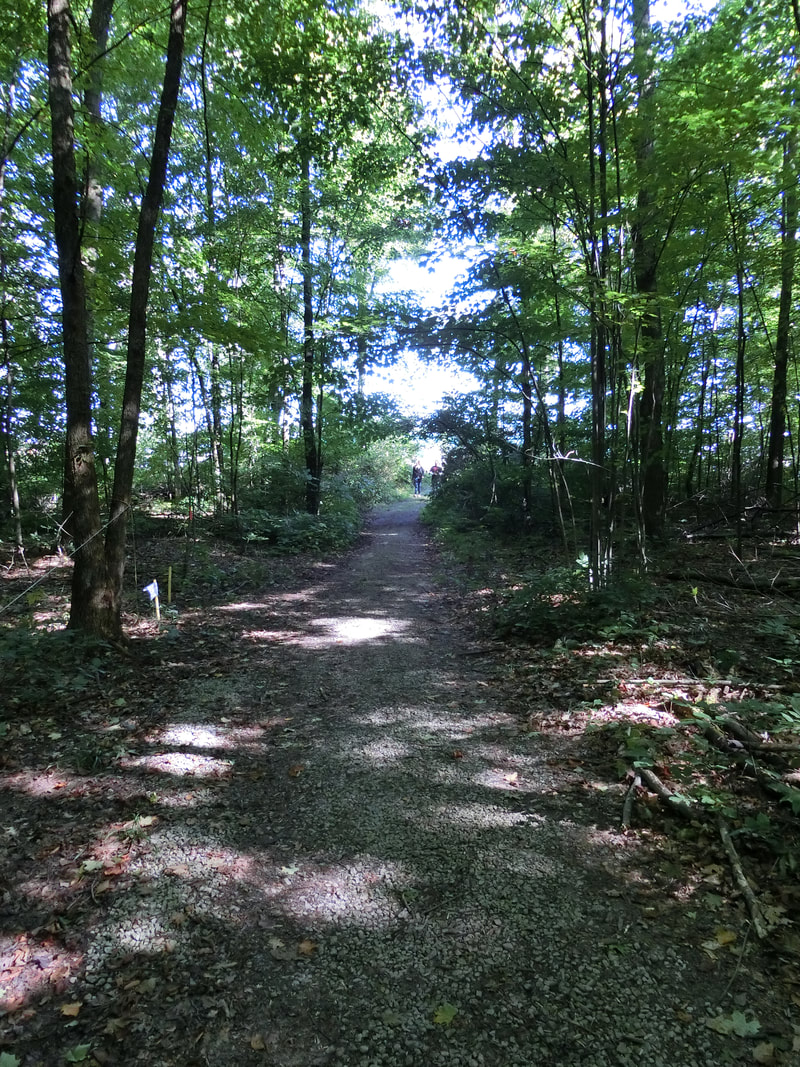
The ONE path was a "longish" walk, not short, the layout presented a variety of directions and softer inclination variations. Imaginative course.
Picture
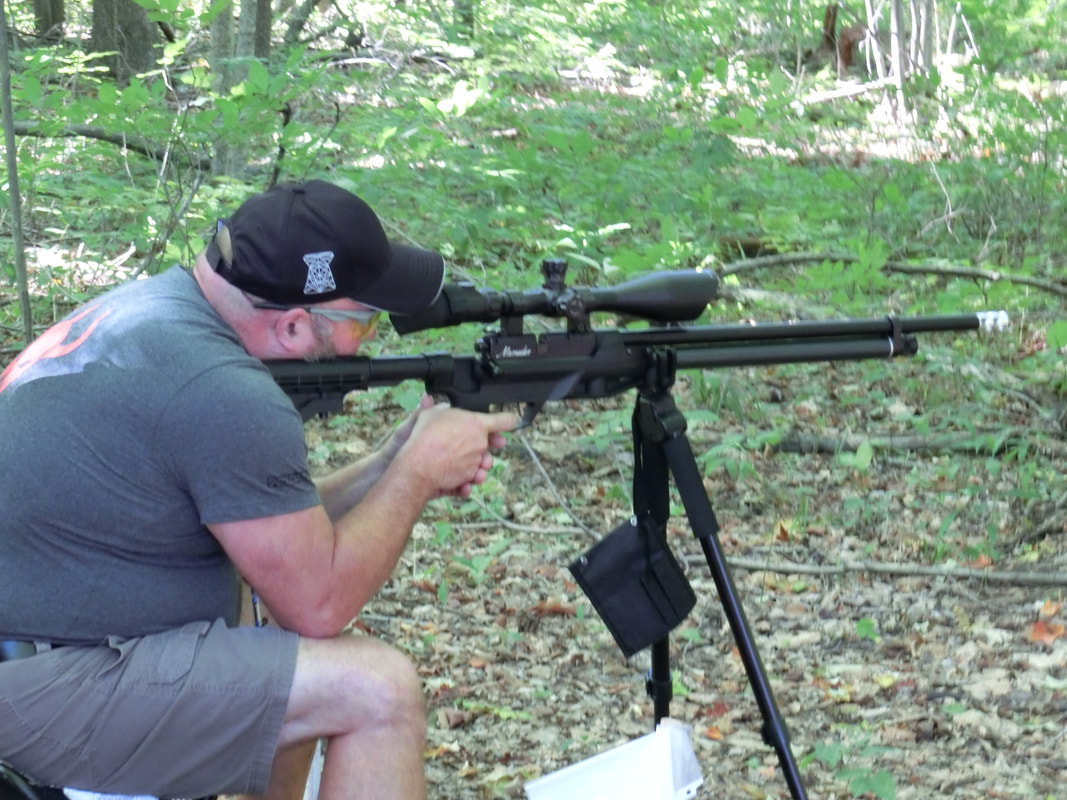
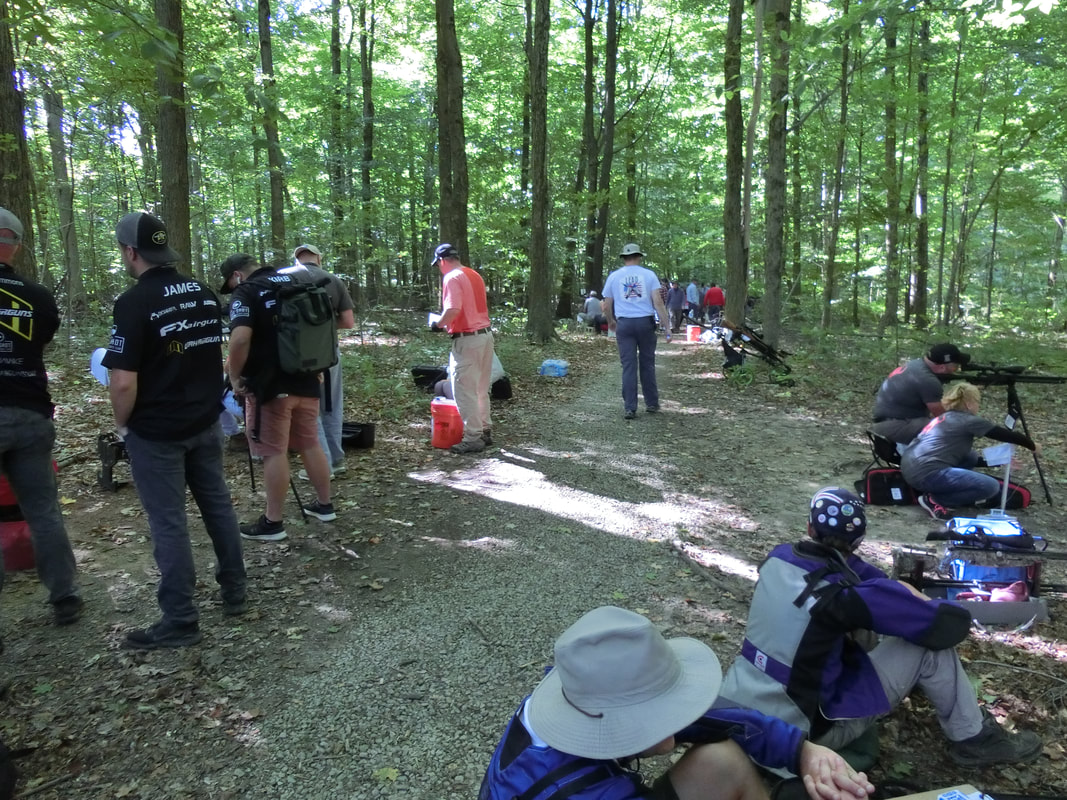
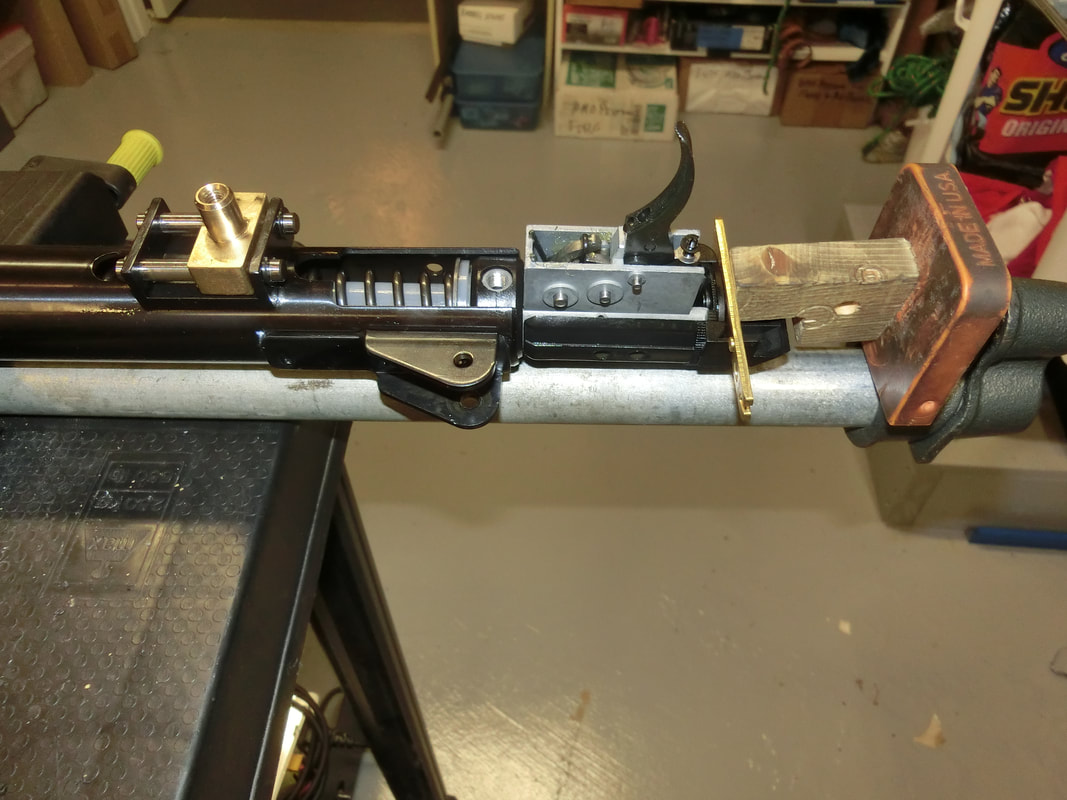
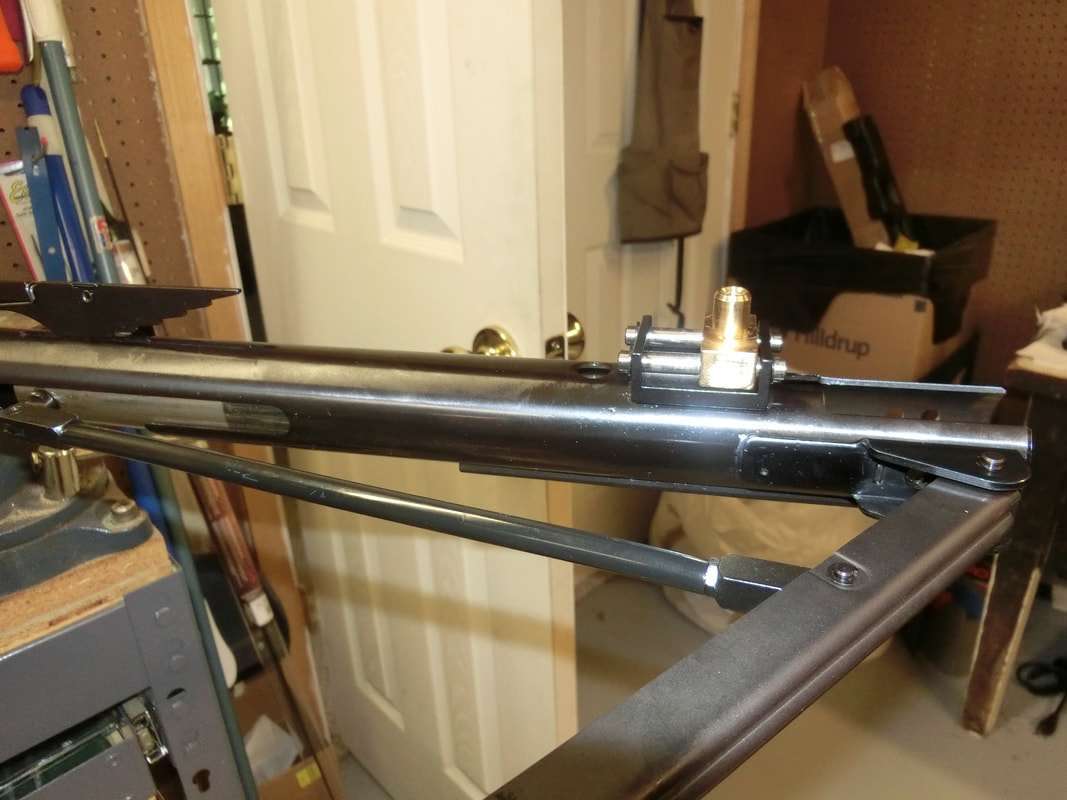
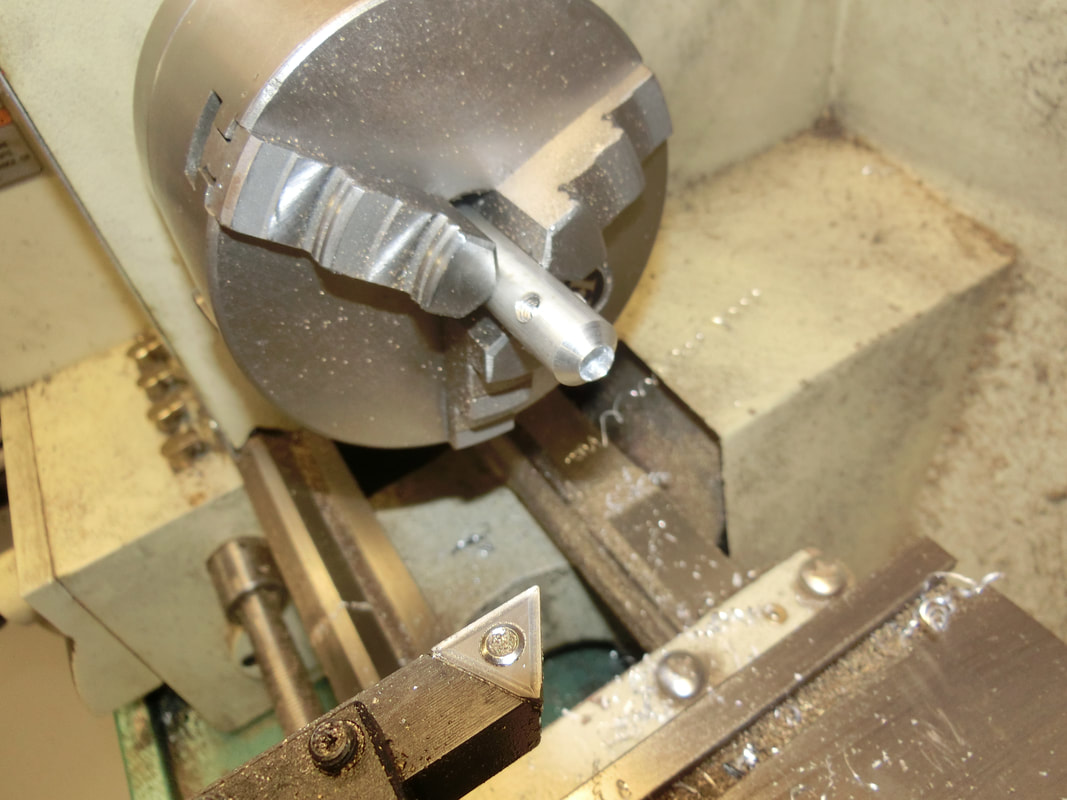
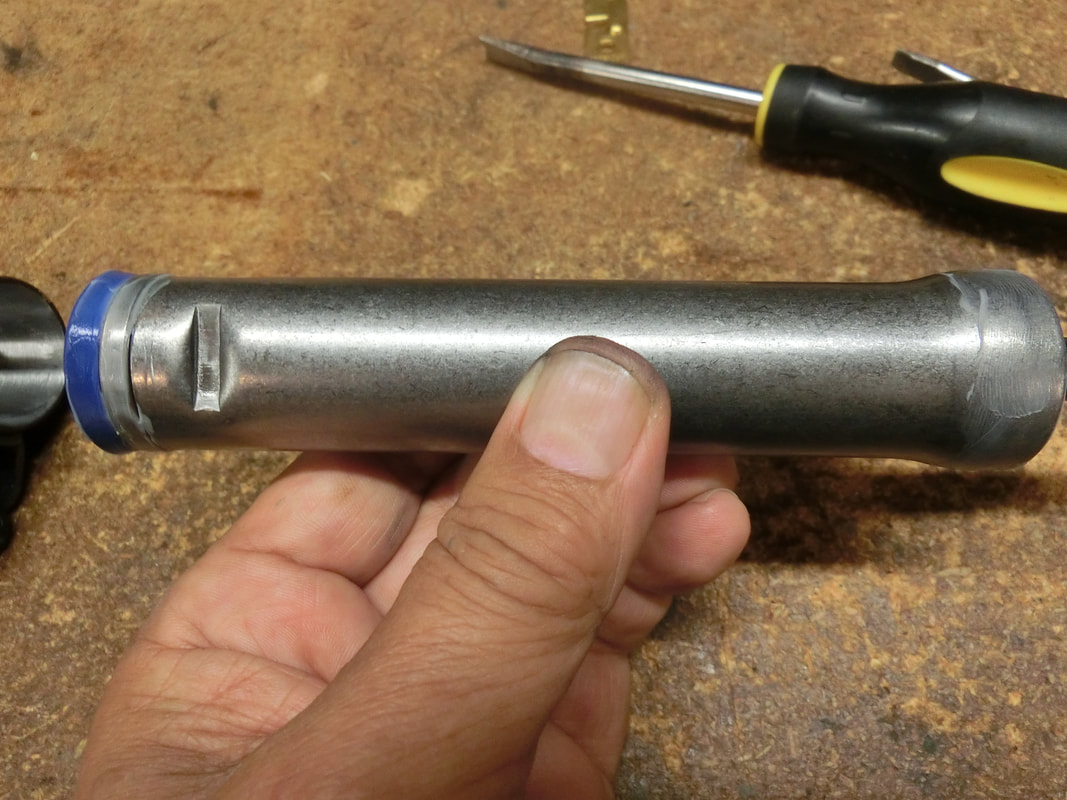
As usual in a large FT shoot, you see a lot of innovative modifications. It's part of the fun of FT.
Picture
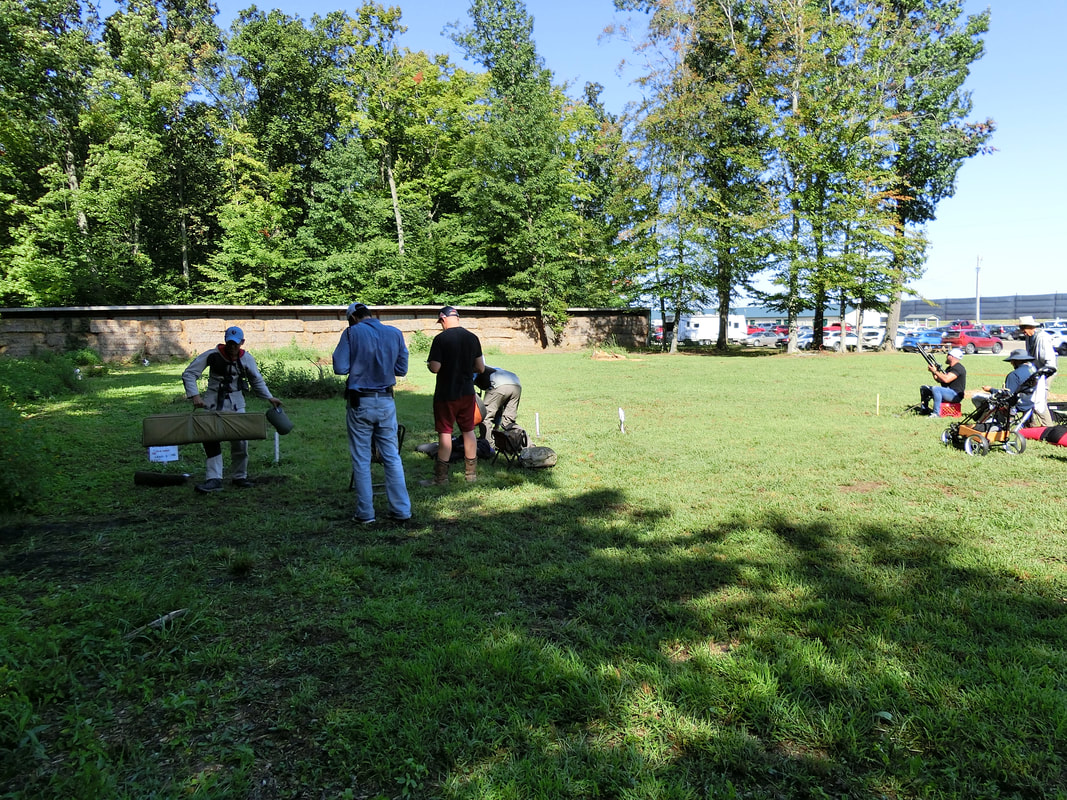
As mentioned, the course layout allowed some variation, these are the wide open "field" type lanes, and, although they look simple, they did provide an impressive challenge to most shooter unaccustomed to shoot in partially enclosed spaces.
Picture
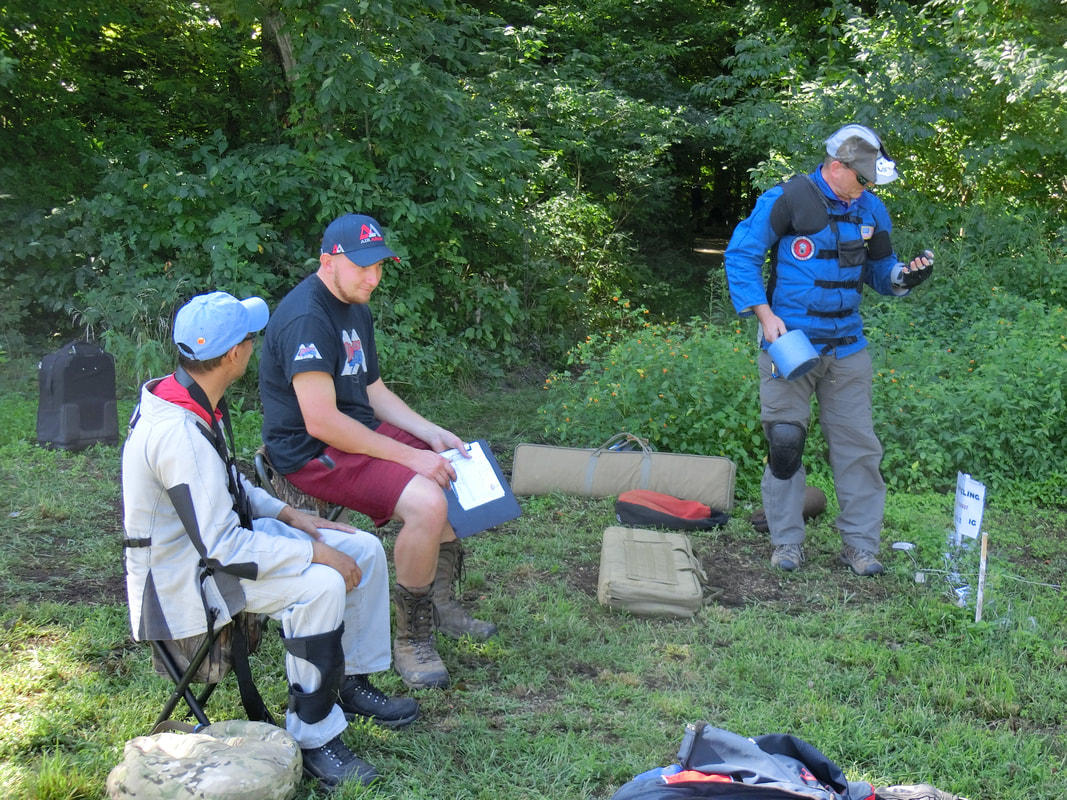
The "Power Piston Squad" in the shoot. Left to right: Leo Gonzales (USA, 5th in WFTC'S 2019), John Farbrother (UK, 3rd in WFTC's 2019), Ray Apelles (USA 3rd in Veteran WFTC's 2019) All of them extremely good shooters and great all-around guys.
Picture
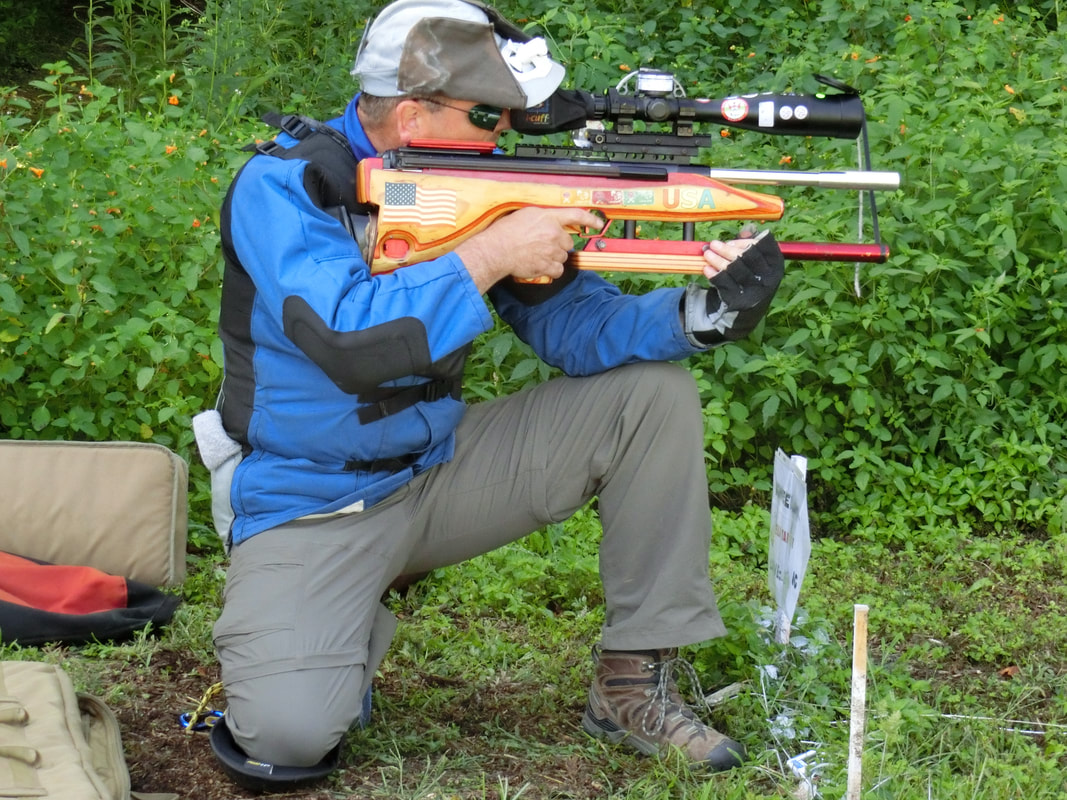
This is Ray Apelles, in his kneeling position. Do note the SemiBull-Pup configuration in his DIY stock'ed 54 And do not that his whole position was developed to comply with the rules, but still adapt to give him stability.
Picture
Position of rear foot, position of forward hand, size of roll, length of jacket. All details that can make a "legal" shot or a shot that gets you a warning.
Picture
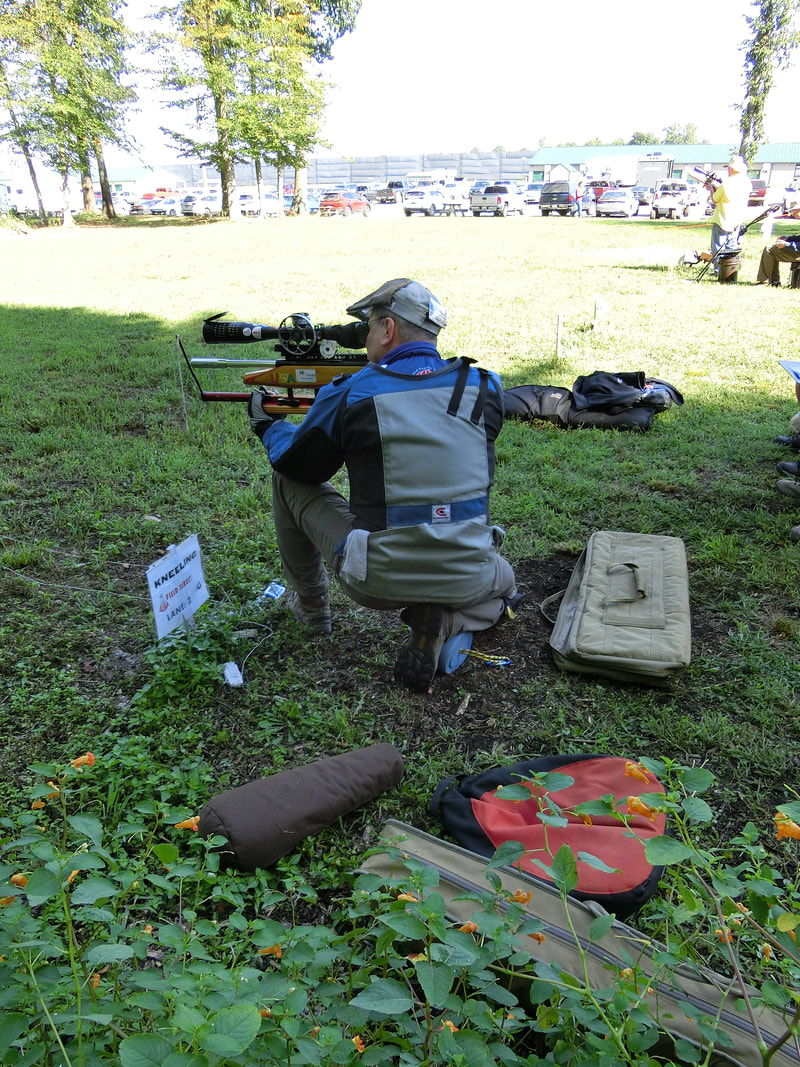
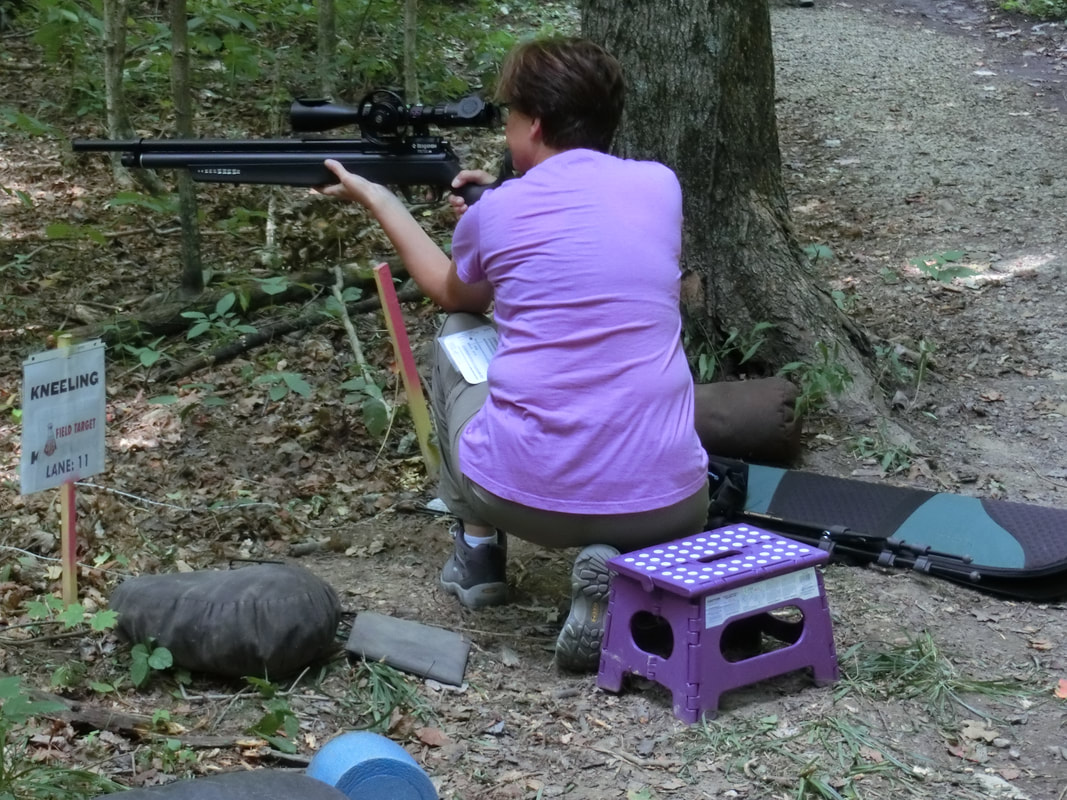
This is Leo Gonzales's "Free Position". Do note the position of the feet, fairly close together, flat on the ground. The rifle resting on the knee just forward of the COG, a VERY slightly crouched head and neck. Overall a stable and repeatable position
Picture
And compare it to John Farbrother's position: Wider spacing of the feet, and more flex at the ankles.
Picture
A different angle to John's position. What needs to be noted here is that part of the details of his position have evolved as an answer to the stock he is using.
Picture
To ME, the most interesting part is the grip of the stock. John commented that the oversize of the grip was on purpose, because an almost open hand, cannot "grip" the gun, and therefore there is less interference with the shot cycle.
Picture
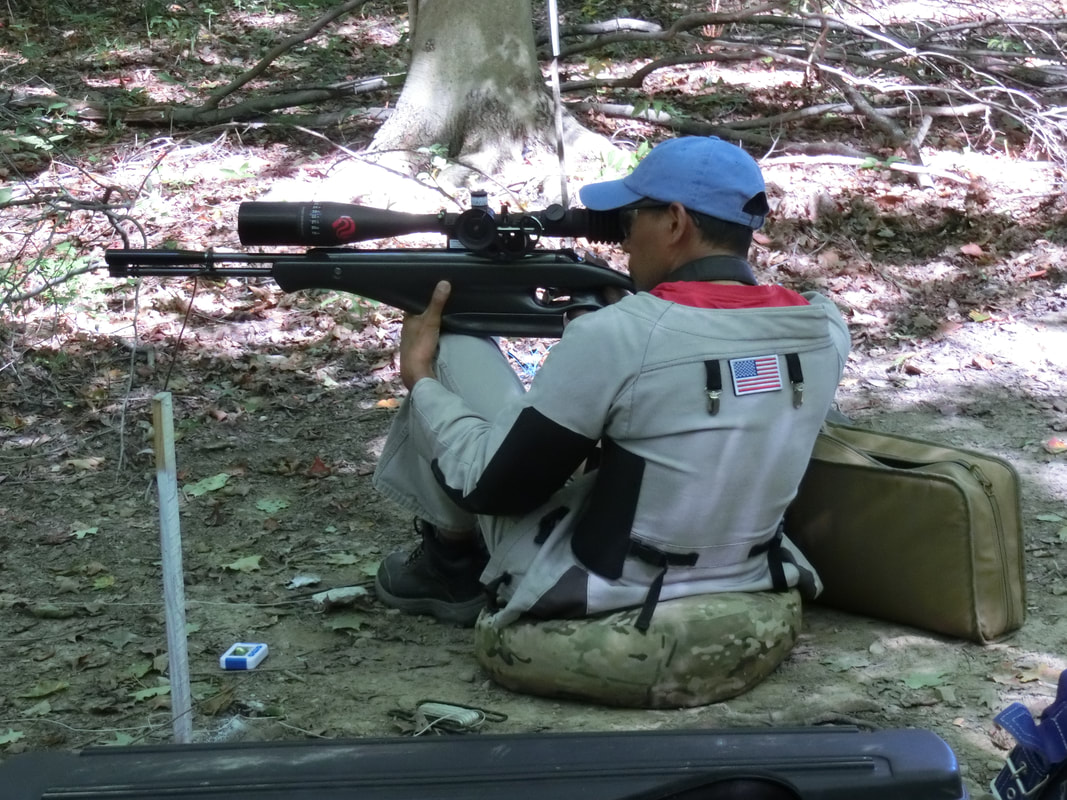
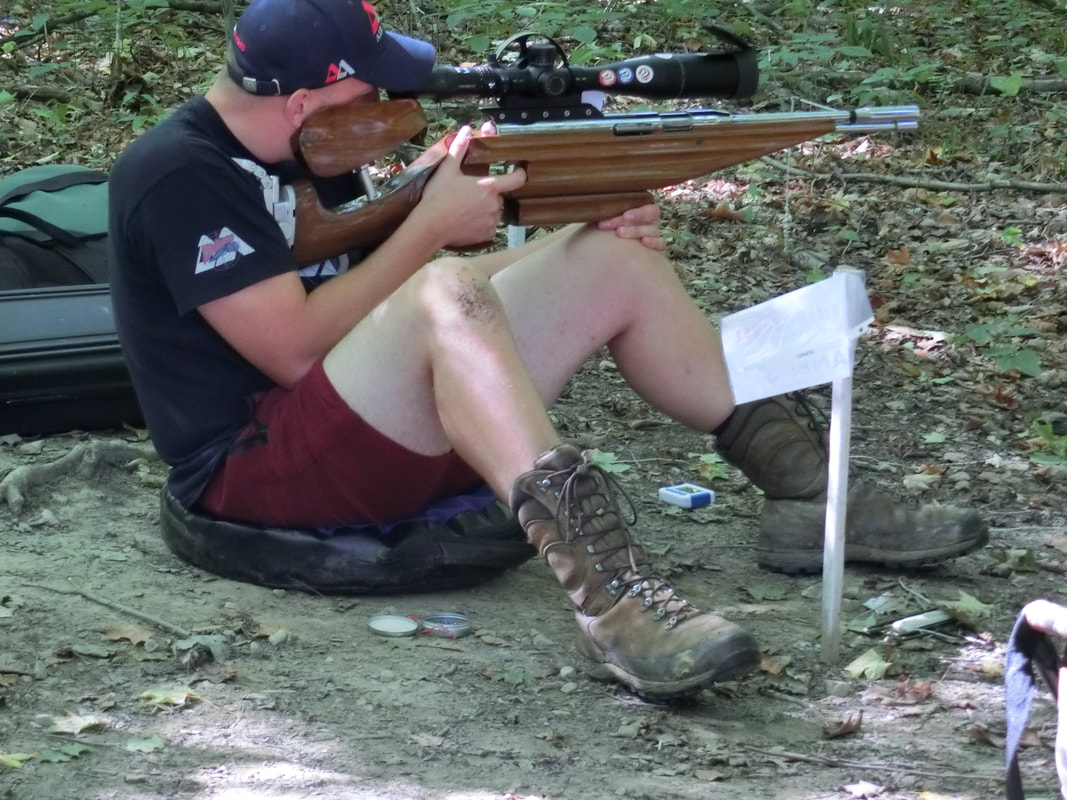
And, of course, it is always interesting the participation of the fairer sex in the FT world.
Picture
By the end of the day, I had not done too poorly
Picture
Except on the standing lane, LOL!
Picture
Picture
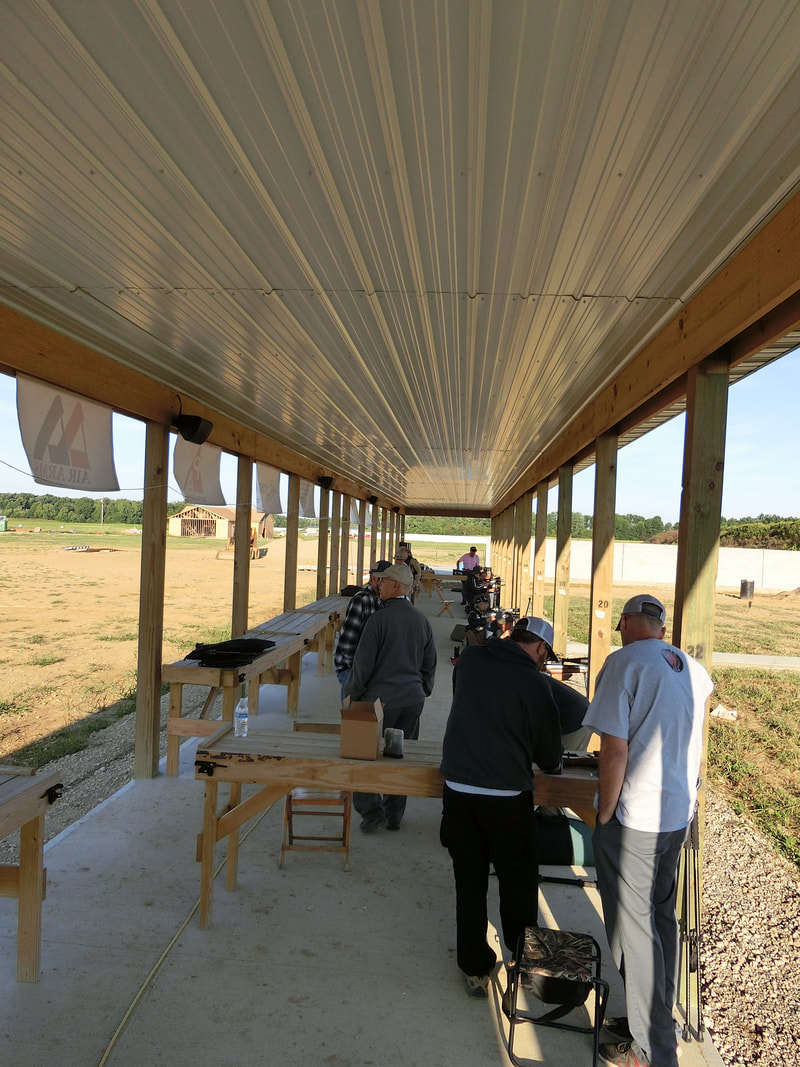
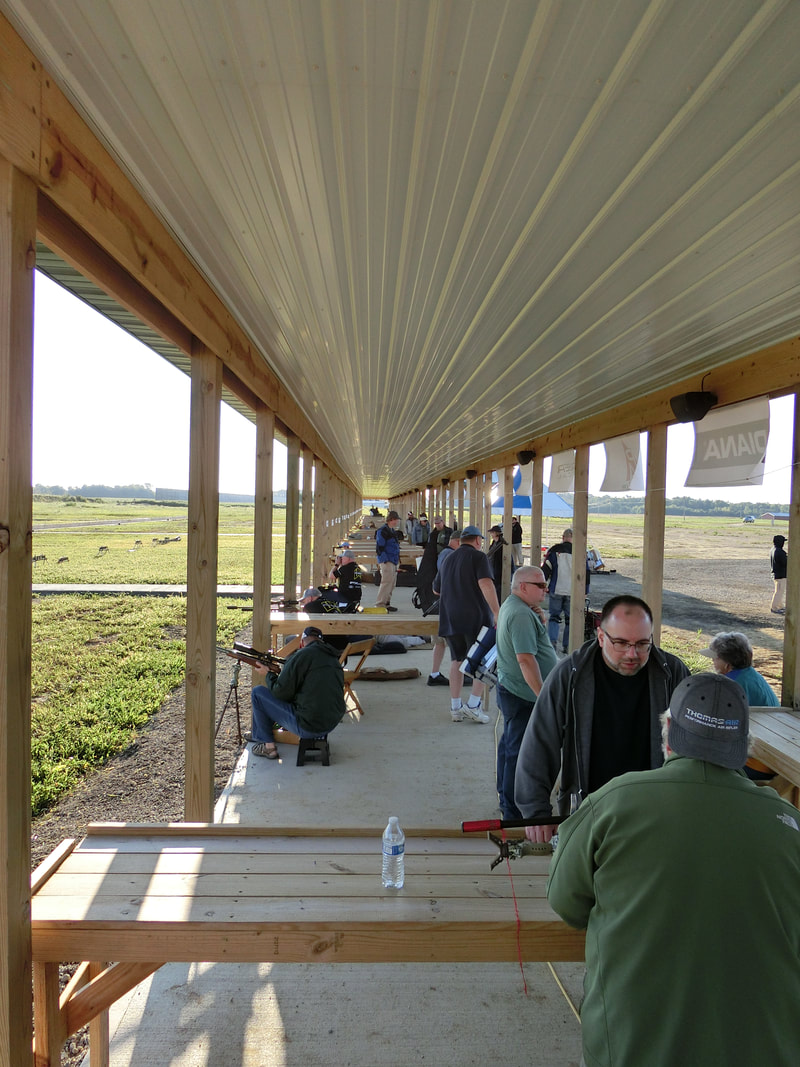
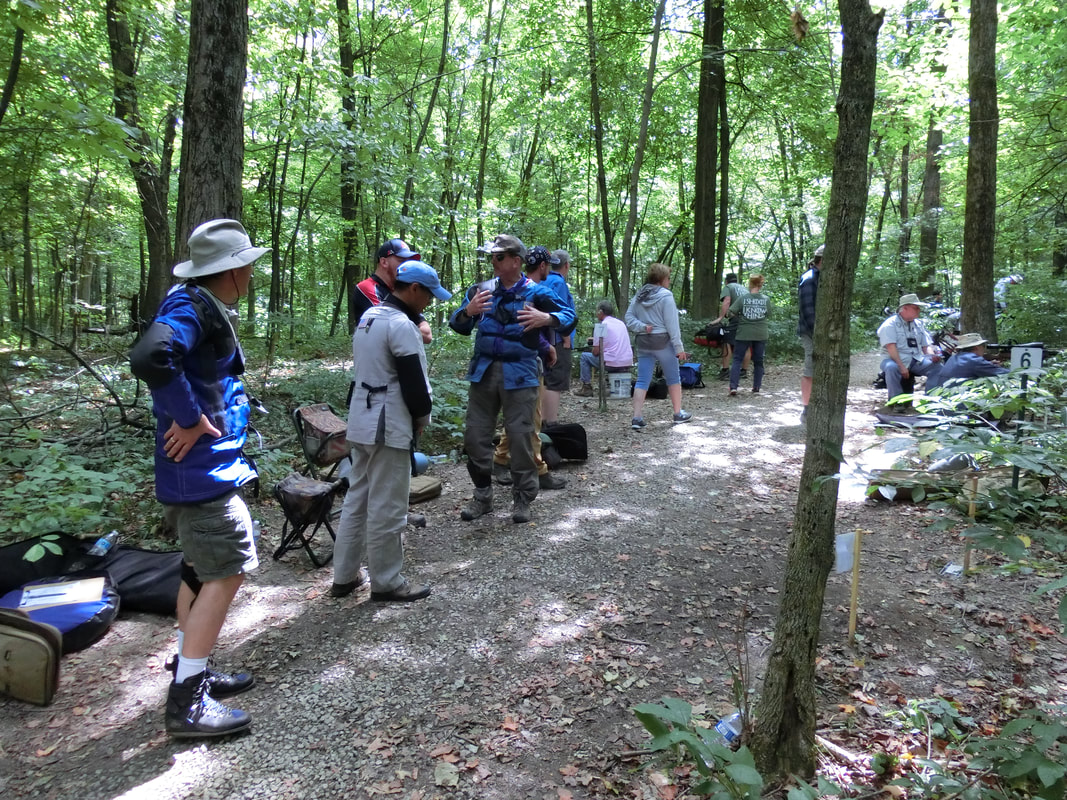
In the afternoon, we took advantage of the BR finals, and in one corner of the range, we worked some more.
Picture
In the morning, after the usual Shooter's meeting, the procession to the starting lanes was well under way.
Picture
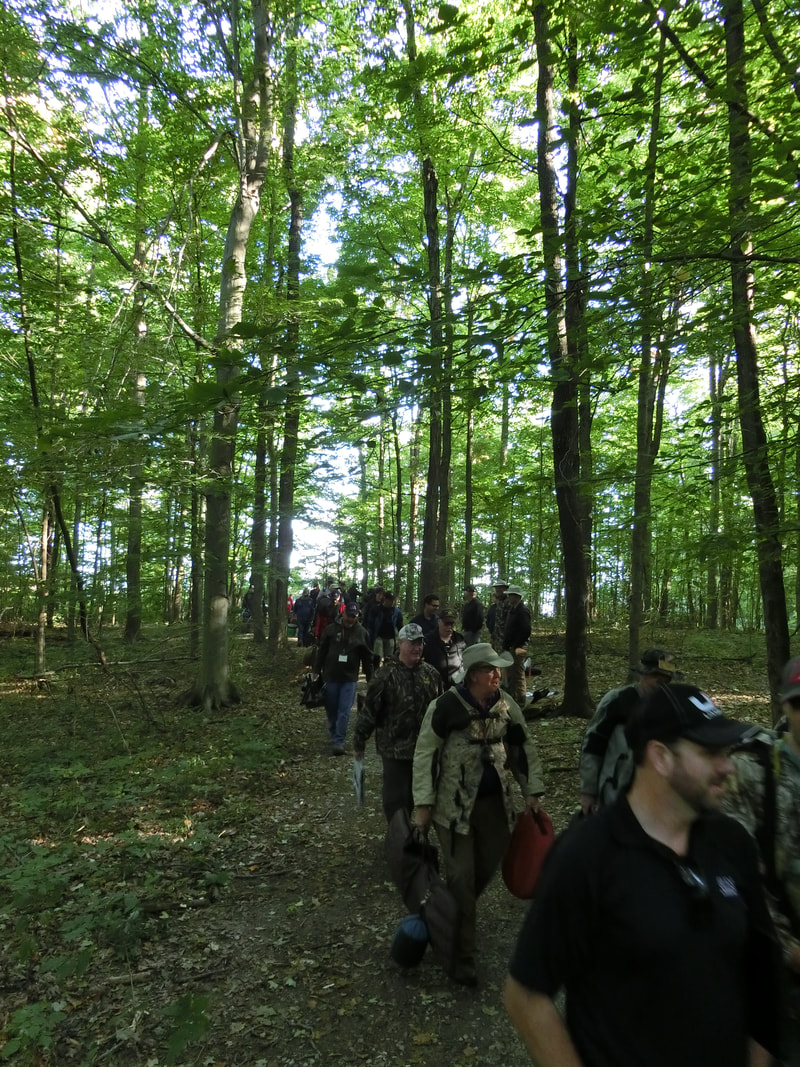
And when I say procession, I mean it.
Picture
Once everyone had arrived in their respective starting lanes, the shuffle to get organized and started got underway.
Picture
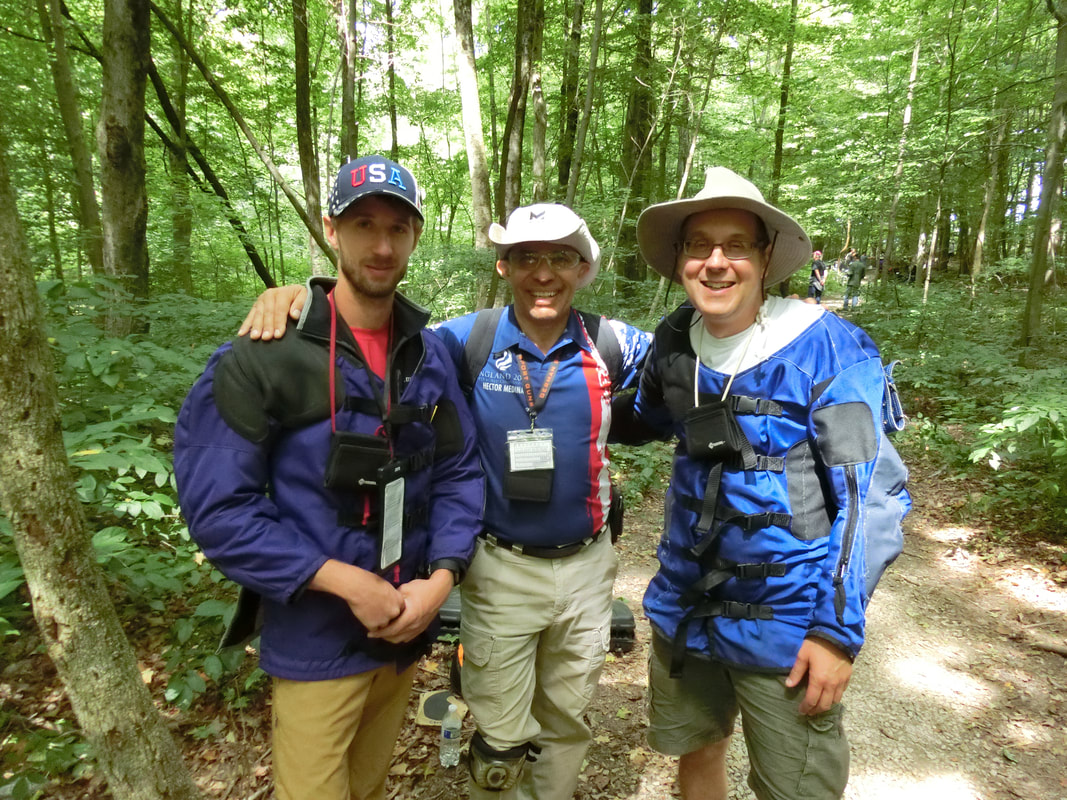
Nathan, John and the undersigned had a great time!
Picture
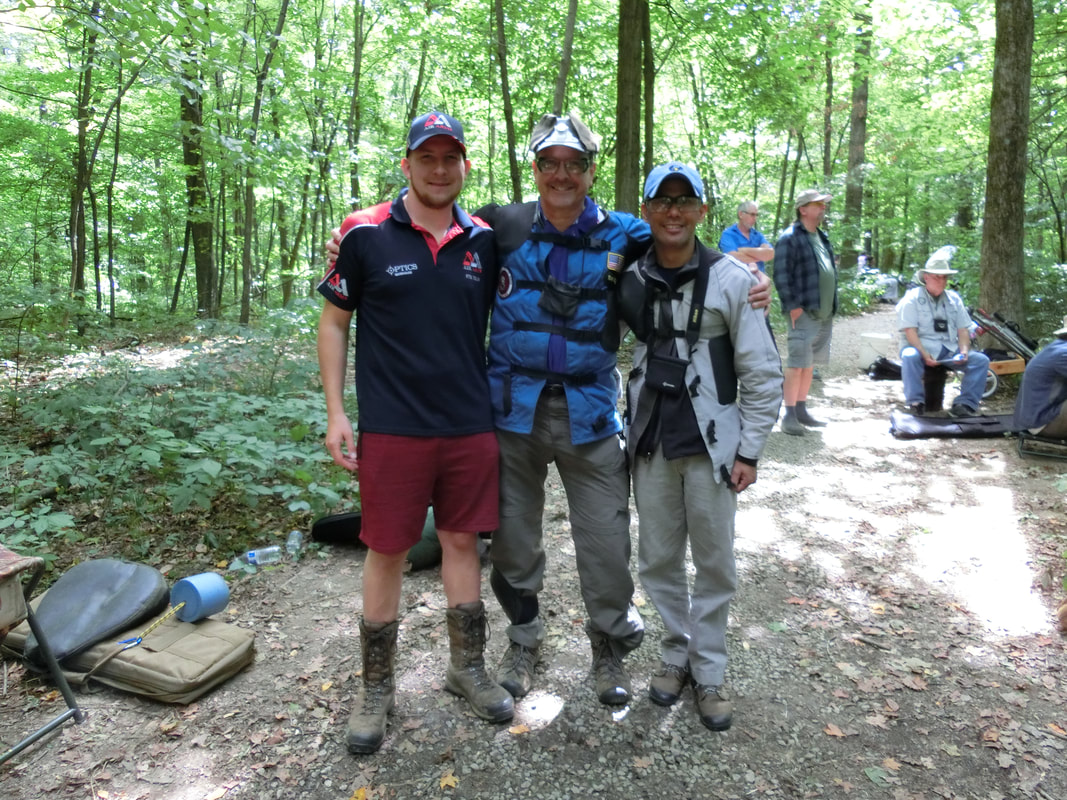
I'm sure the same could be said of John, Ray, and Leo.
Picture
I felt I was doing better than the day before, but then I skunked a lane and that required all my powers of self persuasion to get back on track.
Picture
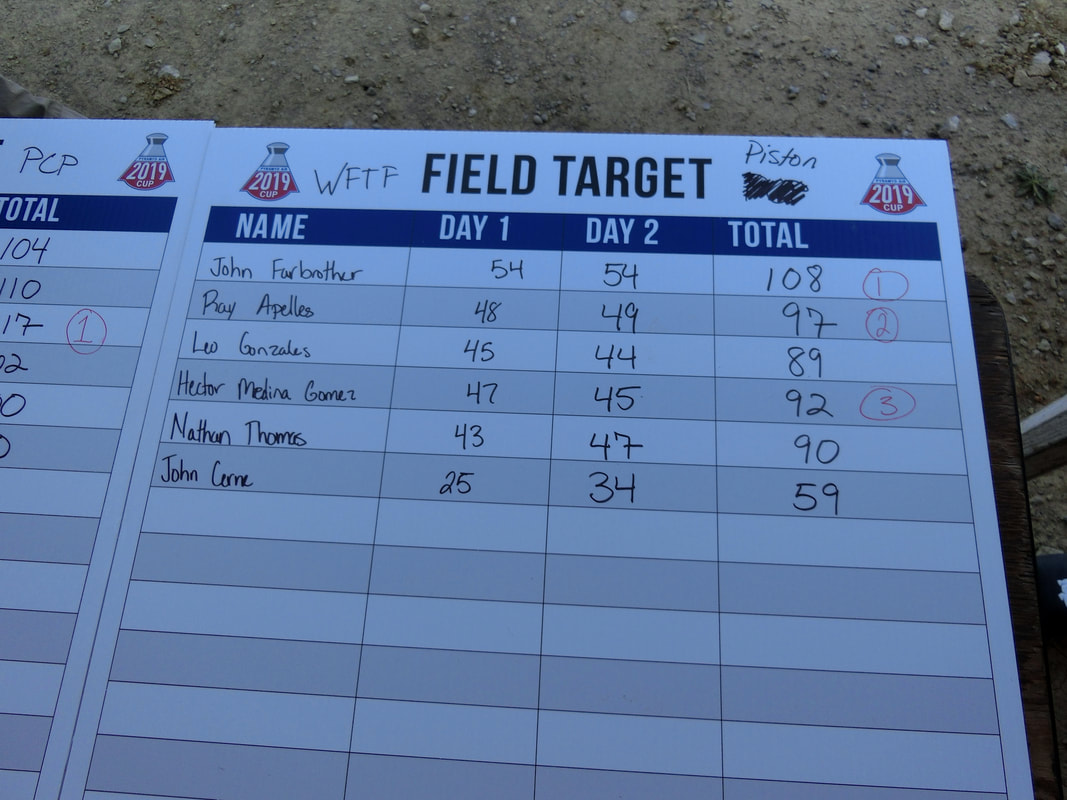
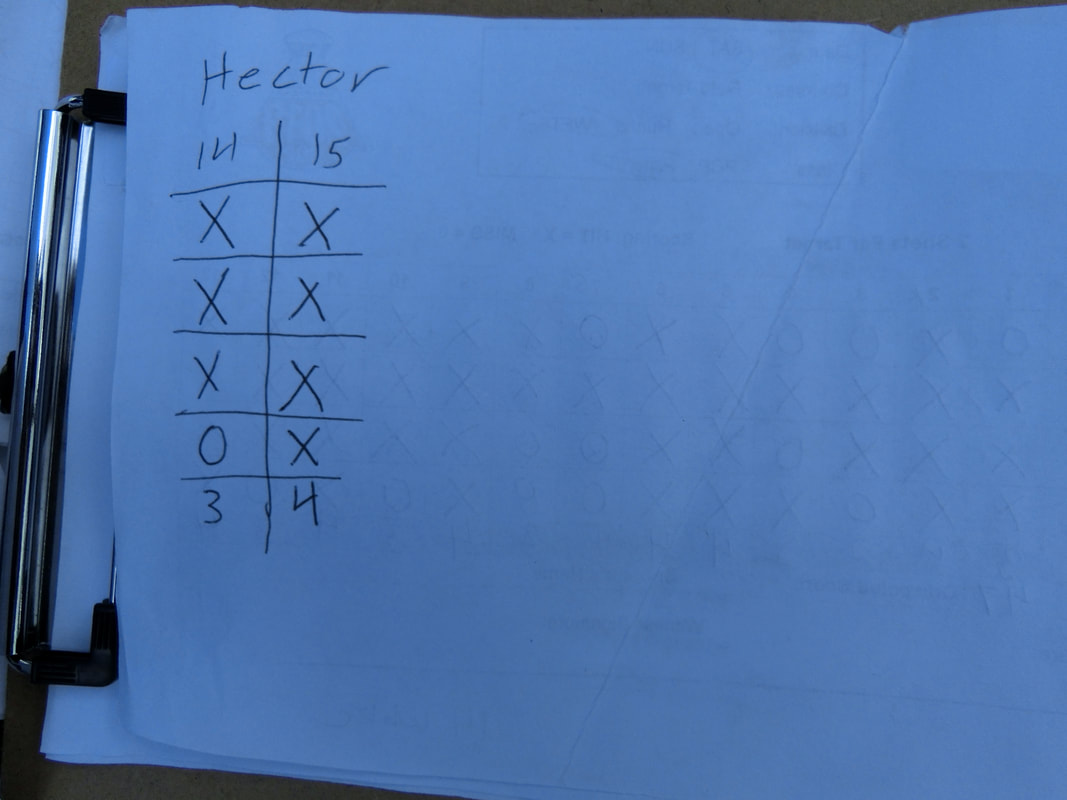
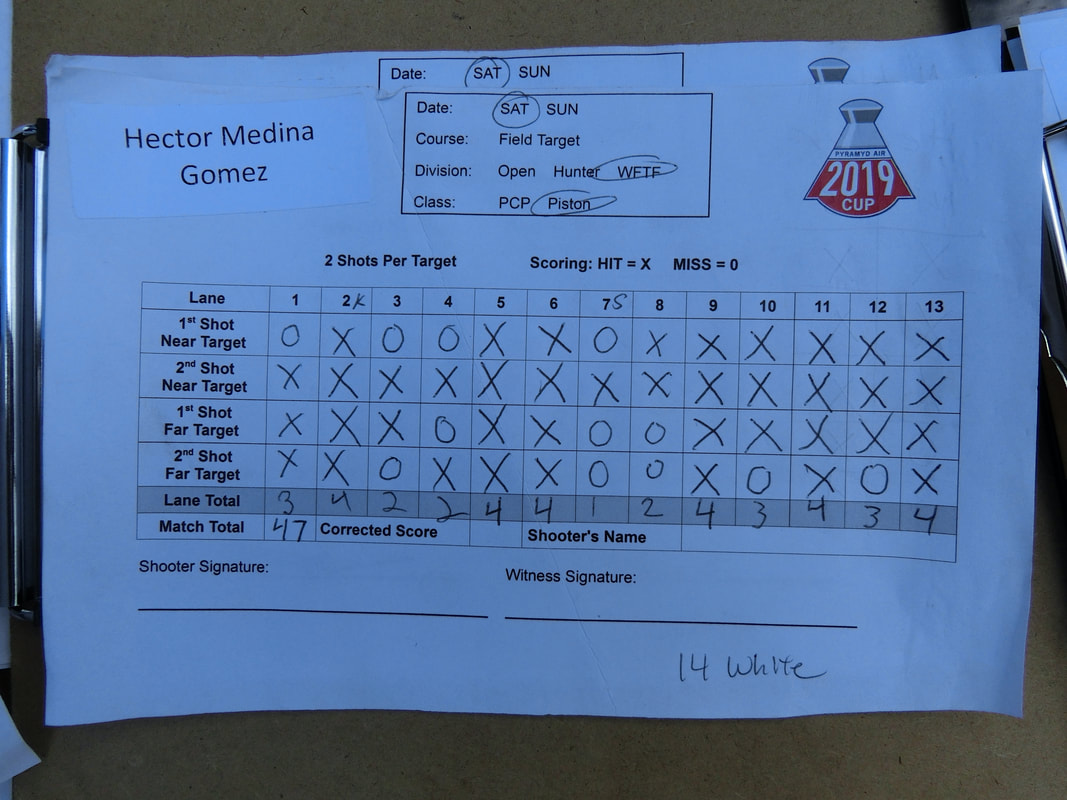
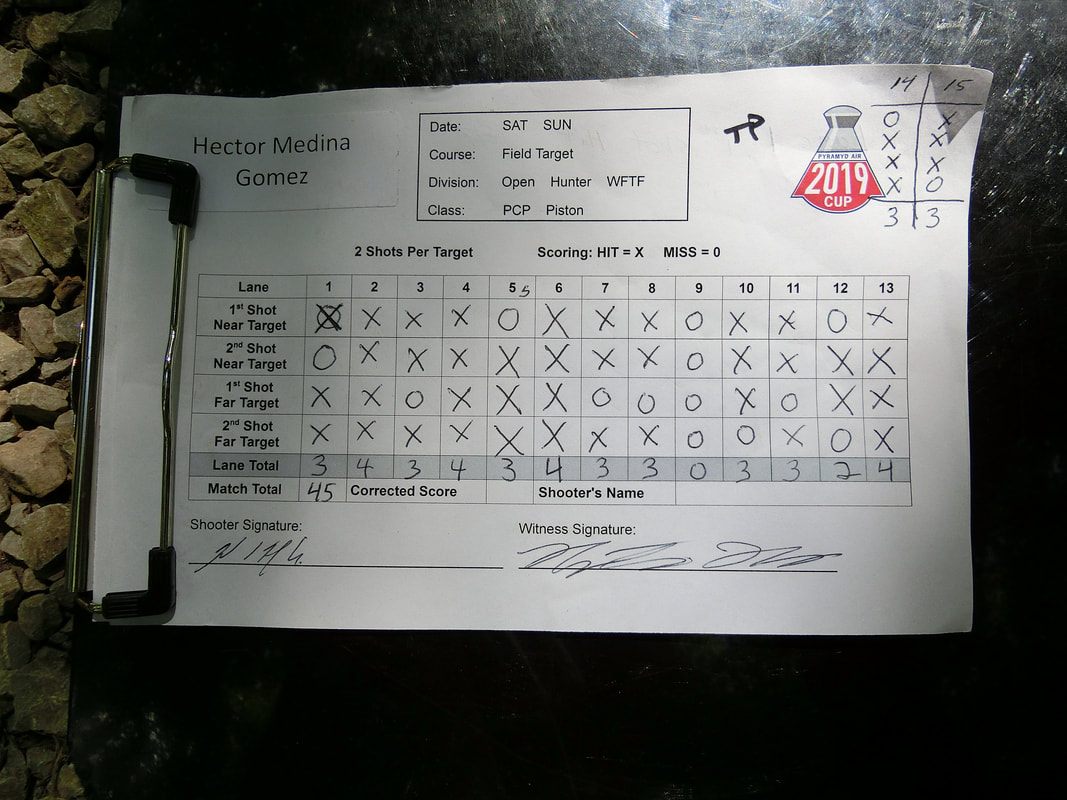
Ended up 3rd and I was very surprised. Leo had two bad days, and Nathan bested me by 2 points on the second day, but he had fallen 4 points behind in the first day. Still, 3rd is not that bad. Specially for not practicing much! LOL!
Picture
After the awards ceremony, M.D. Tyler Patner thanked everyone for coming and the event was officially closed
I really don't know how, but I ended up being interviewed by the 'Airgun Exploaration and Advancement Channel' in YouTube for the "Pyramyd Air Cup.- The Movie", and it was a lot of fun working with Steve S on the filming. Steve explained clearly what he wanted on video and I do think he is a good director. Even a non-actor like me looks half good, LOL!
​See the whole film here. If you are pressed for time, skip to 1:14:35
Picture
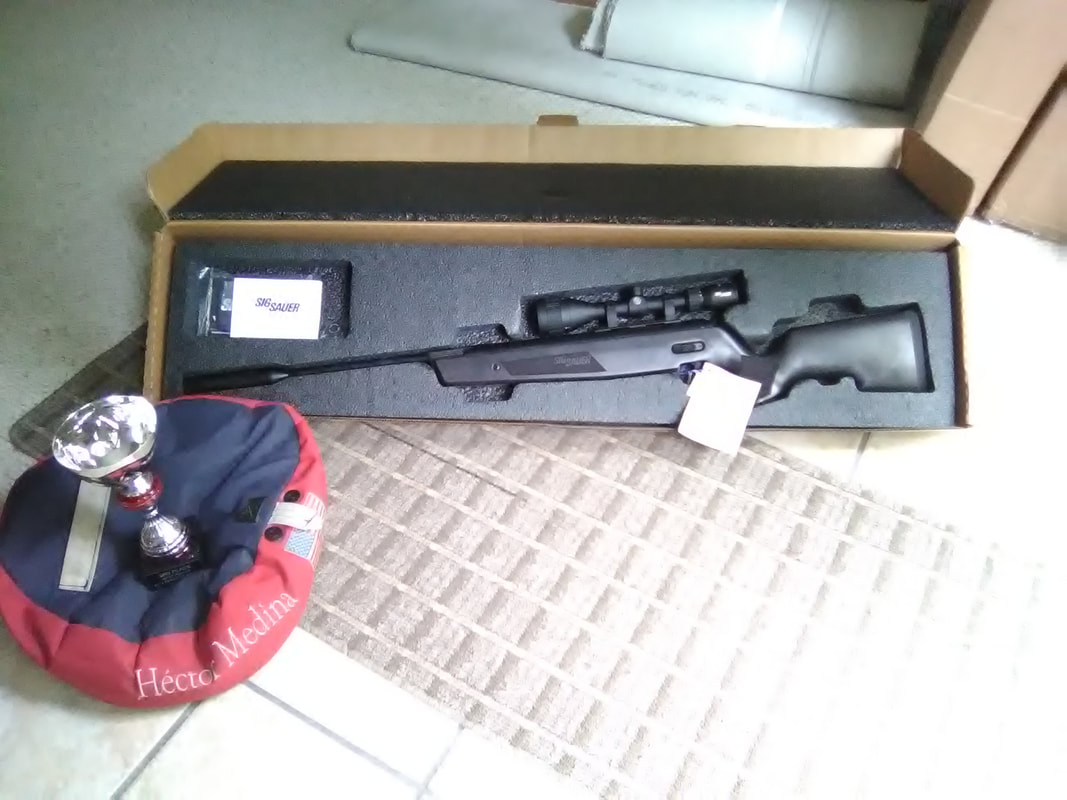
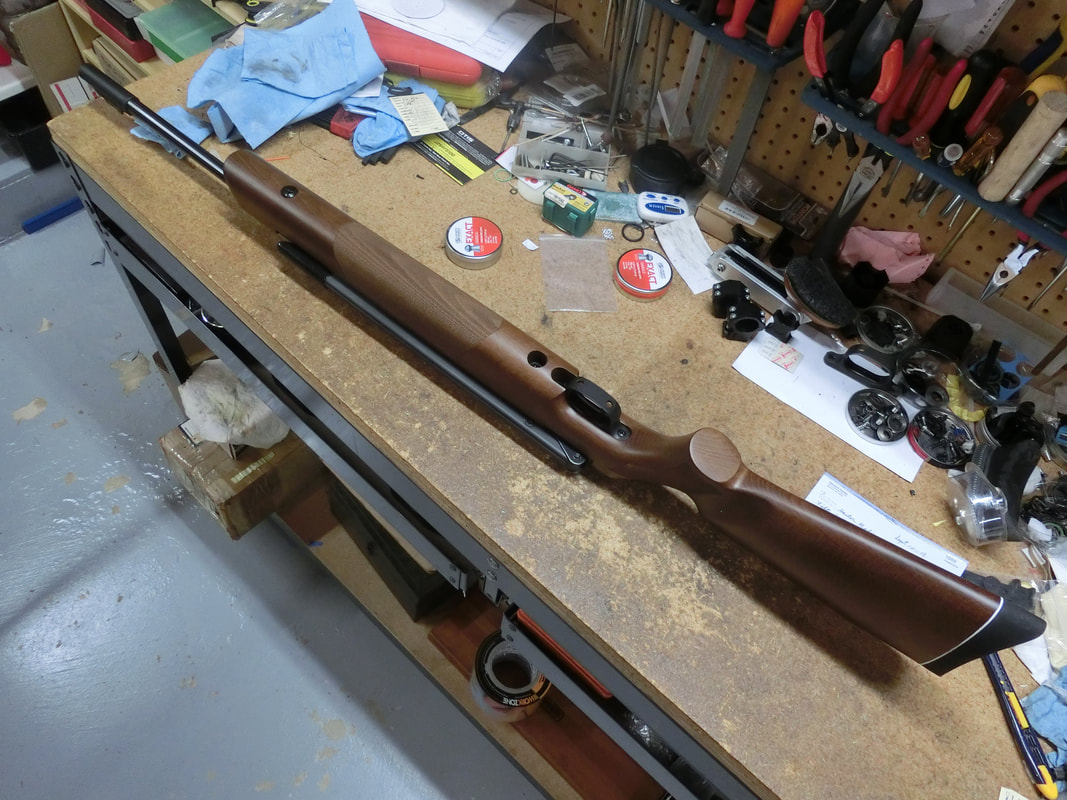
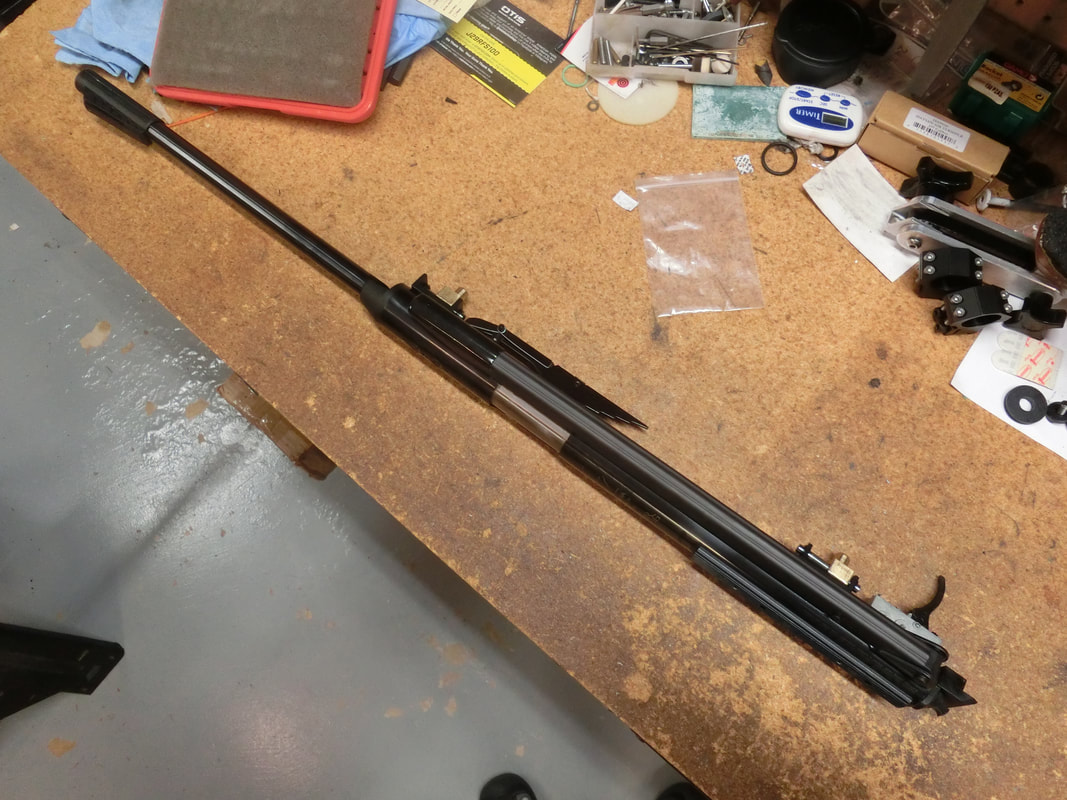
Back home I had a chance to look closely at the prize, a Sig-Sauer ASP-20 and the cup. Every year PA outdoes itself. If you have the chance, really, do not miss the 2020 edition!
My most sincere thanks to everyone at Pyramyd Air for all they do for the airgunning community, specially for those of us that take our entertainment "seriously".

;-)

Keep well and shoot straight!
5 Comments

When tolerances are not our friends

9/13/2019

5 Comments

 
We all know that "life happens".
I had hoped to use a little quiet time to do the writeups for the Pyarmyd Air Cup and the Pennsylvania State Championship, but suddenly I had to devote time to fix a situation that should have never happened.

I had been watching a thread in the Gateway to Airguns Forum, but everything pointed out to a relatively simple problem.
Now I LIKE to leave the forum alone because in that way, people that have learned over the years how to do things and fix problems share their knowledge. If I were to jump into ALL threads, the forum would become a boring place and there is no "community building" in that.
By leaving the users help the other users, a "Community" is built where trust and friendship are clear and evident. And THAT is worthwhile.

At first I thought that the problem was a broken mainspring guide.
Why?
Because the OP said: "I began to cock it but stopped at the first ratchet of the bear trap so I could reposition my hand. I then grasped the lever and it would not move. Tried it again and this time put a little more force to the cocking action and it still did not move."
So, that meant, in my mind, that the sliding compression chamber had moved freely to the first ratchet position.

Lots of good advice was given, but still the 54 refused to cock.

By then I got in contact with the OP and suggested he returned the gun to the seller. But I also said that, given that he had demonstrated being a careful individual, I would not consider his warranty to have lapsed or gone up in smoke if he tried to do the repair himself.
Still, I insisted that he return the rifle to the seller, as sellers have a contractual obligation to let DIANA know what is failing in the case of returns.

He then offered to drive 5½ hrs to Ohio, to witness the repair process.

So, you can see he had an attachment to the gun, LOL! And so, after the seller refused to do anything else but replace the gun, I made an offer to repair the gun and learn from the experience, as well as share it with all of you.

Learn was the operative word here, LOL!

The gun arrived to Maryland well packed and  boxed.

After unboxing, I tried to cock the gun and was completely taken aback, there was a strong resistance from the first movement of the sliding compression chamber.

Hmmmmmm, this was no broken guide.

​Off to the table:
Picture
Sights and stock removed:
Picture
Everything seemed to be normal in the bedding:
Picture
On to the spring compressor:
Picture
Cocking lever was removed:
Picture
Slave/Dumb pins inserted:
Picture
Out came the action pins and when the slave pins had been centered
Picture
Picture
The trigger block came out:
Picture
Spring and guide were good.
Picture
Trigger worked properly
Picture
Without the spring, the cocking lever was used to bring back piston and compression chamber
Picture
But then, things really got stuck.
The piston did not come out, the compression cylinder refused to move

Ah, well, this is going to be one hairy ride!

Let me digress a little: I was once asked what I thought the difference was between a "Home tinkerer", a "Tuner" (whether professional or not), and a "Gunsmith".

And I still think that this appreciation is correct:

A "Home Tinkerer" will use general tools to the best of his knowledge and ability. He MAY even have some commercially made gunsmithing tools, but he will stop when major modifications are required for a gun to operate properly. He will use commercially made replacement parts, or "kits", whether OEM or not.

A "Tuner" has specialized in changing and upgrading parts, doing minor modifications, and possibly altering some parts (barrel, or piston) so that the best possible performance is attained from the engine. In general, Tuners will not deal with problem guns because that is not their job. If something is not working, it gets replaced. Simple and expedient.

Now, based on the principles of the old guilds'  apprenticeships, I THINK, that a gunsmith makes himself many of the specialized tools he uses. They can be as simple as a properly ground screwdriver, to a jig to support a workpiece and move it within the desired path for a good result.
And in many occasions he will make a tool to solve ONE problem. That problem may present itself at a later date, but it may not.
The other aspect of the gunsmith is that he understands WHY things happen.

In the old days, apprentices passed their first year when they could take a lump of steel and with nothing more than a set of files, a ruler and a compass, come up with a perfect cube of steel.
Sounds Simple? Try it! Note that you need to start by creating a square.

Second year, apprentices learned how to forge, temper and draw springs (Flat), how to case-harden parts, and how to blue them.

By the third year they could forge a barrel, ream it, chamber it, backbore it, or choke it (most of the long guns back then were smoothbore)

By the fourth year they could rifle a barrel, time the locks and set up loads and sights.

Along this route, the lads built their tool chest. One by one, the tools they made were what they would be taking away to hang their own shingle. Apprenticeships of 5, 6, and even 7 years were not uncommon.

And once they were a practicing gunsmith, they would have to present, within a reasonable amount of time, a piece to the guild's council to be accepted as "Master" and THEN he could take in apprentices of his own.
That piece was the "Master-Piece" ("MeisterStuck").

To this date, there are museums where the tool chests of different craftsmen are exhibited and one wonders if the system really had to disappear.

Now, back to reality, and the reason why I made the long comment, is that to get the piston and the compression chamber out, I had to make two tools, one straight relatively slender dowel to push the assembly from the inside, and then one curved one more beefy, to give the pair the final "whacks" to get them out.

Once out, this is what I found:
Picture
Now, this is a lubricated piston, but there was something more on the edge of the bell, that, when taken out resulted in this:
Picture
Yup, that is a small sliver of steel. It had gotten lodged between the bell and the tube and created a strong "interference".
But steel, specially heat treated steel, does not generally gall, so why did it occur in this instance?
And why did the compression chamber also needed to be extracted with a dead-blow hammer?

Upon cursory inspection, there was nothing wrong with it. On the left the "problem" compression chamber, on the right a "normal" one.
Picture
But, ¿Were they really the same?

Careful measurement showed that while in most places the compression chambers were identical, there was ONE place where the problem compression chamber had a difference: and that was on the OFF side of the cocking lever attachment point.
From a working diameter of 1.209" the non-working part went to 1.211"
Now, 0.002" may not seem much, but consider that when working with steel (not heat treated as this was), an interference fit of 0.002" on a 1.209" piece can hold around 36,000 newtons (about 7,900 #)

So, now we knew what had happened: this specific compression chamber had the "bad luck" of receiving the cocking lever attachment point perforation where it presented the "fattest" diameter.
With the cocking system in place, the compression chamber pushes more on one side than on the other, and the huge pressures created, caused the galling.
And not only that, but the whole assembly was getting stuck because while all the proper tolerances were kept, the accumulation of errors created an impossible condition to work in.

I think we need to revise our GD&T for reference points from where to define the tolerances. But that is "homework" for the technical guys. We're here to see how we fixed it and along the way, created a gun that will be unique.

One solution could have been to grind off a thousandth from the compression chamber, but in my experience, compression chambers usually last a LONG time, as long as the rifle itself, so, ¿Was there a better way?

And of course, the answer was ¡yes!. We had the opportunity to hand-fit the compression chamber to the mechanisms tube.
​I started by making a tool to de-burr the cutouts of the action:
Picture
Using water and a fine sanding paper, I managed to open up the inside of the tube to the point that the piston entered with SLIGHT effort, but not too much.
At first I thought that the cutouts and the pressure put in the welding of the sled-rails support bracket were the culprits, but then I remembered that the compression chamber had posed resistance from the first movement.
So the problem was all along the raceway of the compression chamber.

What to do?

​Of course, make another tool!
Picture
The reason is simple:
Hones are made to work on cylinders and jackets, but not when they are located 8" into a mechanisms tube.

So, I made an extension:
Picture
There are two hones that a gunsmith can use: Either the little stones that are made for honing motorcycle and other small motors, or the "Flex Hone".
Fixed hones, when properly extended and weighted, can do a good job of polishing and truing the internals of a compression chamber, but for mechanisms tubes where the uniformity of the inside diameter is not as critical as in the compression chambers, a flex-hone will do nicely.
It is NOT recommended for the inside of compression chambers because it cannot reach to the bottom of it.
Unless you can disassemble the compression chamber, do NOT use a Flex-hone on the inside of a compression chamber.
I like to use diamond-loaded honing oil, so what you see on the flex-hone is the extremely black "dust" that is the industrial diamond honing additive.

After some work, taking it slowly, measuring often and being careful not to overdo it, it became possible to assemble the whole thing.

The rifle feels like a vault, even if I had WANTED to button the piston, there is no space to do so. Of course vaults do not operate at 100 m/s (328 fps)

Now, would it be possible to hold this level of precision fitting from the factory? no way! A hand fitted gun costs a lot more than the run of the mill DIANA.

For assembly, I chose to use Ultimox 226 paste, as it is the only lubricant that can guarantee a good performance under the pressures that such a tight-fitting action will give for the first year or two.
Small price to pay for a good gun.
Picture
They say the proof of the pudding is in the eating, and so I tested the gun with open sights at 15 yards. I am sure there are better shooters than me with open sights, but the results are not half bad:
Picture
For effects of establishing "Provenance" I will say here that the above applies to the rifle serial number 25036871  and that I am sure that this provenance should be worth at least $1.98 above and beyond the BBA values  (private joke).

;-)

Keep well and shoot straight!


HM
5 Comments

Recipe for a good pellet trap

9/2/2019

2 Comments


Prep Time: 15 mins
​Exec Time: 20 mins

If this sounds like the header of cooking thingy, you're right, LOL!

I am seldom enthused by the modern pellet trap offerings.

"Silent traps" that rely on duct seal to reduce the noise are a pain to clean the pellets from and, in the end, you are left with a lump of contaminated material that is impossible to recycle, or extract the lead from. Little shards/shrapnel are extremely difficult to find/remove.

Cardboard boxes filled with rubber mulch work real well, until you need to clean them/extract the lead. Dumping everything in water works so-so, as it is a long and messy process and you end up with a bunch of wet mulch that takes a few days to dry. If you put it into new cardboard boxes, these get wet and loose all resistance.
Also the raffia web that is most useful to hold the mulch in while allowing the pellets to enter but not allowing them to go out is not easy to get.

I've also tried the "curtain" type of traps, where hanging pieces of cloth are supposed to slow down the pellets enough so that the rear steel plate backer can stop them. Useless by the 100th round, curtains were replaced with genuine sown Kevlar cloth, in itself a pain to do because cutting and sewing Kevlar is not precisely easy. And it was still a mess.

Normal, "assemble yourself" pellet traps rated for 0.22" RF cal. have the great defect that they have a junction where the rear of the slanted plate and the horizontal plate meet, and lead shards/dust escape through there.. NOT ideal.

Those that are welded are, by far, the best option, but they are not truly portable, weighing in excess of 20#

​So, when I saw this pellet trap at a Cabela's store:
Picture
YEAH, box is SHINY! LOL!
I was almost going to just jump over it, when something struck me: It looks VERY similar to the old "Cabañas" pellet traps that I used to use in México
Picked the box up . . . . Hmmm, light enough
How does it go together? Pretty easy.
Hmmm, well there is a well to catch the spent pellets!
Rating? apparently 0.177" pellets, but when you read the small print, it is 0.177" lead pellets at under 800 fps from a distance of at least 10 yards.
Still, the design was good, it had "Possibilities".

When I reached home, I took some measurements and contacted the good people at Online Metals to see if they would be so kind as to cut steel plate to measure.
They agreed, and so I ordered four 0.19" x 7" x 7 1/2"  ANSI 4130 annealed steel plates (yes I will be constructing a few more later) and they came out at $25 ea.
Great service and great prices. Online Metals recently became part of the Thyssen-Krupp corporation so, you could say that they know a thing or two about steels.  ;-)

In 3 days I had the plates and then "cooking" started.
Picture
Plates were measured and found within tolerances, marked, punched, and drilled, then tapped with an M6 tap:
Picture
Then the trap backplate was marked, punched, drilled and deburred:
Picture
Short Allen-headed bolts were inserted into the trap's backplate:
Picture
1/4" rubber grommets were used to space the plate and deaden the sound:
Picture
The resulting "air sandwich" can be seen here:
Picture
Then assembly took place as normal.
Picture
You can see that the short (10 mm's)  Allen bolts do not protrude from the plate's surface.

And if you do not want to use the swingers, you can use a standard target:
Picture
Do take the precaution to put a cardboard and a "foamy" backer behind the paper target. Between the two they will stop any ricochet and all dust and shards will remain behind the backers.

A suitably sized cork stopper can be used to plug both "exit" holes:
Picture
Methinks I'll  have to open a couple of good wines, LOL!

Anyway, it took about 10 mins to order the plates from Online Metals. And ordering the "Air Strike" pellet trap can be done directly from Do-All Outdoors or from a number of online retailers at between $17 and $20 per unit. Personally I would not spend more than 5 mins to save $3, but to each his own. Shipping may or may not add to your cost.

Marking, drilling and tapping, and then assembling everything took about 20 minutes.

3/16" plate will stop almost every airgun pellet, just do not use "penetrator" pellets, with steel balls, or bronze points, or other gadgets like that, and you will be fine.

While not completely silent, it is much easier to clean and to retrieve the lead from. Babies can sleep at two doors' distance and not be bothered by the noise.

Do NOT use for ANYTHING OTHER THAN AIRGUNS AT UP TO 35 FT-LBS ME WITH LEAD PELLETS

DO NOT EXCEED 35 FT-LBS MUZZLE ENERGY

ALWAYS WEAR SAFETY GOGGLES  WHEN SHOOTING AT LESS THAN 30 YARDS

I hope you enjoy this short project. I did!

Keep well and shoot straight!


​HM
2 Comments

    Hector Medina

    2012 US National WFTF Spring Piston Champion
    2012 WFTF Spring Piston Grand Prix Winner
    2013 World's WFTF Spring Piston 7th place
    2014 Texas State WFTF Piston Champion
    2014 World's WFTF Spring Piston 5th place.
    2015 Maine State Champion WFTF Piston
    2015 Massachusetts State Champion WFTF Piston
    2015 New York State Champion WFTF Piston
    2015 US National WFTF Piston 2nd Place
    2016 Canadian WFTF Piston Champion
    2016 Pyramyd Air Cup WFTF Piston 1st Place
    2017 US Nationals Open Piston 3rd Place
    2018 WFTC's Member of Team USA Champion Springers
    2018 WFTC's 4th place Veteran Springer
    2020 Puerto Rico GP Piston First Place
    2020 NC State Championships 1st Place Piston
    2022 Maryland State Champion WFTF 
    2022 WFTC's Italy Member of TEAM USA 2nd place Springers
    2022 WFTC's Italy
    2nd Place Veteran Springers

    Archives

    August 2022
    May 2022
    April 2022
    February 2022
    August 2021
    July 2021
    June 2021
    May 2021
    April 2021
    March 2021
    February 2021
    October 2020
    September 2020
    August 2020
    July 2020
    June 2020
    May 2020
    April 2020
    March 2020
    February 2020
    January 2020
    December 2019
    November 2019
    September 2019
    August 2019
    July 2019
    May 2019
    April 2019
    January 2019
    December 2018
    November 2018
    October 2018
    September 2018
    August 2018
    June 2018
    May 2018
    April 2018
    March 2018
    February 2018
    January 2018
    December 2017
    November 2017
    October 2017
    September 2017
    March 2017
    December 2016
    October 2016
    September 2016
    July 2016
    June 2016
    March 2016
    January 2016
    December 2015
    November 2015
    October 2015
    September 2015
    August 2015
    June 2015
    May 2015
    April 2015
    March 2015
    February 2015
    January 2015
    December 2014
    November 2014
    October 2014
    August 2014
    July 2014
    June 2014
    May 2014
    March 2014
    February 2014
    December 2013
    November 2013
    October 2013
    September 2013

    Categories

    All
    Events
    Gear
    Hunting
    Tests

    RSS Feed

Proudly powered by Weebly