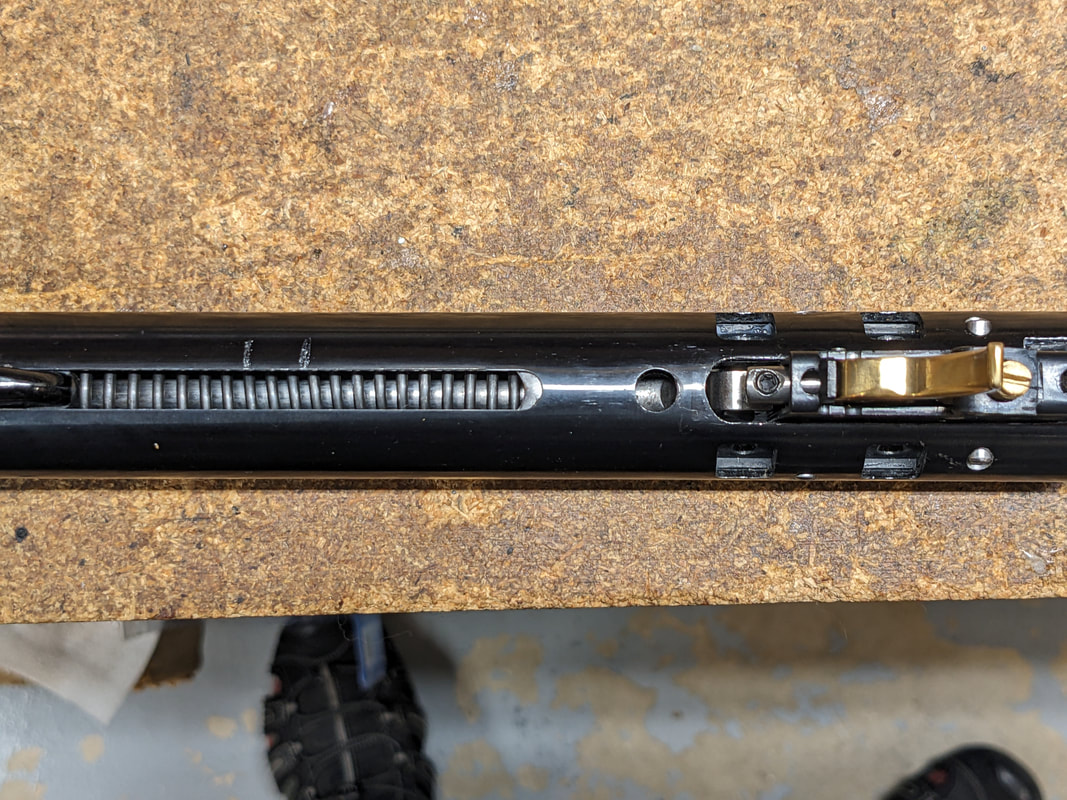
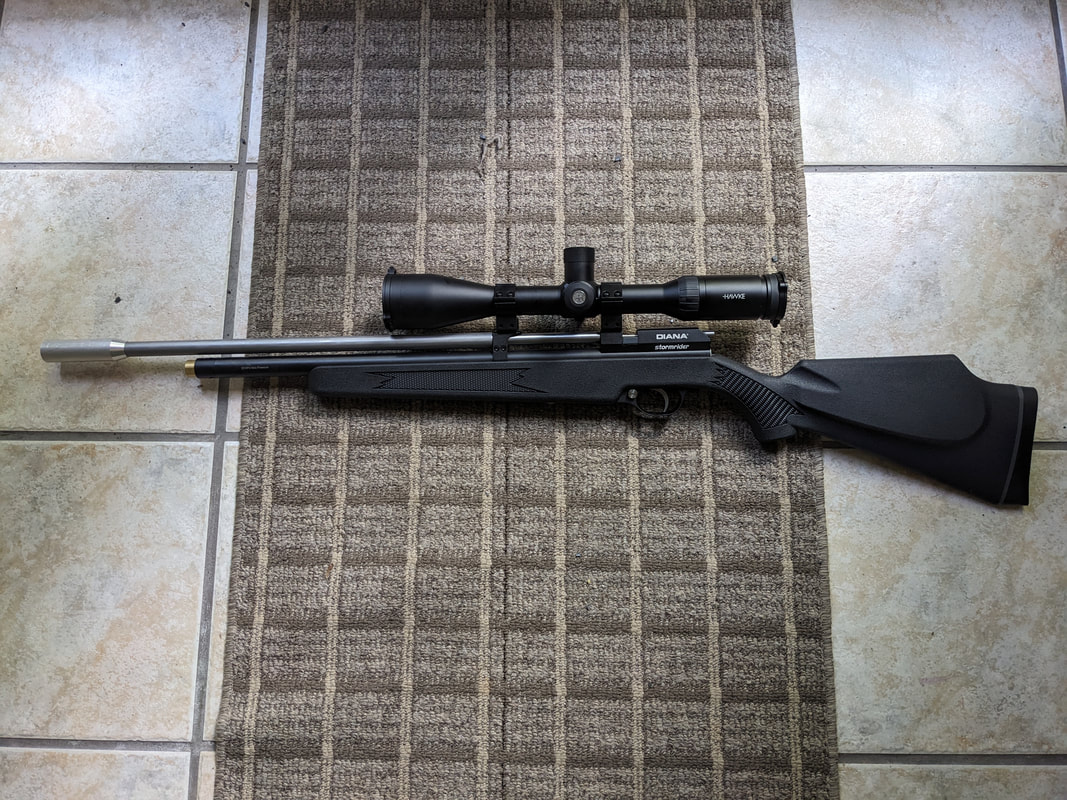
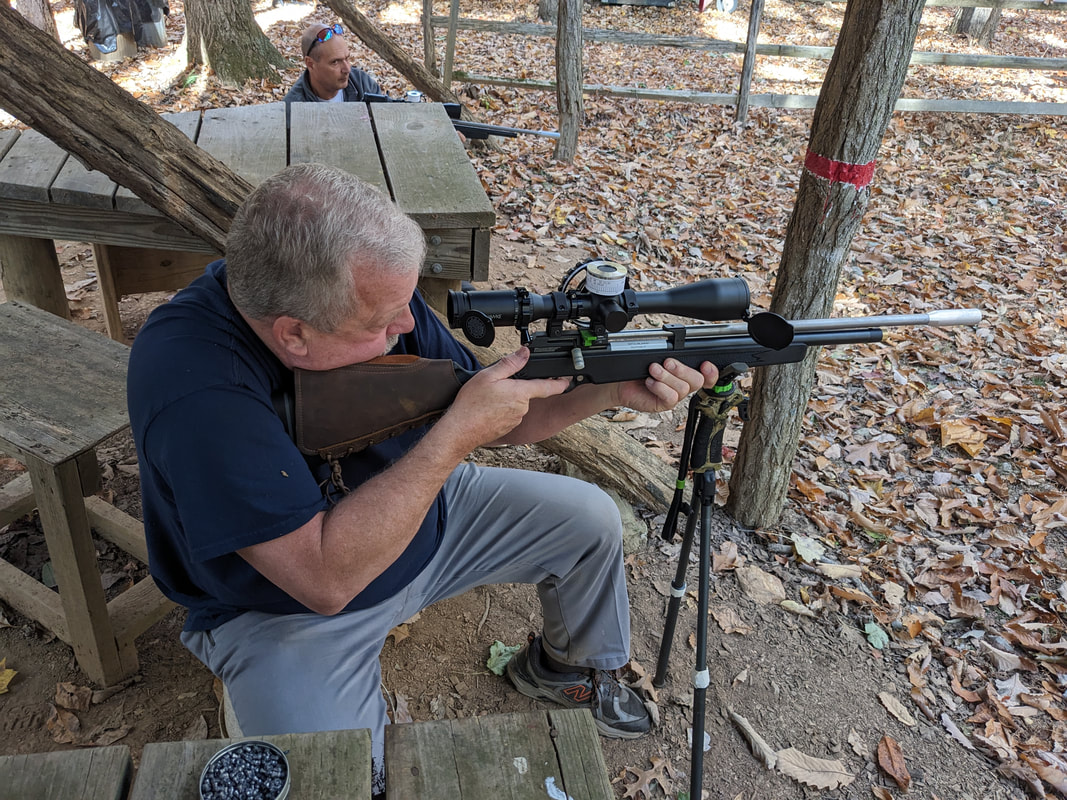
Connecticut Custom Airguns
  • Welcome!
  • Hector's Airgun Blog
  • Products and Products Blog
    • One-Off's
    • The "Héctors Special'" scope by Sightron
    • K1050i FT
    • The Hex Louver or "Secret Sunshade"
    • Pellet Path Calculator >
      • Questions, Answers and Comments on P-P Calc
      • Privacy Policy for PP-Calc
    • The Nautilus SideWheel
    • The X-10 TiltMeter
  • Zimmer-Silhouetten
    • Results 2017-2018
    • Results 2016-2017
    • Results 2015-2016
    • Results 2014-2015
    • Results 2013-2014
  • References and Links
  • Contact us
  • Store

Hector's Airgun Blog

Where we discuss, CIVIILY,  anything airgun.

Return Home

Eine Großartige Dame

2/14/2021

9 Comments


Bringing back to life a Walther LG55

Doubtlessly, among the spring-piston airguns of the middle of the past century, the Walther line of "LG" rifles (LuftGewehr) must stand among the "Great Ladies".

We often forget that, until 1950, Germany was forbidden to produce rifles by the occupying Allies.

Walther was one of the first companies to resume activities in 1950, by 1951 they already were marketing their model 51, development continued for a few years along the same lines, achieving the final design and production of the LG55 in 1955.

The successor to the LG55 would be the "LGV" that was, for many, the epitome of the recoiling match springer.

After the LGV, Walther would opt for the Single Stroke Pneumatic (LGR), while DIANA went on to develop the "Giss System" guns (truly recoil-less) entering the market in 1963 with the model 60.

According to Walther, the LG55 was in production between 1955 and 1968

Now, in those days, the "Tyrolean" style stock had not yet been outlawed in competitions, and so quite a number of airguns from the three large brands of those times are so stocked.

Our adventure began back in November when, out of the blue, someone contacted me about repairing an "older German Target gun". As you can imagine, in my mind, that could mean almost anything, so we started exchanging EMails.

As the details came through it was obvious it was not a DIANA airgun and, so, I was very candid in telling the prospective customer that those jobs were as much a risk for the gunsmith as they were for the gun owner.

In the end, we achieved a consensus of how to work and with some links we found on the internet, he was able to locate a replacement spring and piston seal.

After a very nice (and socially distant) visit, he dropped off a rather nice (and hefty) Walther LG55, plus the spare parts he had been able to acquire.
Picture
Among the first things that popped into my head was : "That thing cannot shoot"

WHAAAT?? you're going to ask!

Well, simple, just look at the rear sight: It is "Mounted" onto the rear action closing knurled piece.
And the front sight is WAY TOO LOW!

But the gun was "toast" it would not build up pressure, so it was impossible to test it for a "Benchmark" experience.

The next thing that popped into my mind was: "This beauty must have shot thousands upon thousands of rounds". Boy was I going to be proven WRONG (yes, with capitals).

There was no information about how much the gun had shot or if it had shot well from the previous owners to the current possessor and, so, without much more to go by I was handed the gun, the baggie of spare parts and a box to contain everything.

Some time passed, as I am real busy, and when time came around to tackle this gun, I decided to take as many pictures as humanly possible, as well as to attempt the job in two stages:

On a first stage, I would try to bring back the gun it was supposed to be, with all the right parts and components. This to experience the REALITY of what a 1950's gun shot like.

On a second stage. we would upgrade the function to more modern standards, ease the maintenance of the gun, and ensure that now it will be properly used, cherished, and passed on. As the heirloom it is (or as the "cultural icon" that the German shooting world thinks it is).

​So, let's tackle this!

First Stage.- what the LG55 was designed to be

​We kicked off the repair with a huge problem:
​
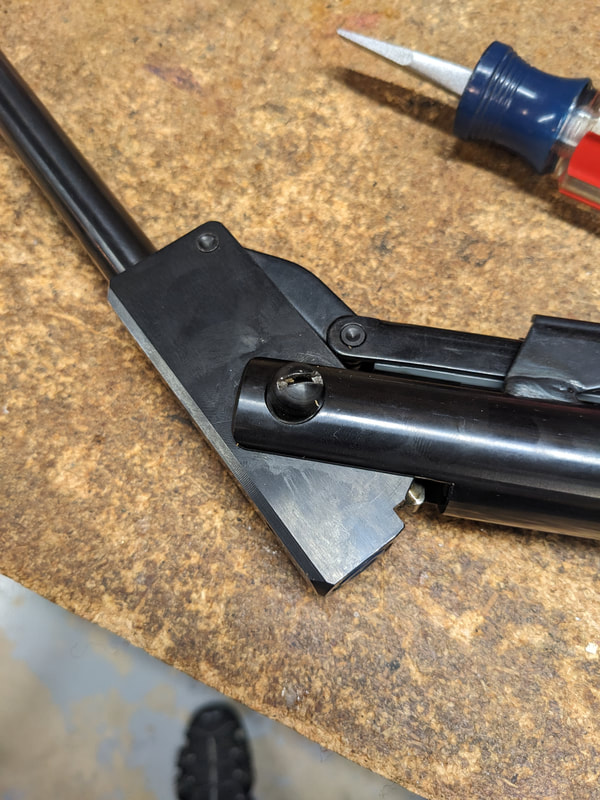
The rear sight would not budge.
As noted above the rear sight had been "mounted" onto the knurled screw-in action closing cover. When trying to remove the sight, it broke!

Close inspection revealed a badly abused sight. Clearly the owners had serious troubles trying to sight in the rifle and they had filed and removed material from several places.
Picture
Picture
Picture
So, this is when I started thinking that the relationship between this gun and its first owner must have been a love-hate one.
The other thing that was discovered is that the sights were NOT designed to be so far back.
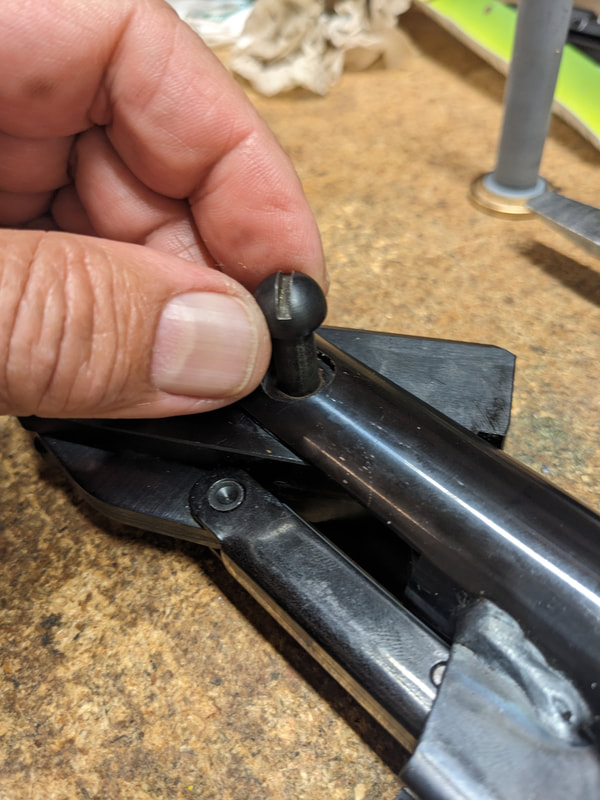
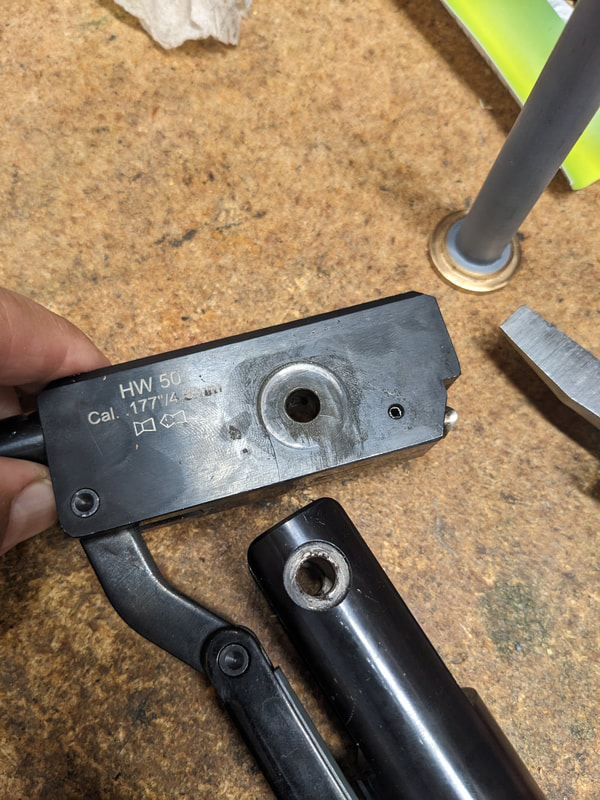
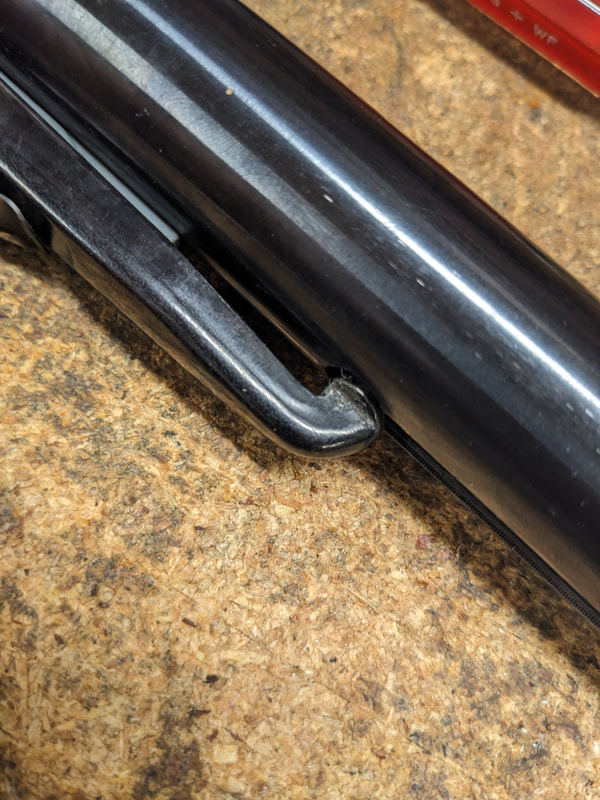
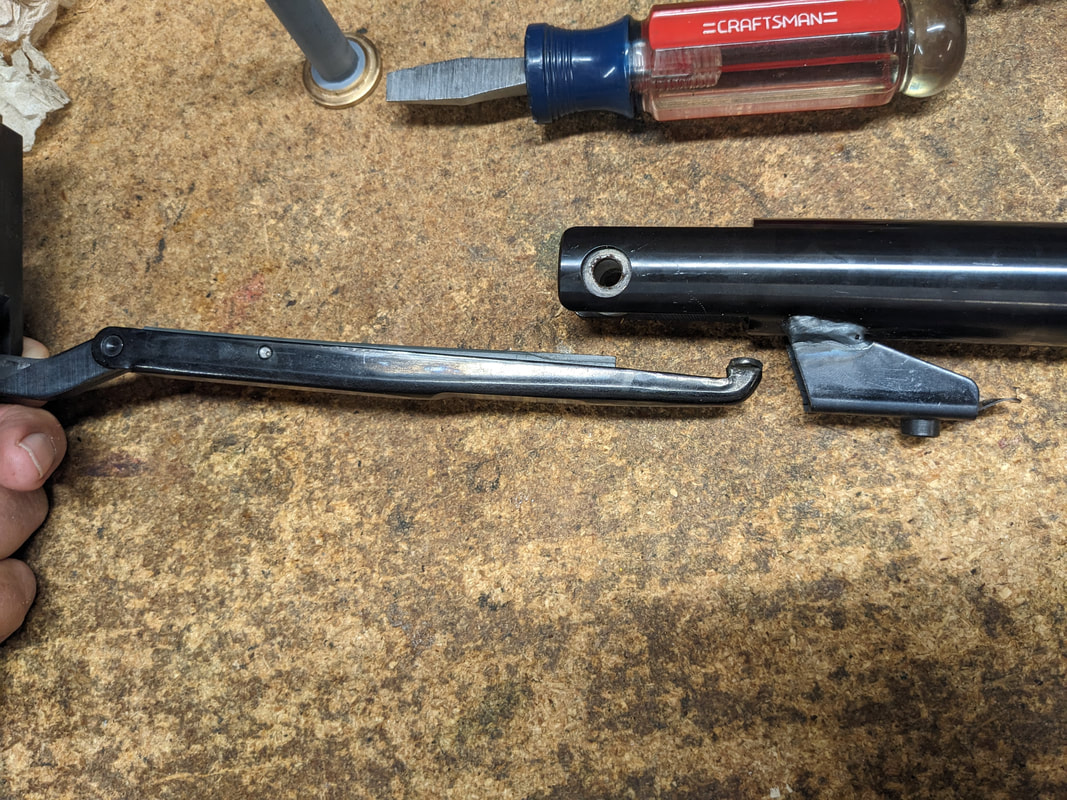
There are round "cross-troughs" at the top of the action where the single tightening knob's enlarged stem goes in and affixes the rear sight to the action, and there is NO way to get it mounted onto the rear closing cover.
This sight was mounted with a hammer!

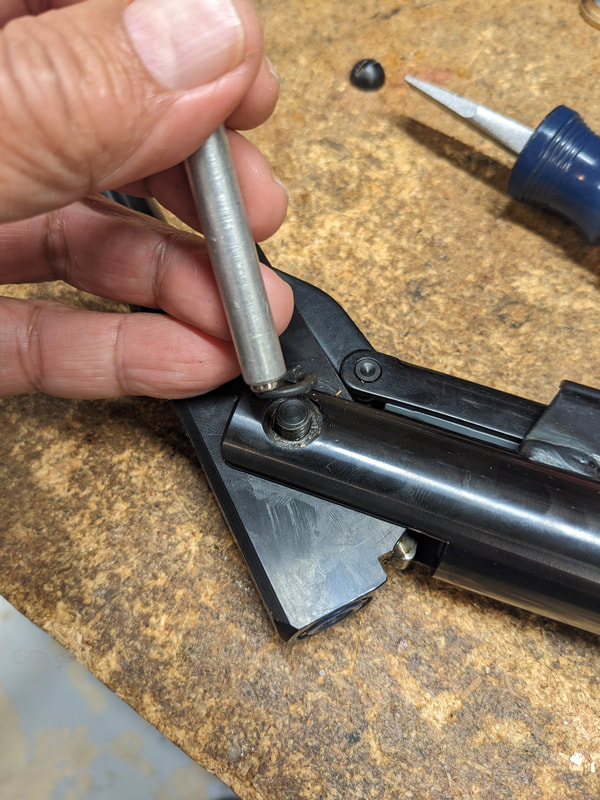
Anyway, in the end, the sight came off (do note that the sight is designed to come off by sliding up front), it was repaired and it is now working well.
​Oversized washers were used to take up the space of the filing the first owner had done, and the tightening knob was re-set with the E-Clip properly retaining the screw in place.
Picture
After this, I conferred with my customer and he graciously accepted the problem while at the same time asking if I had any way to procure another rear sight.
That rear sight has been ordered and has been in transit from Germany for the last 4 weeks.
Still, life had to go on and so the spring had to come out.
Picture
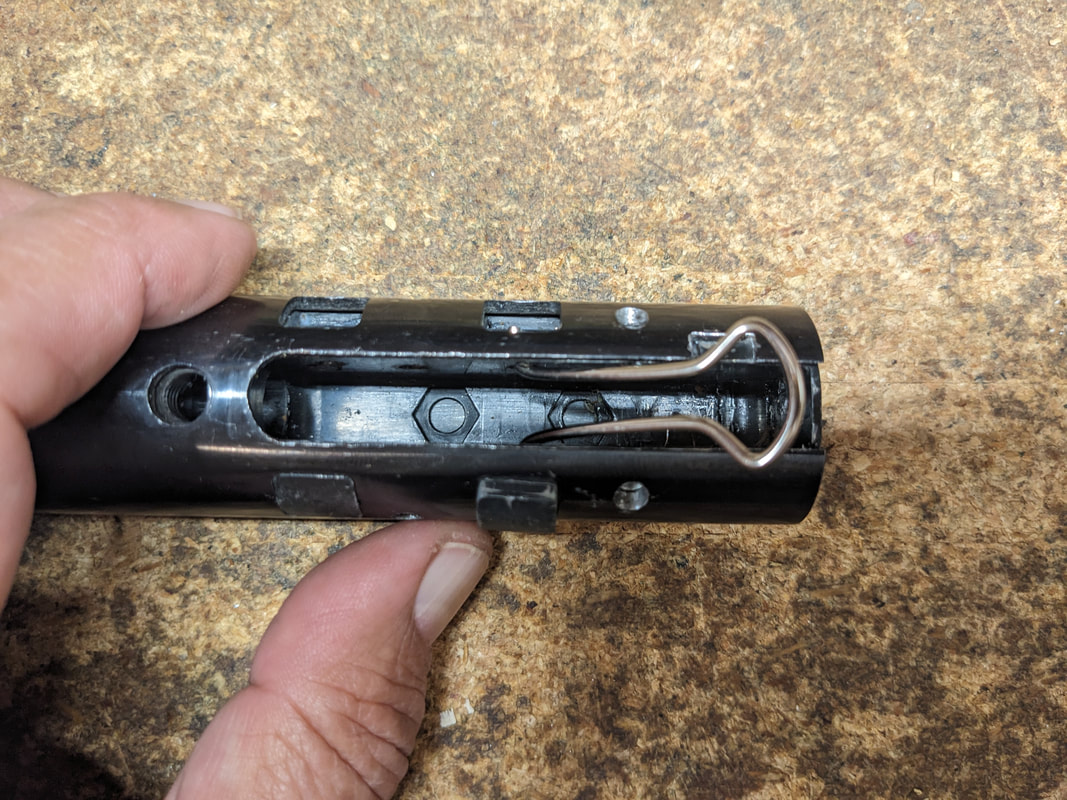
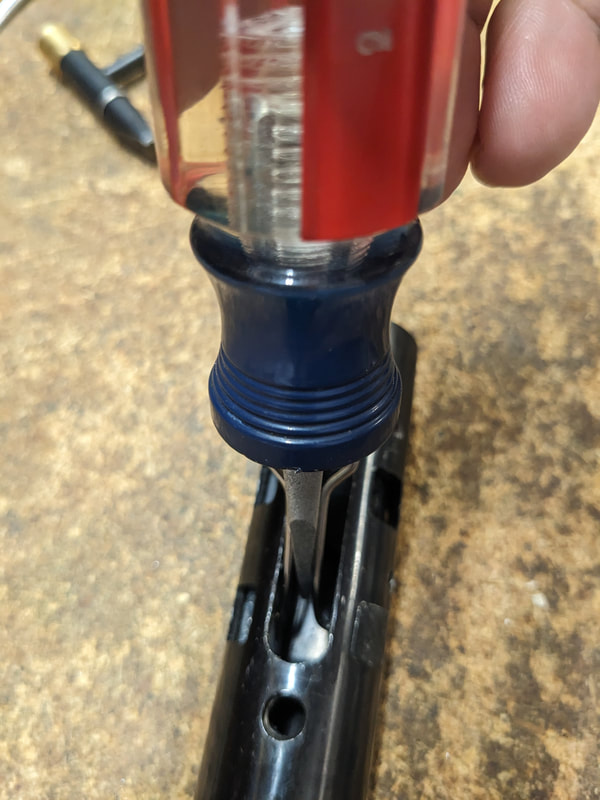
The first thing we did was to remove the knurled closing knob.
SLIGHT pressure from the spring compressor allowed an easy and orderly removal with any sort of wrench or tool.
Picture
The needle nose pliers are there just to support the knurled screw-in cover and the spacer
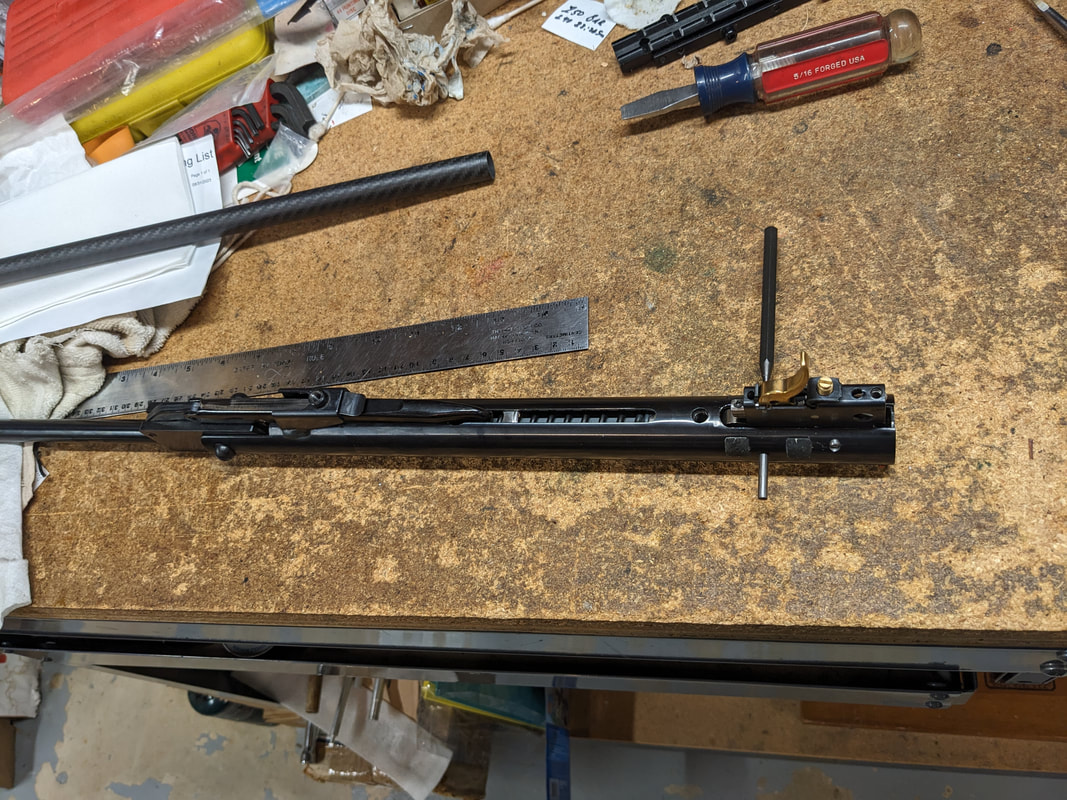
What you see is the trigger block's rear.
Picture
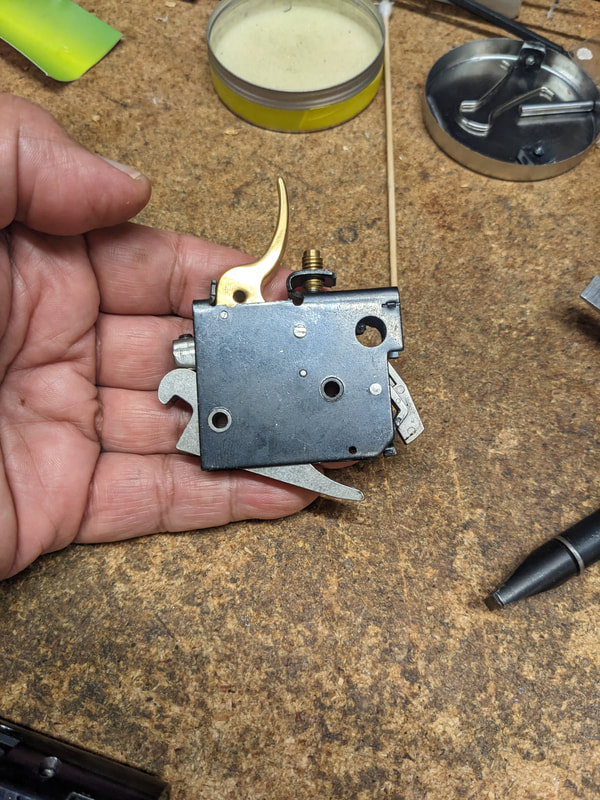
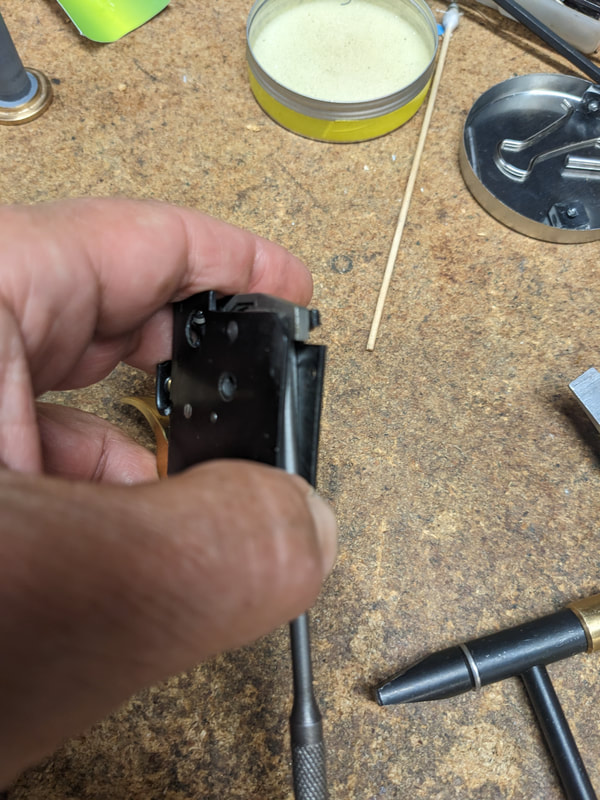
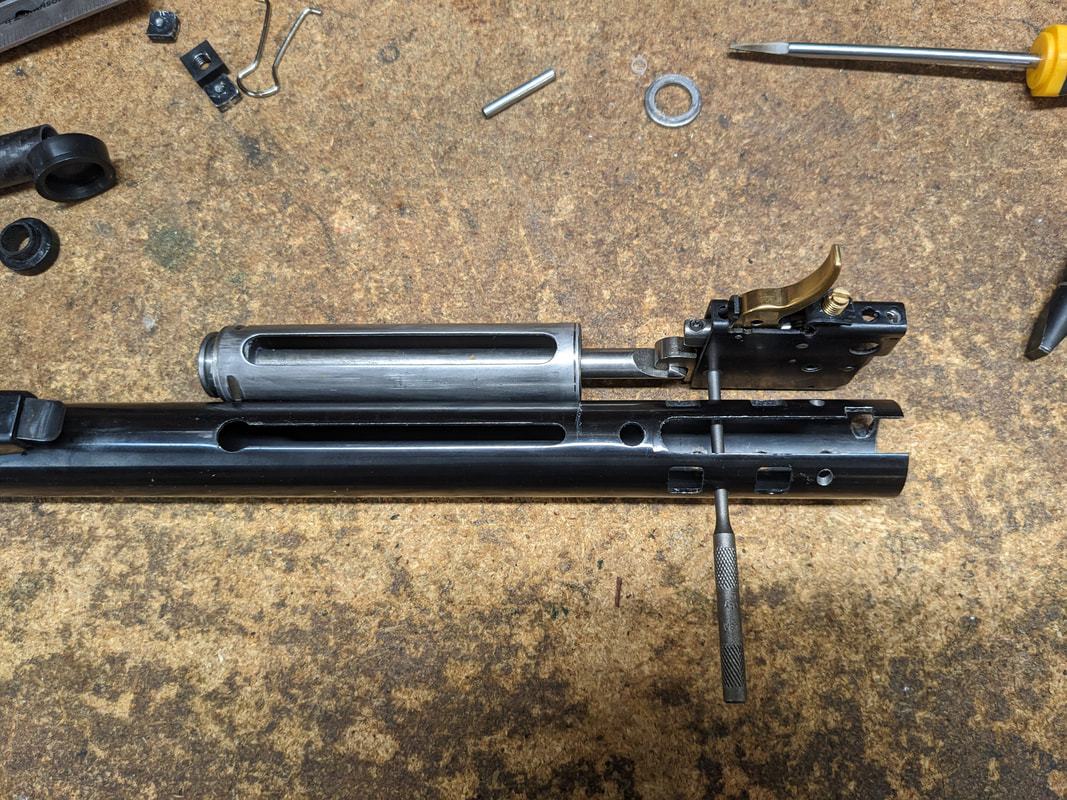
The trigger block is a unitized piece that has strategically located holes. One of them in particular allows you to see the "anti-bear trap" transfer bar and how it hooks from behind into the trigger obstruction release.
Picture
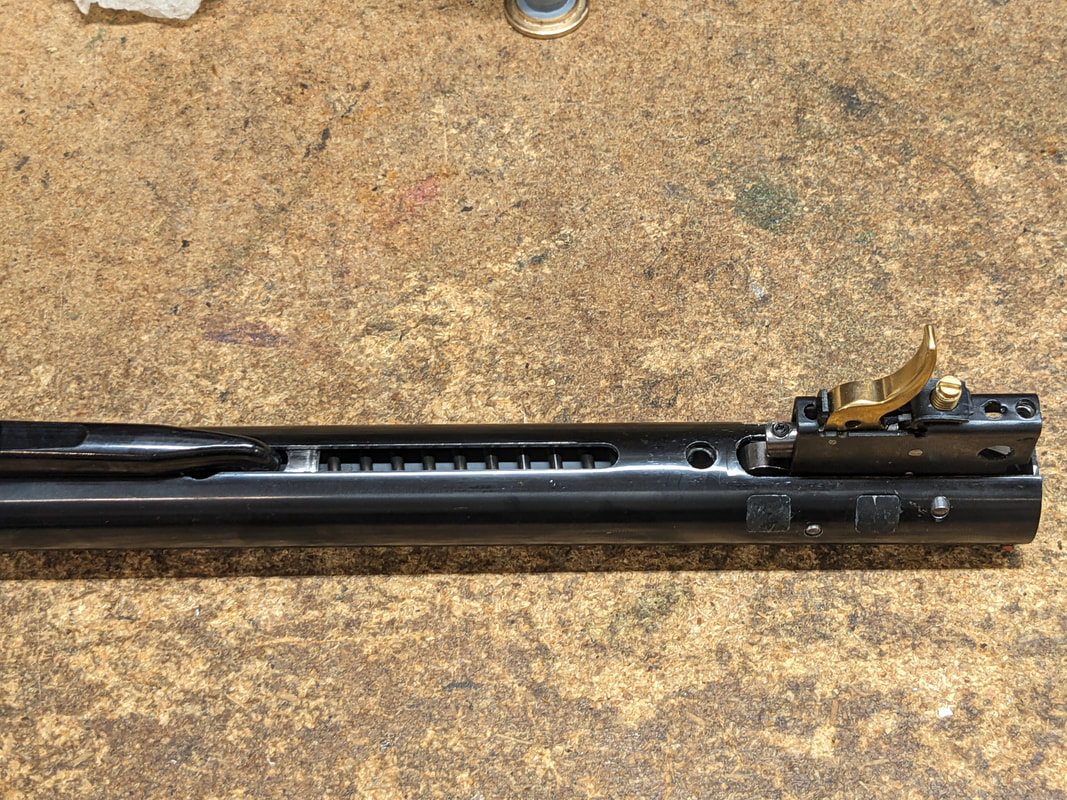
Turning the rifle around (for right handed persons), allows the trigger unit to be lifted up to the rear and slid out:
Picture
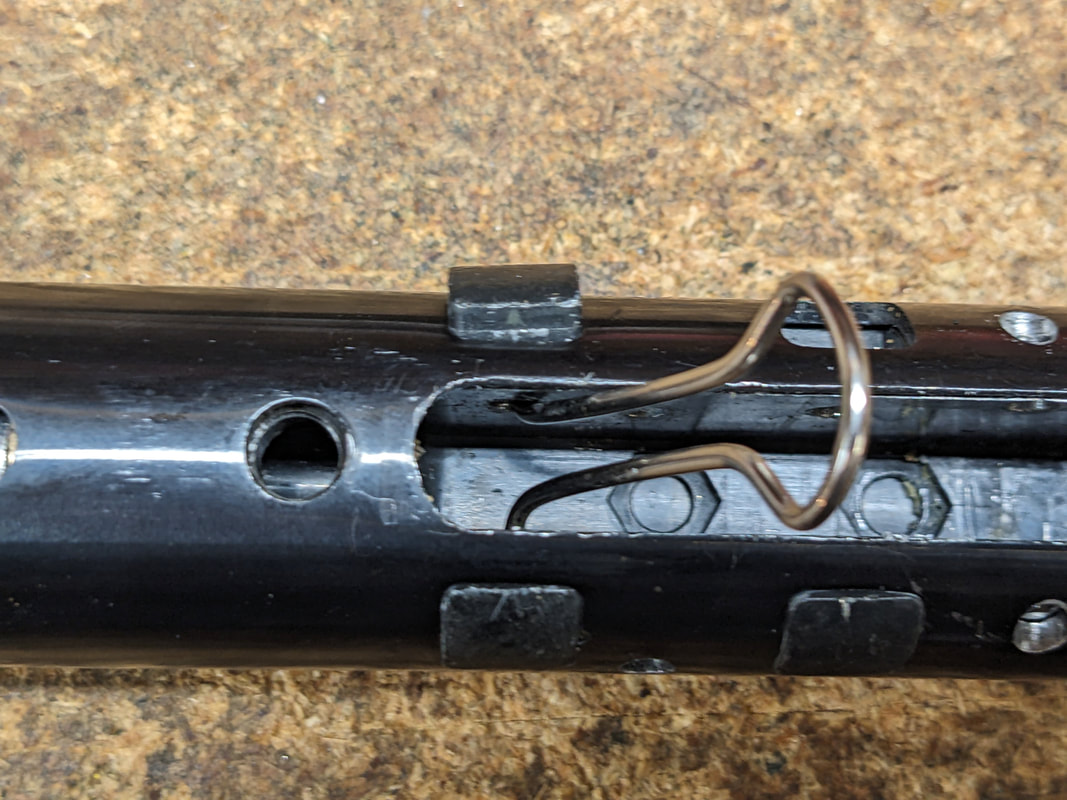
And that frees the transfer bar:
Picture
We can now remove the transfer bar:
Picture
It is fairly easy at this point to raise the cocking linkage and remove the transfer bar completely.
This allows us now to put pressure into the mainspring so that the spring holding nut can be released:
Picture
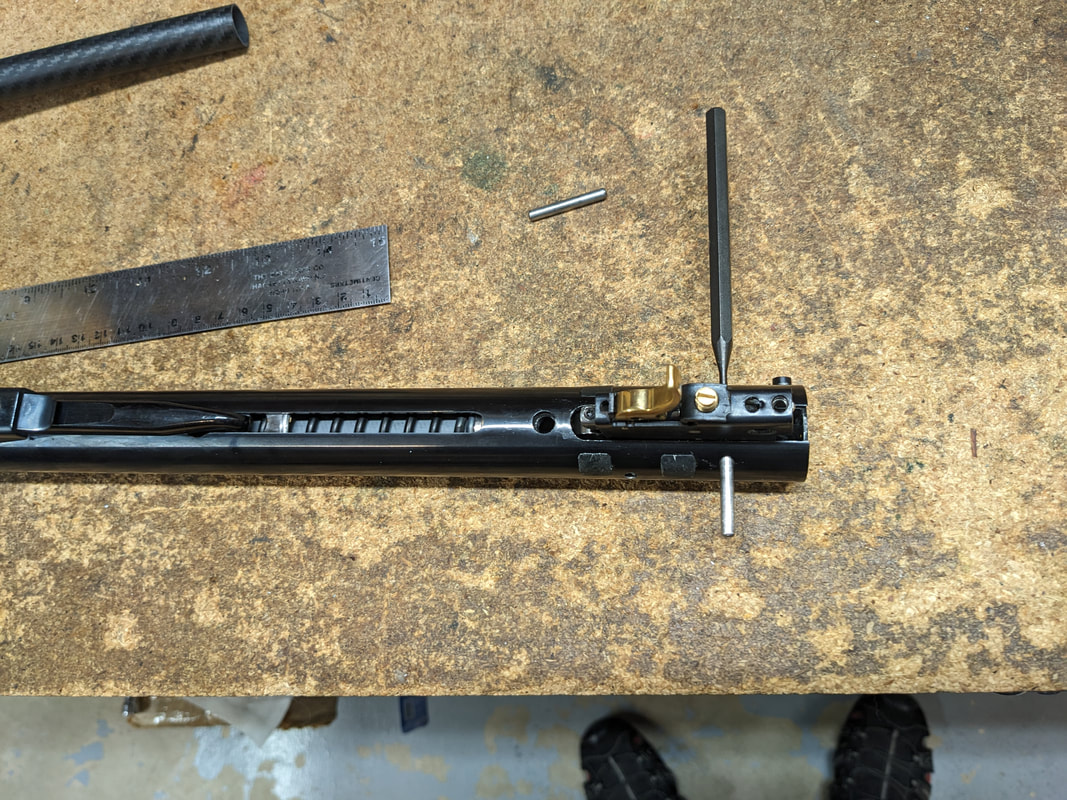
To do this properly we created an extension that houses the rear "horseshoe" of the trigger housing and prevents any slippage. 
Picture
Once pressure is taken off, the holding nut can be loosened:
Picture
Proper size for this wrench is 11/32"s
Picture
Once the nut is loosened, the block can come off. Do note the side towards which the transfer bar slot is oriented.
Picture
And now we can release the spring retaining block
Picture
Which has a fair amount of pre-load.
I was surprised at the very good state of the spring, specially for an airgun that does not truly have a fully guided spring.
Picture
On top is the JM replacement spring
On the bottom is the OEM spring.
The level of "finish" in the spring was absolutely amazing. Clearly not an outsourced part.
Now, we can extract the piston and see what we are facing.
Picture
Obviously the seal was "toast", but the DEGREE to which the old synthetic polymer had degraded was quite astonishing.
USUALLY, seals from these times "crumble" in the sense that once the plasticizer in the polymer has evaporated, the whole thing just crumbles to pieces (as in the DIANA GISS guns), but this one was a gooey mess quite unlike anything I had seen.

Now, to be fair to the German gunmakers of that era, we need to remember that 1954-1955 was the year that the plastics were introduced into airgun's seals. Up until that time, leather had played the dominant role.
The introduction without proper testing under duty (endurance tests), as well as without the proper information to the customers produced mixed, but always bad, results.

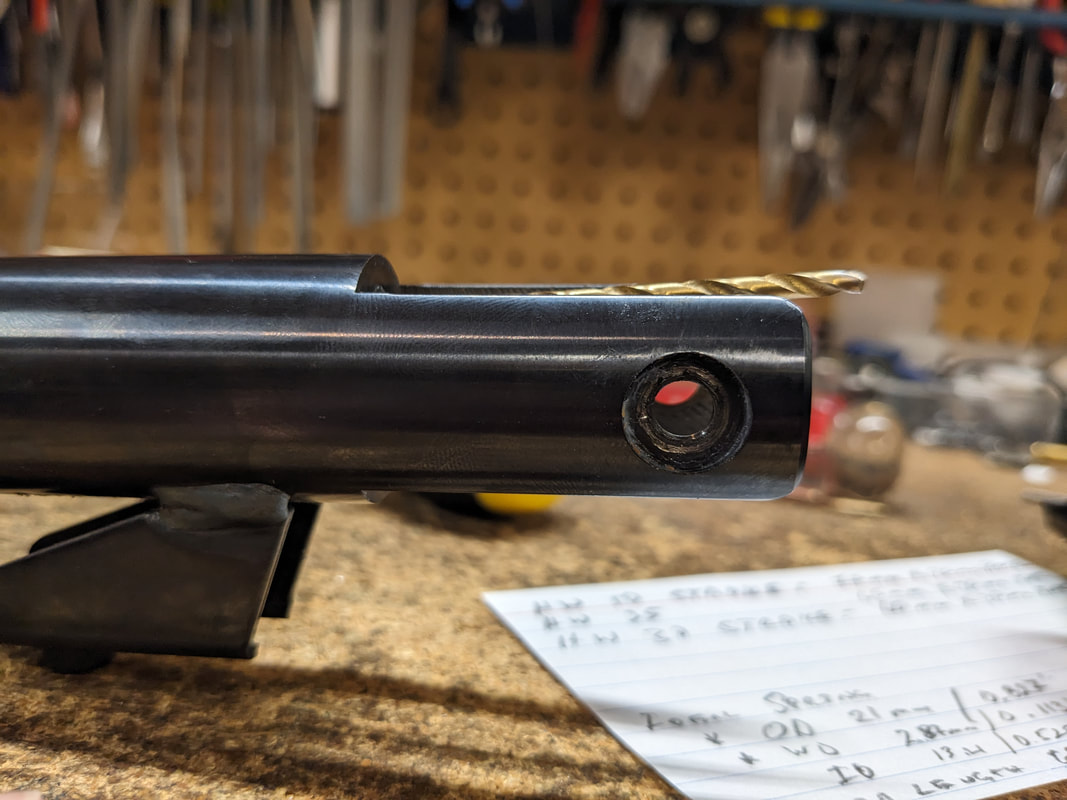
In the case of Walther, the synthetic seals dissolved with the "normal" habit of oiling the compression chambers.

AND Walther did precious little to prevent this, as the actions STILL kept the oiling holes.
Picture
I don't know if the LGV still has these holes, but I am planning on finding out soon.

;-)

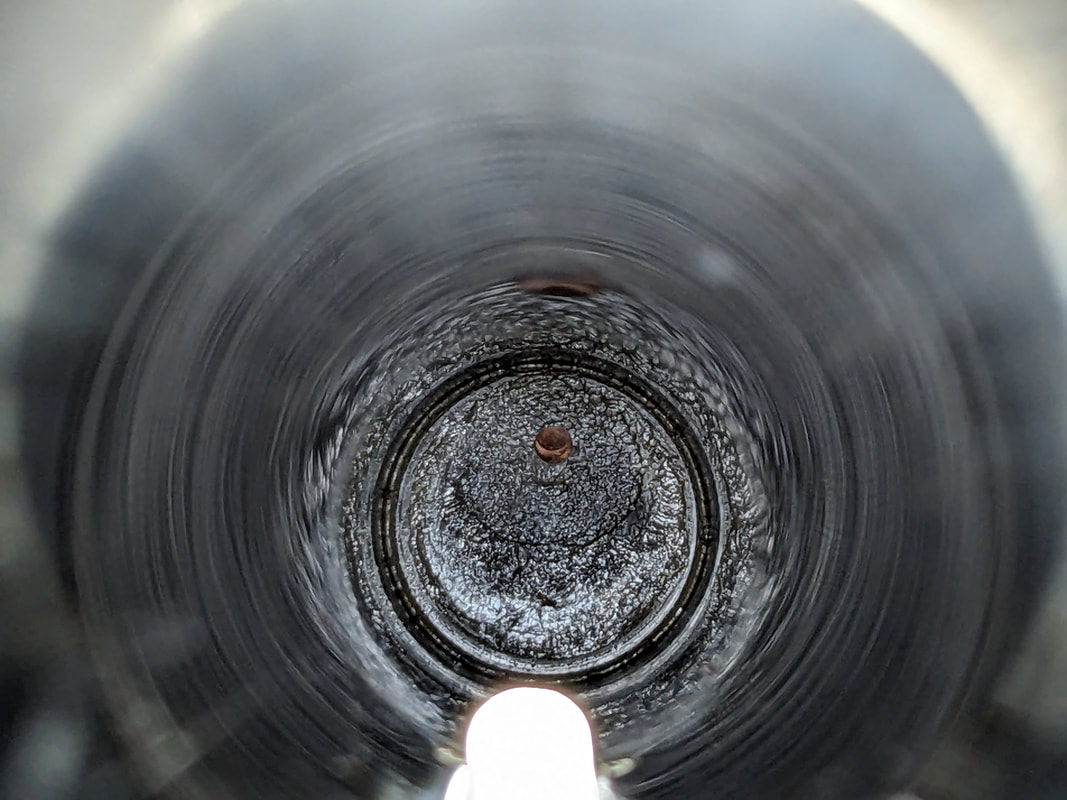
What came out of the compression chamber was a bit depressing:
Picture
There are four things that really worried me:
a)  you can see that the seal holding nut is fractured (we'll see that in some detail later), and this happened at the original assembly.
b) there is a "lump" of the conical washer that has been "extruded" into the transfer port, as the rest of the washer is flattened. but this "lump" is really raised.
c) IF this was a "design trait" then it was really bad design to not use something that "keyed" all the elements in proper alignment AND this extrusion would have been impossible in the OEM mode because of the design of the seal.
d) there is a HUGE dead volume there that, for sure, did not exist when the gun was leather sealed.
Picture
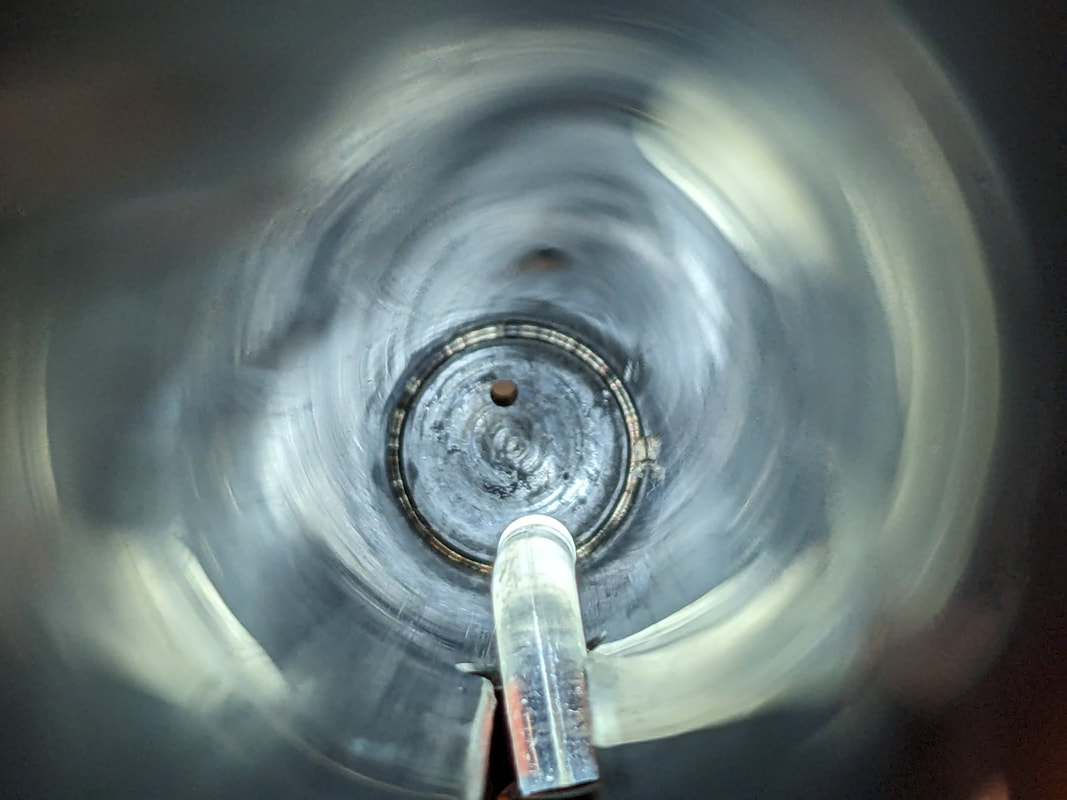
After cleaning the debris:
Picture
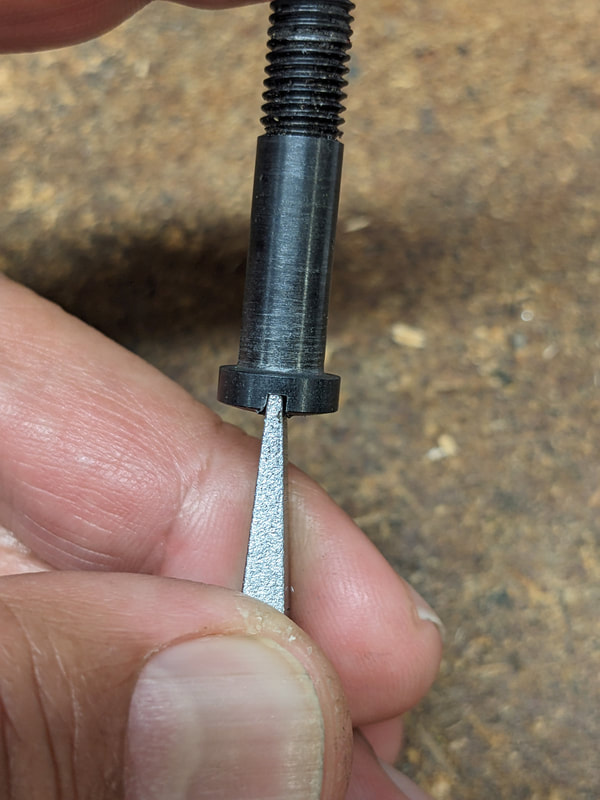
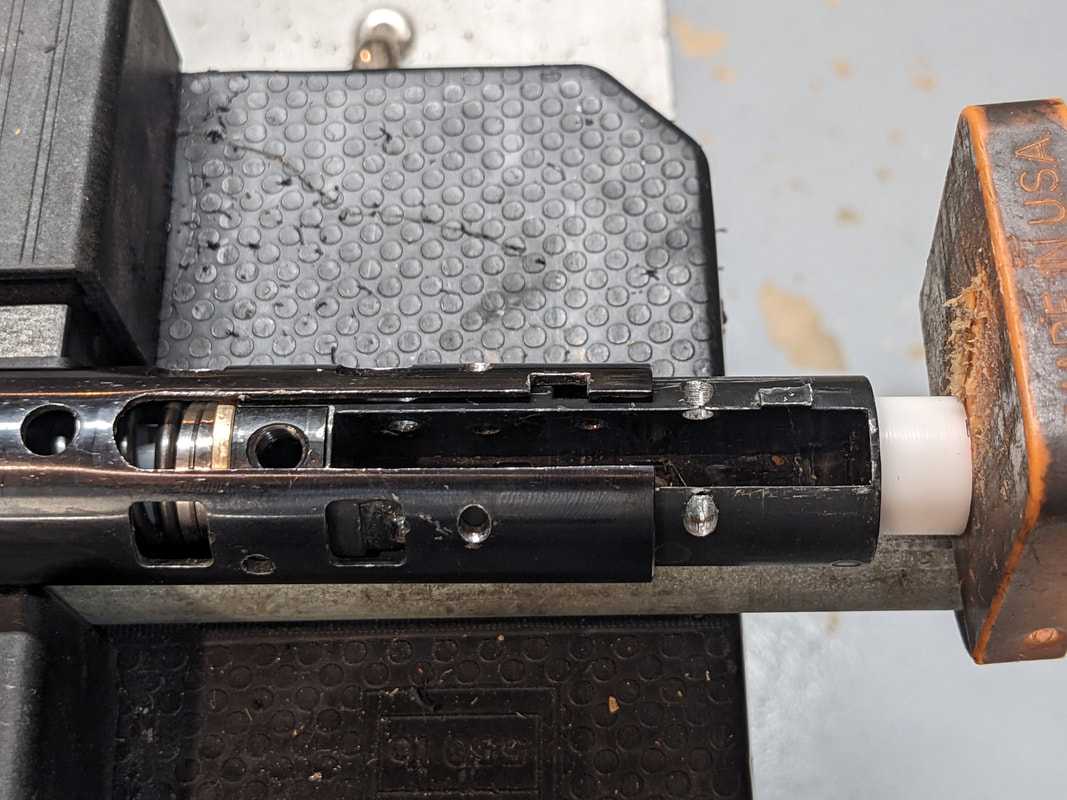
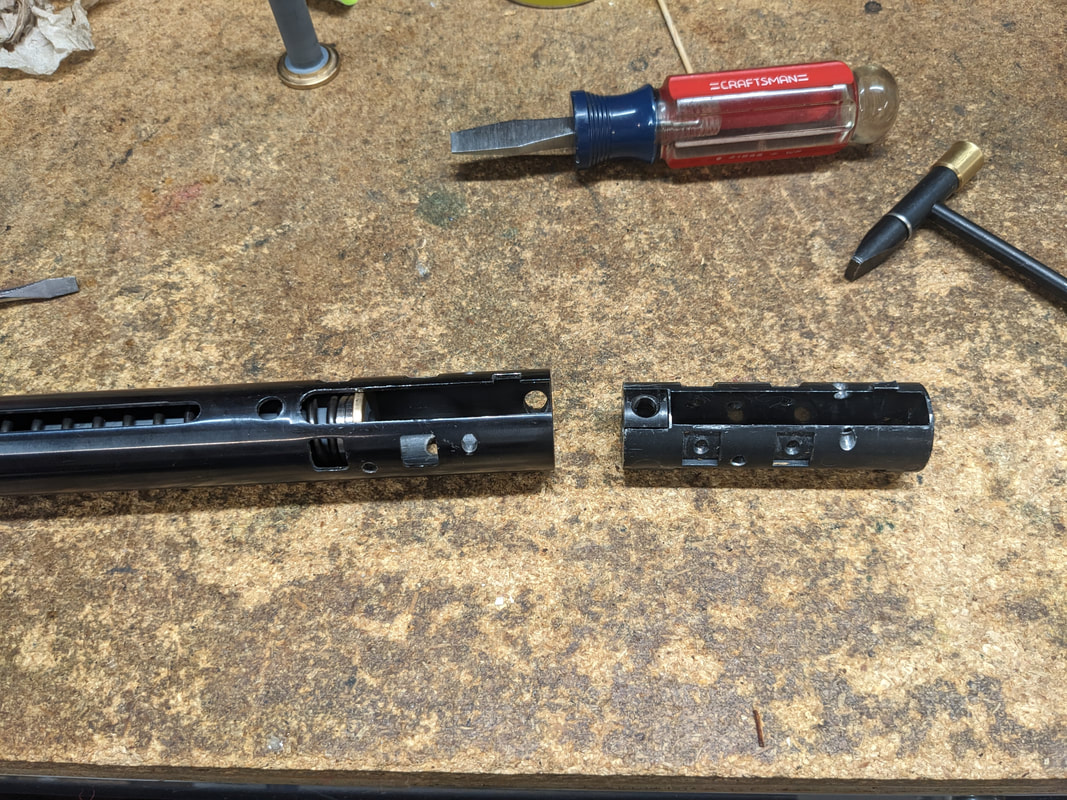
We were faced with the task of getting the nut out. Not a simple one because it was already fractured.
So, we made a special tool for this:
Picture
Using an impact driver gently and patiently, the whole nut/washer assembly was tapped out:
Picture
And the washer presented into the new seal to see how it would work:
Picture
You can see that the seal was deep enough that with a good seal there was no way that bump could have been extruded into the TP.
And the nut?

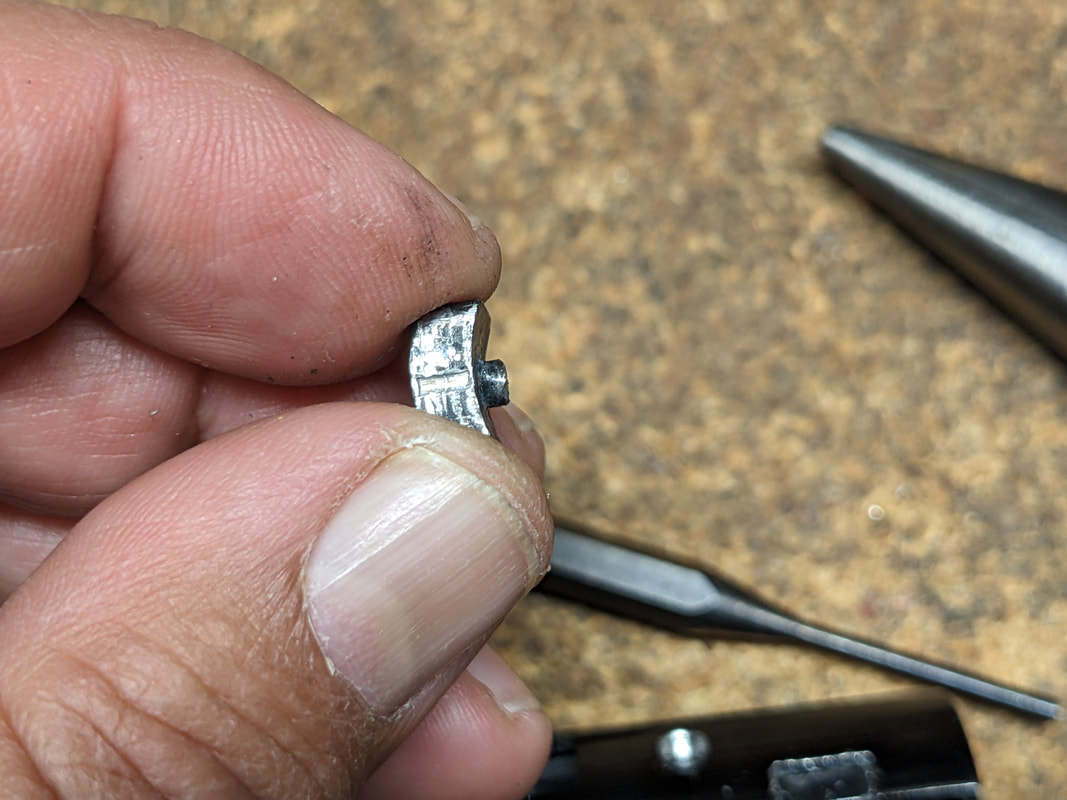
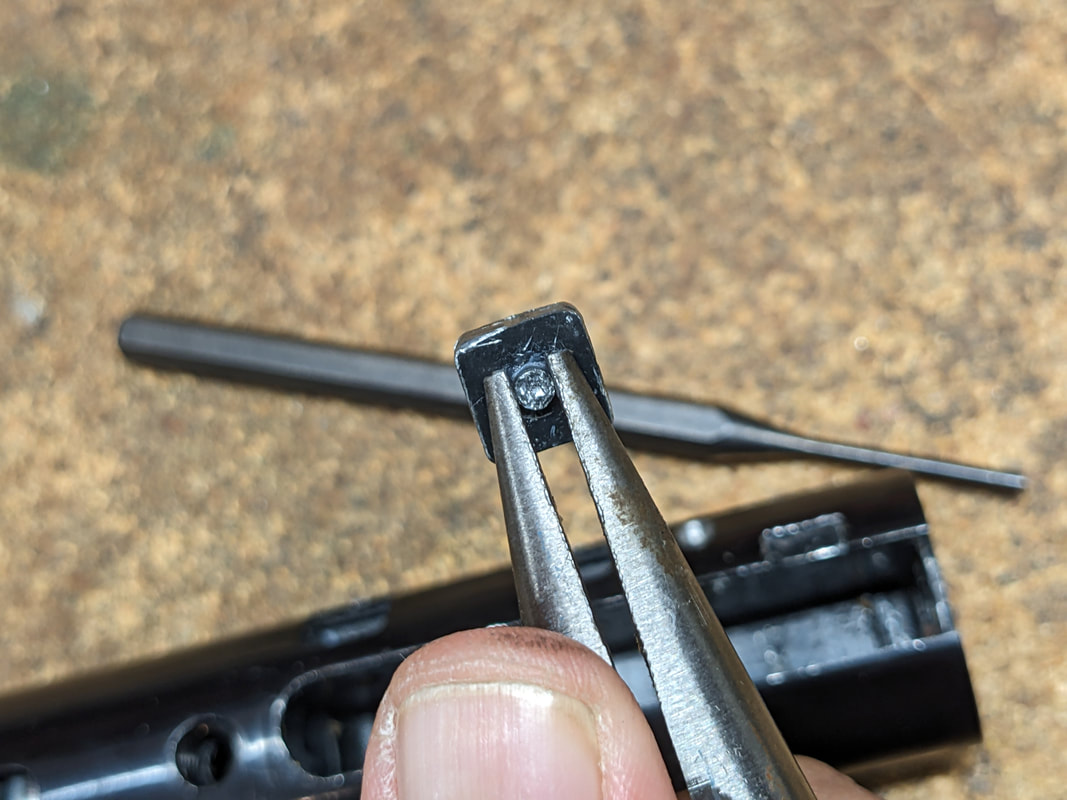
Well, as we said above, it is cracked. 

What you see here is the nut still inserted in the conical washer:
Picture
Here we have already extracted the nut from the washer
Picture
And here is another view:
Picture
The thread is a peculiar spec, as it seems to have started life as a M7X0.75 thread (fine).

How do we know that the nut fractured during initial assembly? Because the inside of the compression chamber is in very good state, and "shrapnel" such as this would have left a mark if it broke after first use.

So, we flattened the washer into (What I think was the original shape),  made and inseerted a liner into the spring cavity, and assembled the piston.

Seal was EXTREMELY tight and so, it had to be sized
Picture
The OEM spring  was inserted into the cavity and the assembly was just the disassembly process in reverse.

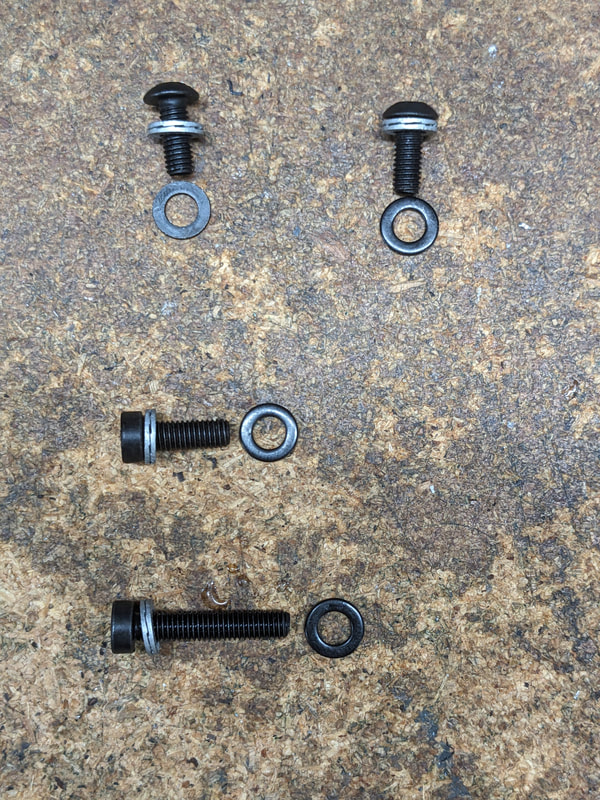
Upon trying to reassemble the gun, I noticed that the screws were not long, and yet they went far into the stock's recesses, when measured, we were alarmed that the thickness of wood remaining between screw and action was VERY thin.

So, we mixed a bit of sawdust with CA and thickened the wall, AND added steel washers at the bottom, to give the OEM screws (that have a serrated undercut) to have some "purchase".

I still think this signals the fact that the gun was taken apart MANY times before.
But at least, the stock now has been "stabilized".
Picture
When assembly was done, I tried cocking the gun.

The cocking linkage "jumped" the slot.

Hmmm . . . this needed reassessing.

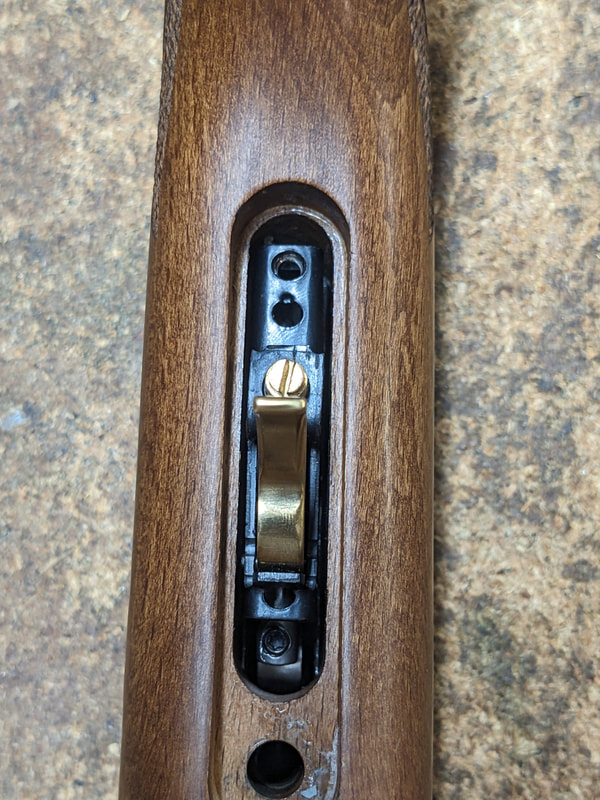
We looked into the channel in the stock and we found that there was a linear bearing that could be adjusted for "push" once the stock was assembled to the action:
Picture
At the bottom of the cavity under the steel bearing, there were two thin discs. What German gunsmiths call "JustierScheibe"
Picture
After careful measurement, I decided that the "justification" needed almost doubling, and so I decided to remove one of the steel discs and add a rubbing surface on TOP of the bearing to provide a smooth glide:
Picture
Now the gun was able to be, and stay, cocked.

BTW, to de-cock these guns that have a transfer bar, you need to pull back all the way to the cocking point and then release the trigger, this will allow the sear to drop and the gun can be de-cocked easily. You do NOT need to fire it,

Trigger proved to be a little creepy, so adjustment took place.

And we tested.

Results were somewhat underwhelming:
MV's ranged between 467 fps to 414 fps. 
These guns were supposed to generate about 5.5 ft-lbs (German limit for the "F in Pentagon" denomination that allows anyone over 18 years of age to purchase one. Anything above require a license.

Hmmm, OK, so we expected a 50 years old spring with "Thousands of rounds fired" to be a little tired, so we  opened the gun and changed the spring for the ARH spring.

And we chronoed:

467 fps to 414 fps.

Cocking was a little heavier, and absolutely no gain?

Hmmmm something must be wrong here.

Actually, there isn't. 

The power limit comes from the "ventilation" of the compression chamber that worked initially as oiling ports. It now limits the stroke of the rifle and therefore the "swept volume" is rather poor.

When the guns were leather sealed, the oil in the leather undoubtedly provided SOME energy to add to the shot cycle, but I am sure that these guns would not generate more than 500 fps with the light pellets of yesteryear, such as the Hobby and the MeisterKugeln.

Accuracy was not bad, but upon trying to shoot offhand, it became PAINFULLY obvious that the first impression I had was correct. You had to really stick your face into the stock to be able to see both sights and still hit the target.

It was SO UNCOMFORTABLE, that I decided to stop the First Stage here and pass on to the second.

Second Stage.- Let's turn this gun into what it CAN be

This stage started with careful measurements being taken.

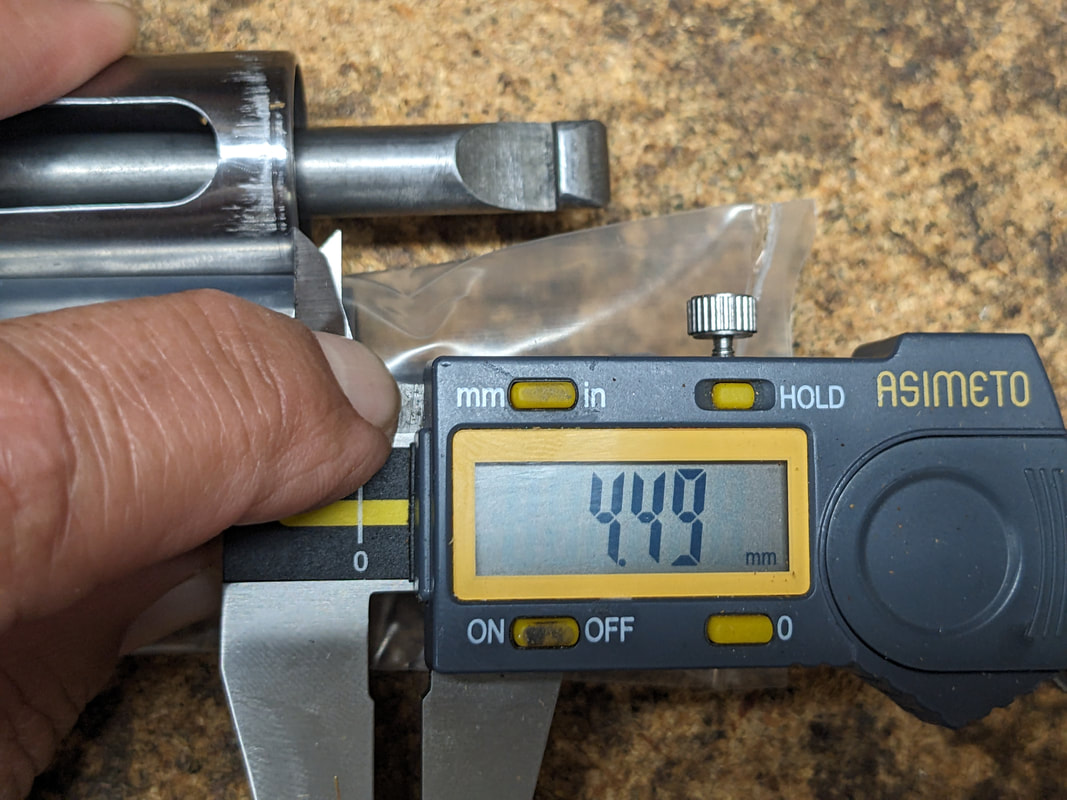
There was some room for improvement in the swept volume, but that would require building a completely new piston just to gain 3.25 mm's of stroke.
So that was not cost-effective to the customer.
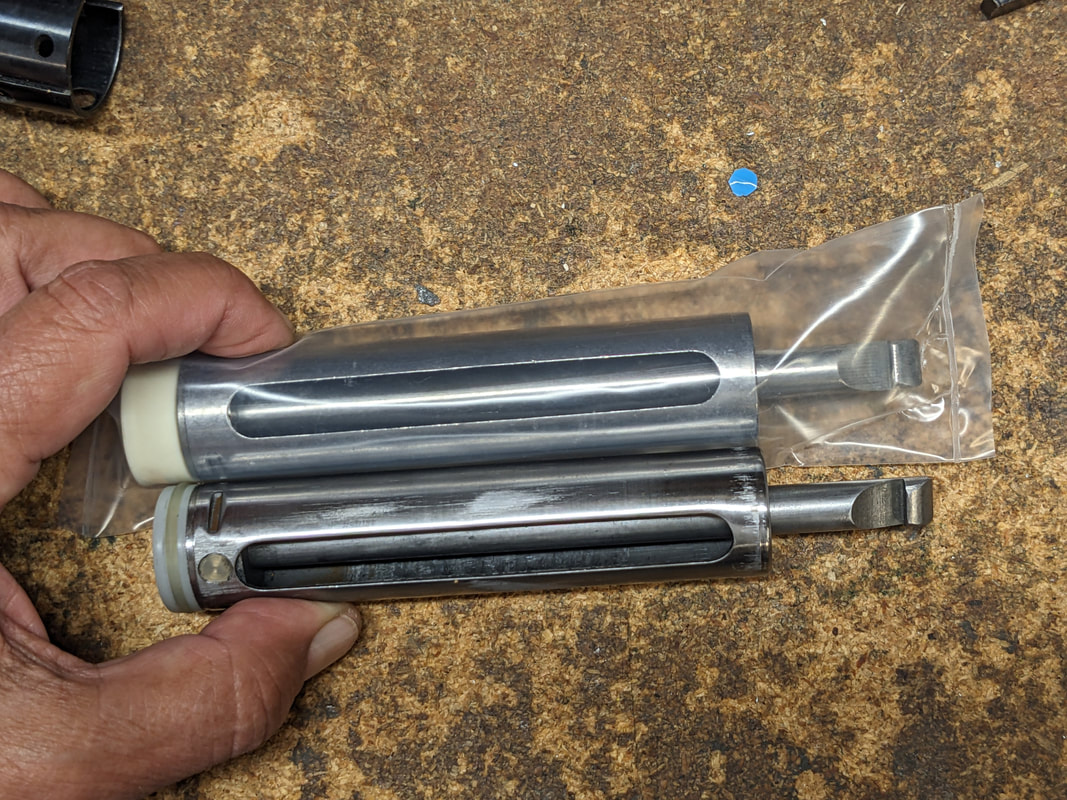
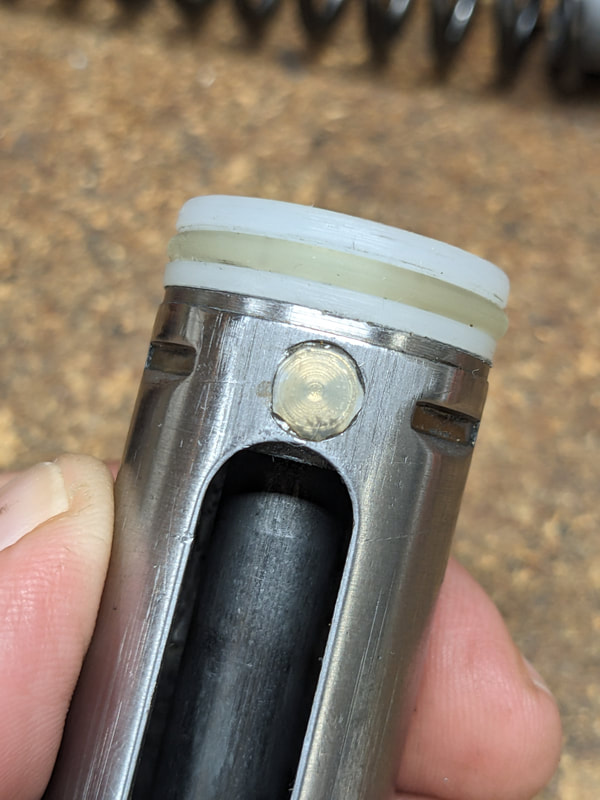
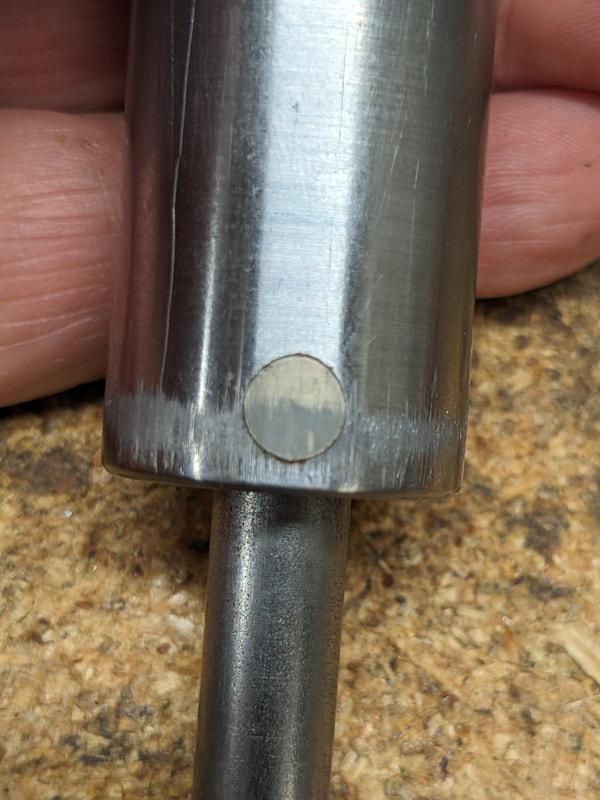
The obvious solution was to create an HMO piston (Oring sealed) and get rid of the cracked nut, the red seal with a "deep hollow dead space", and the washer.

​After some machining, the piston was finished and an ORing was installed.
Picture
We reassembled with the ARH spring and chronoed the rifle.

Results were more than gratifying:
MV's ranged from 603 fps to 569 fps. Now, we were cooking!

However, cycle became a bit rough, AND most importantly, the cocking stroke started to honk like a Canada goose!

Another disassembly and careful inspection of the piston's slot and I discovered tool marks and a roughness of finish that we would associate today with a mid-priced gun like Norica, or Cometa.

So, WHERE were all the "Thousand of shots???"

And then it dawned on me:

It was so uncomfortable shooting this gun that there had been NO "Thousands of shots".
The first owner/owners had become so frustrated with the gun that he/they had filed the rear sight to give it more travel, they had pounded the rear sight into the knurled action closing cover because they thought that they were too far from the peep to be accurate; and probably disassembled the gun trying to find something wrong on the inside.

In short, the gun had not been shot. But not because of the users, because there was a BASIC, FATAL, FLAW with the combination of a Tyrolean stock (high cheek piece), the low "Korntunnel", and the somewhat complicated idea that the rear peep had to be installed from the front and that it SHOULD NOT be put all the way to the back.

IF this hypothesis was true, then the OEM spring SHOULD provide a better shot cycle.
Picture
Another aspect that was "tale-telling" was that when I disassembled the rifle, the piston's ORing exhibited a very marked dark spot.
That is VERY unusual.
Picture
Further research showed that the ORing had been "cut" upon insertion!
Picture
THREE huge gouges (for an ORing), in the seal!

Wherefrom?

And then I remembered that this gun was "new".

So I passed my finger along all the cutouts in the mechanisms tube just to discover burrs and sharp edges.

Again, what we would expect if we bought a mid-priced airgun today.

After extensive de-burring of all the cutouts and polishing of the piston's slot, the gun was reassembled with the OEM spring.

The surprise was that MV's climbed even further to between 622 to 598 fps.

Now we were nearing the 7 ft-lbs level. And with a shot cycle to die for, from cocking to trigger release to follow through. Absolutely impeccable. A small bit of recoil, but nothing that a good shooter cannot master.

I tried again shooting with the OEM setup and though it did give an indication, I knew there had to be a better way.
Picture
So, I procured a taller front sight from my parts box:
Picture
And now you could shoot to your heart's content!
No more scrounching into the cheek piece.
No more neck ache.

​So now, proper accuracy testing could start
Picture
Clearly, we are exceeding the limits of the WC pellets, but the JSB RS's are performing formidably.

Proper sighting in yielded some surprises:
Picture
And a proper "card" shoot showed that the gun has definitely Olympic class potential.
Picture

Conclusions

It was an extremely interesting "trip through time".
What doomed the rifle in the first place and consigned it to a closet, was what protected the parts and the spring and allowed us a "peep into the past".
It was a great lesson in the sense that what we see as "great guns from the past" are the RESULT of thousands upon thousands of rounds smoothing things out and running things in.
It also tells us that the "Goldfen Age" of airgunning is yet to come.
It was a sobering experience in the sense that the "Old World" craftsmanship that so many wax nostalgically about is just that: Nostalgia. A mirage in the desert. An illusion.

It also tells me that we DO understand bettter today how airguns work. What are positive traits and which ones do not contribute much to performance.

The gun will go back to its home soon.

It's time for the current owner to take possession and own his results at the target.
The gun is capable of fantastic accuracy within the limits imposed by the design.

It is an easy gun to maintain (just keep it clean), and it will be cheap to reseal (ORings are notoriously inexpensive). It also likes best inexpensive pellets (there is a factor of 2 in price between the RS's and the top end target pellets). And so, should afford lots of practice.

It has been a joy working in such a "Grand Dame", to get acquainted with her as a teenager, only to see her develop into a wonderful, refined, serene, lady.

Keep well and shoot straight!


​HM

9 Comments

FTRPA's 10/18/2020.- Some pictures

10/21/2020

3 Comments

 
With CoViD upending most of our lives, it was good to go to the venue of some of the best laid matches in the USA.

FTRPA matches are not "hard" per se, they try not to exceed the 28 T rating at the average level, so it's not a "Highly Technical Match". They are neither all long shots, nor all tiny kill zones. Each extreme favours a division/class.

What FTRPA's matches have is balance and charm.

I know those two words are outdated and "passé". But so am I. And I am glad to accept it, LOL! To ME, Honour is still a value. And gauging people for what they ARE more than by what they HAVE is a good standard.

In our modern world of "Extreme-whatever you care to do", and over-aggressive competition/consumption, we have lost some of the values of the 20th Century.
Values that derived from one tough recession, two VERY hard fought wars (some really good historians would say that it was one single war with a long armistice in the middle), and decades of re-building countries, economies and lives.

Coming back to the FT shoot: thanks need to go to the FTRPA Club and the Archery group that allows us, crazy airgunners, to take over the range for a weekend (between setup and shoot). Without mutual tolerance and cooperation many things in this life are almost impossible.

So, having said all that, I hereby salute FTRPA's team (Rick Bassett, Larry Bowne and Jim Wilcox), they are gentlemen after my own heart. 
Picture
What a "Group Picture" looks like in the times of CoViD-19
Picture
In this "New Normal", the shooters' meeting does not only include the usual gun-shooting safety points, but also a review of the CDC guidelines.
Picture
FTRPA is one of the few clubs that truly attracts and keeps new shooters. In this occasion we had two new shooters that performed very creditably, so I hope they will continue to attend.
PictureI was squadded with Brian Van Liew (Match High score). I enjoy shooting with him because we are both rather technically oriented guys.
Let's get into detailed views of the targets:

Picture
Sorry! Brian beat me to it, LOL!
Picture
A rather "close shave" ¿huh?
Picture
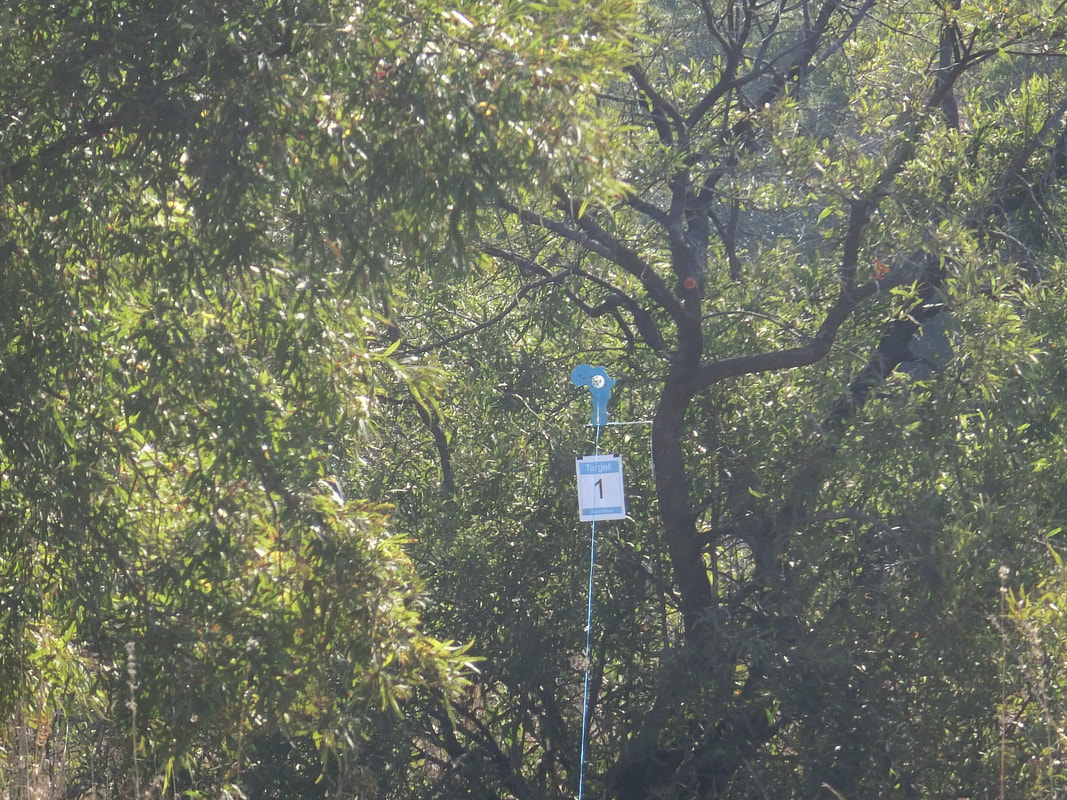
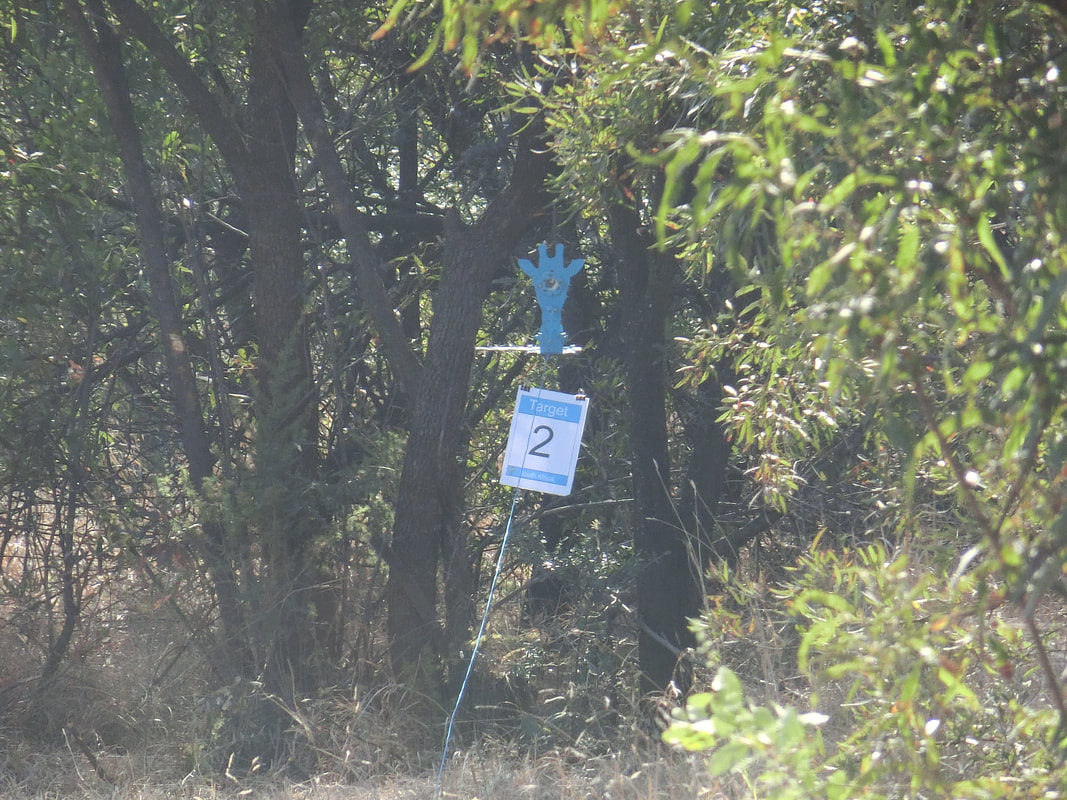
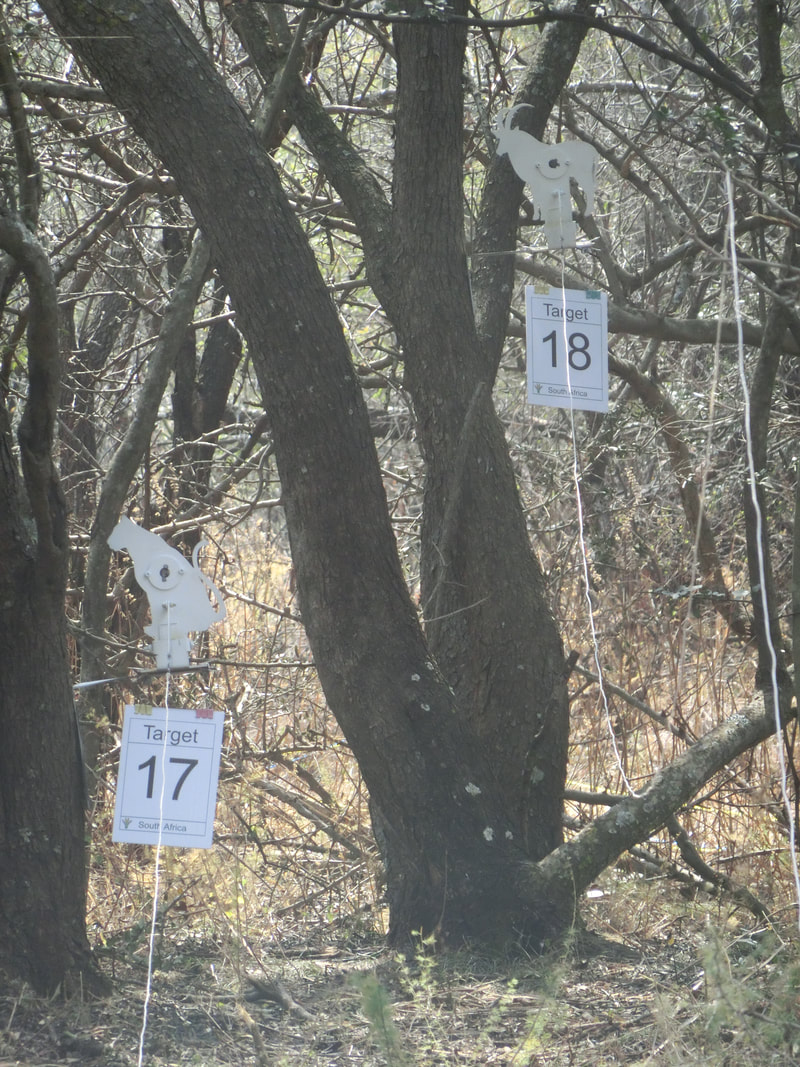
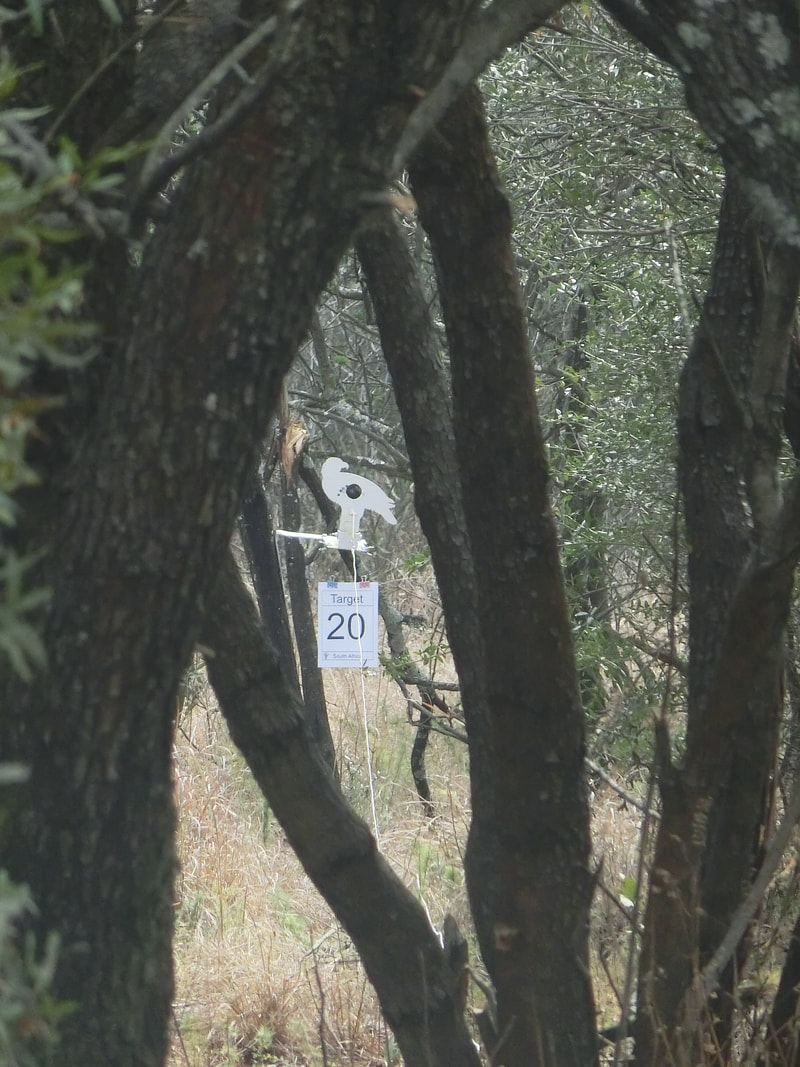
Two targets on the same tree, so be aware of which target you should be shooting at.
Picture
At the end of the wooded alley, a long shot to a target in a tree that is near to the lake. Want to guess the wind direction there? Hint: it depends on the time of day.
Let's look now at another lane:
Picture
In the old days, this used to be the dreaded lane 1, usually the longest shot in the match.
Picture
Beyond the two "Pistol Only" targets the three rifle targets are out there. But as you can see, the KZ's are not small, so they are very "doable" targets.
Picture
A lane where you can appreciate the Light/Shadow setting and the challenges you face.
Picture
The "near" target
Picture
The "Mid" target
Picture
And the "Far" one.
Picture
Ha ha!, Can you find the targets?
Picture
Here is the short one
Picture
Mid and Far are here
Picture
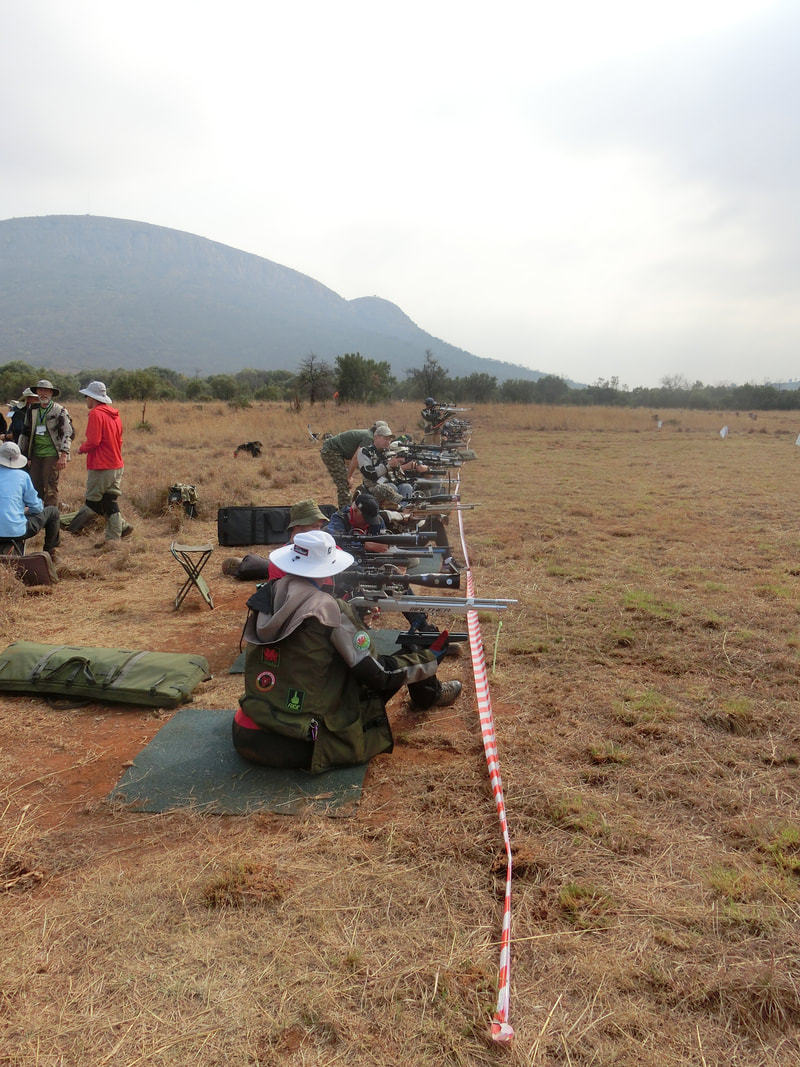
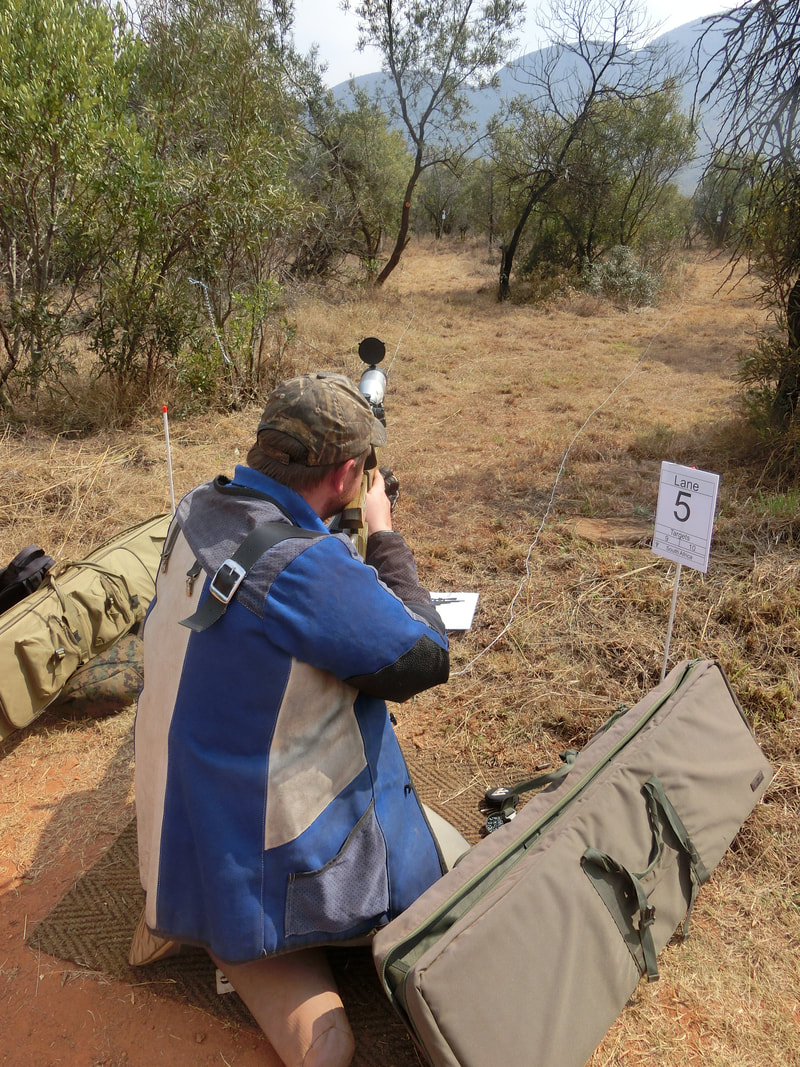
Another lane, this is the last one (10 lanes X 6 shots = 60 shots course)
And here are the targets:
Picture
Picture
Picture
The experiment this time was to leave the rifle in the car overnight, hoping that a "cold start" would be better than taking a room-temperature rifle out into the cold, and then seeing the POI's change as the rifle cooled down and then stabilized.
I did have time on the sighting in range to try to get everything up to "running" status, but after seeing the POI's change as it started from cold, I think it is not a good idea.
By the time, the gun was again at "operating conditions" most of the Match had gone and it was only at the last two lanes (lane 10 and 1 for us) that I really began connecting.
​Ah, well, one more experience.
Picture
Picture
We were halfway in taking down the course when we were called to the awards presentation
Picture
Greg Shirhall took 1st in Hunter Piston
Picture
And Pat Shirhall came back for a "bonus"
Picture
Ed Carter placed second in Hunter PCP
Picture
Tom Ryan got First in Hunter PCP
Picture
Leo Gonzales placed First in WFTF Piston
Picture
And Mike Harris placed First in WFTF PCP
The results bear out what I was saying at the beginning:

Top scores were pretty close in all classes and divisions. THAT is what makes a "Balanced" match, where all the challenges in FT are balanced and offered to all shooters of all Divisions and Classes.

And so, after finishing the taking out of the course, I drove home having spent a beautiful day outdoors, with friends, having fun; and THAT is what FT is all about.

Keep well  and shoot straight!

HM
3 Comments

The 2020 N. Carolina State Championship.-  An Educational Experience

10/13/2020

4 Comments

 
I usually wait for the "official" report to come out, but since CoViD 19 has driven everything into a "limbo" (and not precisely of the dancing kind), there is precious little information about results, classes , equipment, etc.
In fact, there have been precious little matches going on.
SOME clubs, like Rochester Brooks, or Connecticut Airgunners never lost pace, except for the absolute lock-down phases, but others, like DIFTA, have been forced by range rulings to only re-open the season fairly recently, when "Stage 2" of the opening up had been achieved.
All this to say that few shooters have kept pace with activity, training, or match participation.

When the news came that the North Carolina State Match was going to be held at Will & Ginger Piatt's place at Ennice (right at the heart of the Blue Ridge Parkway), I told my wife and we decided to make a road trip out of it. It would not be the dream road trip we had imagined in 2015, but now we would have a lot more company, LOL!

Besides, my niece is now in the last stages of her driving practice, she'll be taking her final in-car exam soon, so what better opportunity to have her drive the highway and night time requirements?

We set out on Friday and arrived  late night, as we got stuck in traffic in two spots.

After a good night's sleep, I was packed and ready to go! Everything I needed was in the range bag, and with the appropriate rain gear (remember 2015? LOL!)

As is often the case, when you are best prepared, things are not too bad, or at least they do not LOOK too bad!

After an early morning breakfast (we were staying in Elkin, about 45 mins from the range), we got there on time, I got setup and started the process of shooting some pellets downrange to see how he trajectory had changed (notice it is NOT a question -if the trajectory had changed-,  that is a given when you go from 500 FASL to 2825 FASL), as my MV had probably gone down from 780 to about 745 fps.
It didn't occur to me to check a chrono, I thought there would be a chrono station, but there wasn't. Should have checked. Now I am dying of curiosity! LOL!
As the match developed and as the rain came and went, it was obvious there was something not quite right. Inexplicable misses, POI changing all over the place . . . not the usual quirky behaviour of a springer, more like a schizophrenia.

But, never argue with reality.

I had been testing reverting to the DIANA OEM style of bedding for my 54 and it was clearly not as stable as the CCA designed one. At home in the backyard, it had proven accurate, but once different inclinations and positions where thrown in, the POI changes proved too much for the OEM bedding.
Anyway, I have reverted to my own design and hopefully, this will cure some of that.

The Match, as all matches sponsored by THAGC, was a hard one. 40 T would barely start to describe the deviousness of the MD, LOL!
But still, if you do not shoot hard matches you never learn anything worthwhile, so after all was said and done, we did have a ball, we learned a lot, and I think we will convert those learnings into experiences.

Rain gear performed like it should, pellets performed as they should. The gunsmith . . . hmm so-so. And the shooter did its best to keep a stiff upper lip and go through lane after lane of complete surprises.
​
Apologies are in order on the quality of the pictures, but I had taken my waterproof camera and it is not as good a camera as the normal one. So that, added to my limited skills as photographer, will make you think that the things were rougher than they really were.
Now, Let's see some pictures!

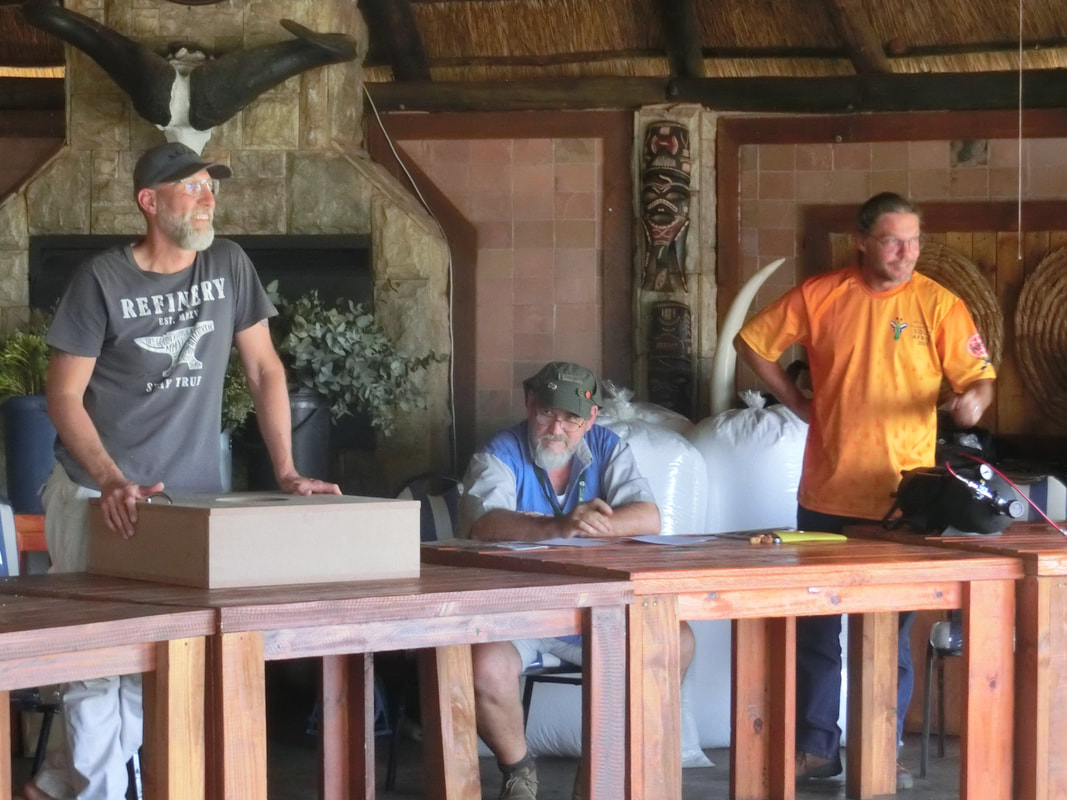
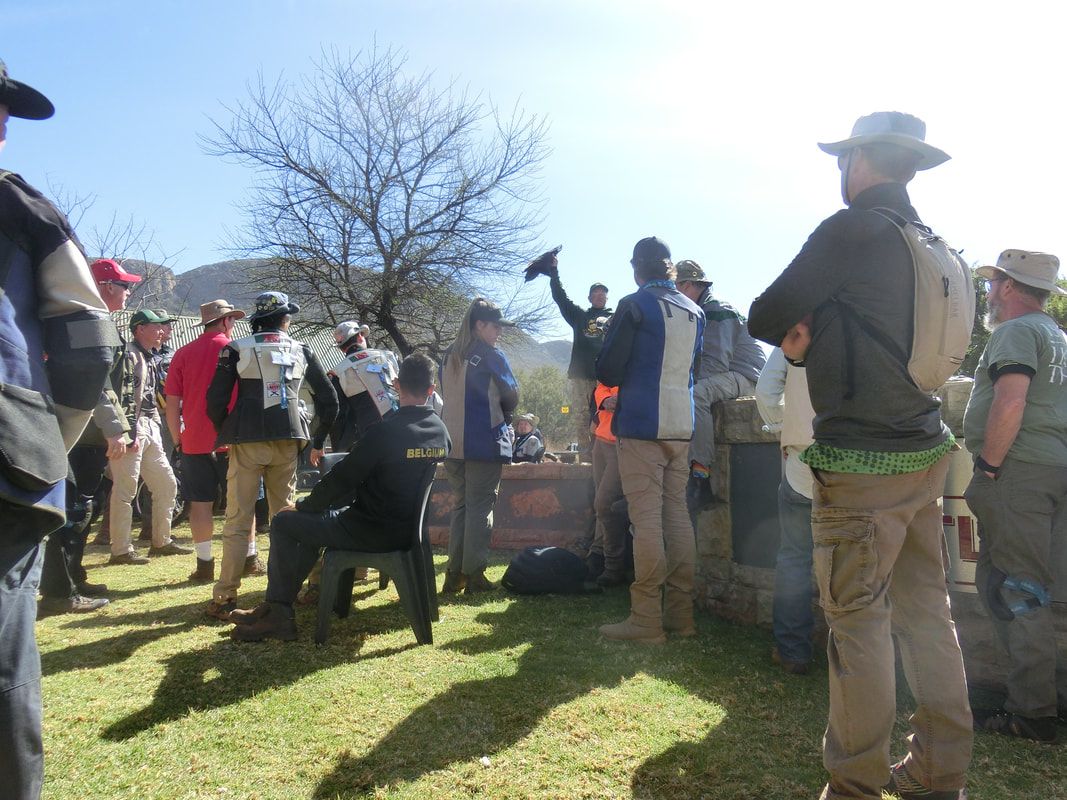
Will Piatt delivered a succinct and precise shooters meeting:
Picture
Picture
Picture
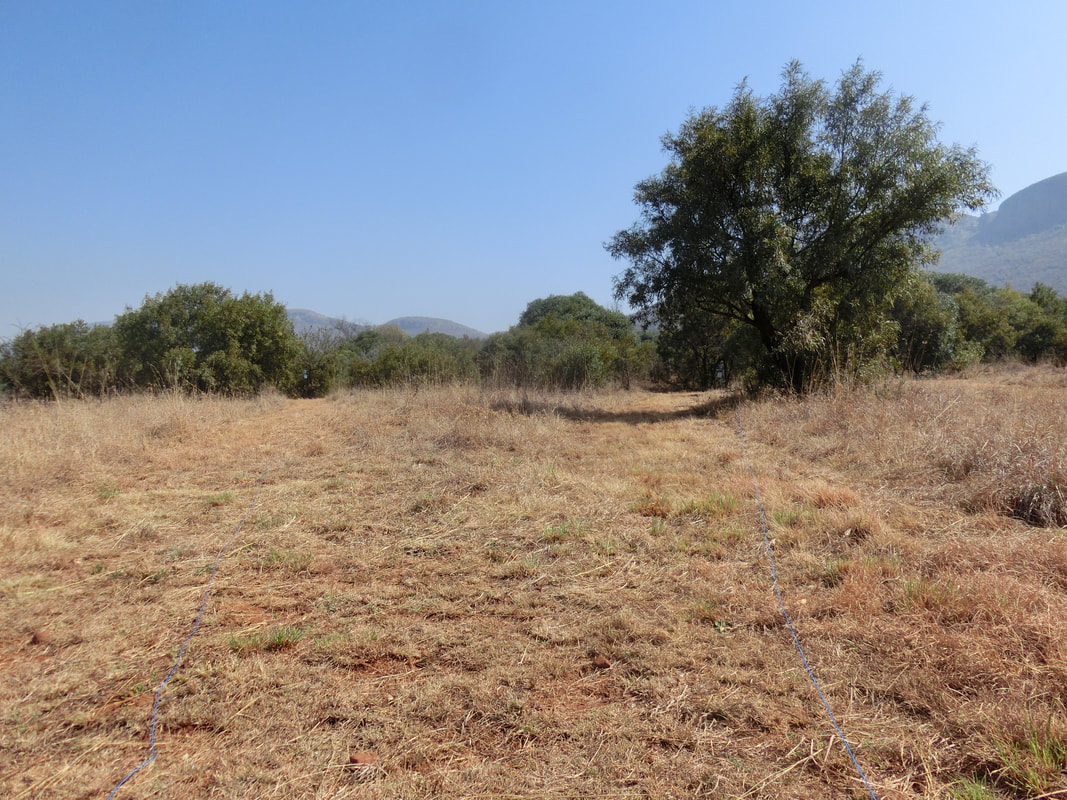
There was a wooded section, an open section, and transitional lanes. This lane is peculiar because the lane is in the open, but the wooded section is right next to it, so any wind will "bounce" and create very interesting challenges to the WFTF shooter
Picture
Targets are to the left of the picture.
Picture
Here is a close-up view of the targets, radically different positioning, the upper target wide open in the wind, the lower target more sheltered from direct wind, but subject to eddies and swirls.
Another example of the MD's crooked mind  ;-)  :
Picture
Picture
Shooting from the dark, sheltered, woods into the open is one of the more challenging shots, you have no information of what is happening out there!
Picture
A close up of the targets reveals how different the distances really were. As you can imagine, the slope of the land also creates an interesting challenge.
Picture
And there were several of these. LOL!
Picture
Out in the open, wind gusts of up to 15 mph moved the shooters, let alone the pellets. See how the water ripples in the pond at the back and notice how there is a tranquil area to the right of the pond, while the left side is rippling. This gives you an idea how the wind "rolls".
Picture
Most of the shots were long shots, and under these conditions, you can imagine what the wind was doing when it came over the trees on the left.
Picture
A close up of the targets reveals how different the shots were.
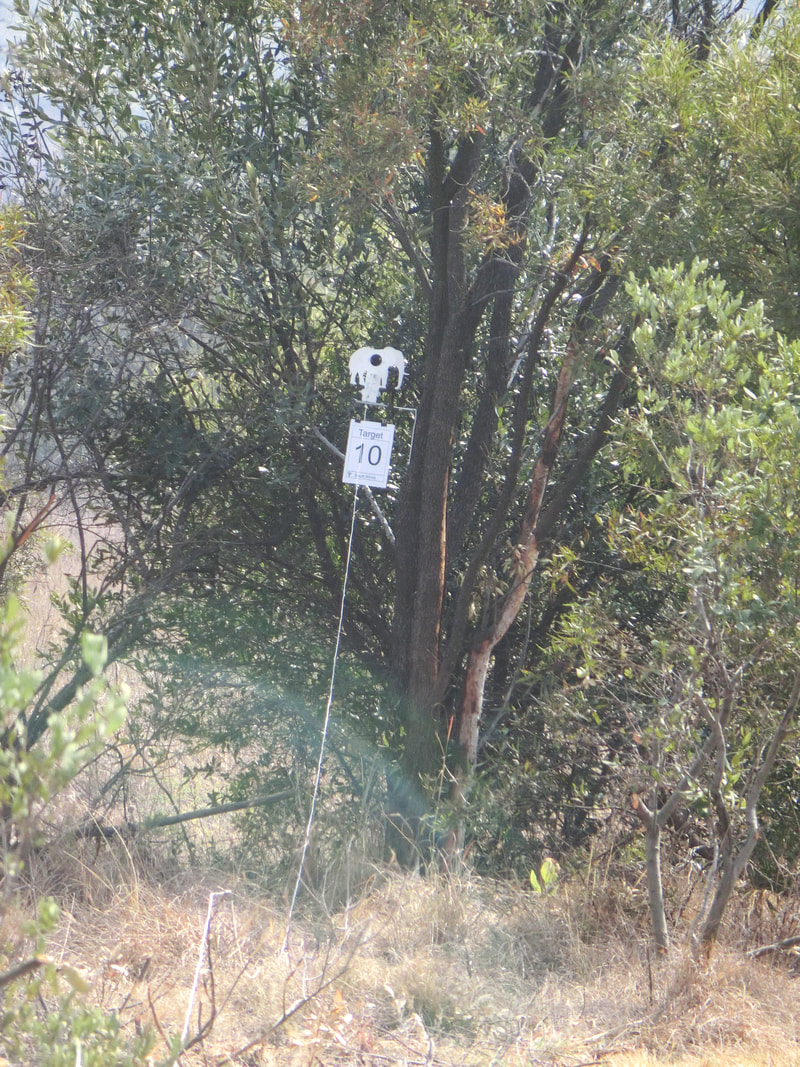
Picture
Bet you cannot find the targets!
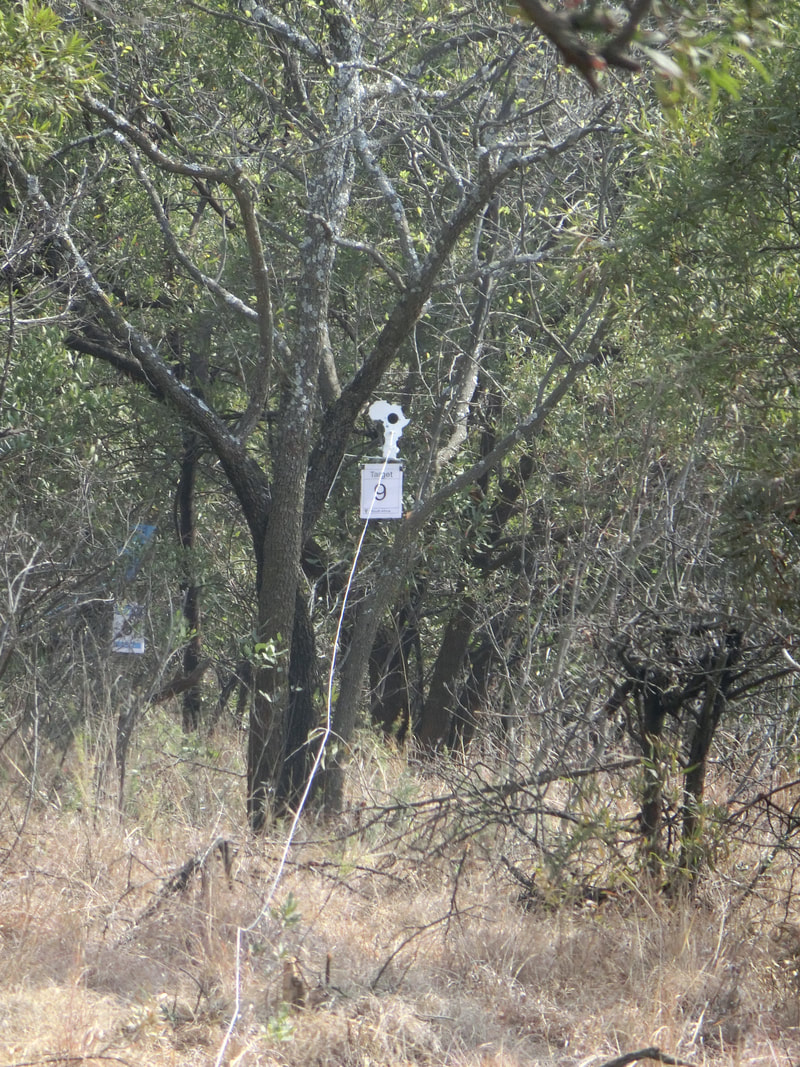
Picture
But,. there they are! Or, are they? the blocks on the right are NOT one of the targets.
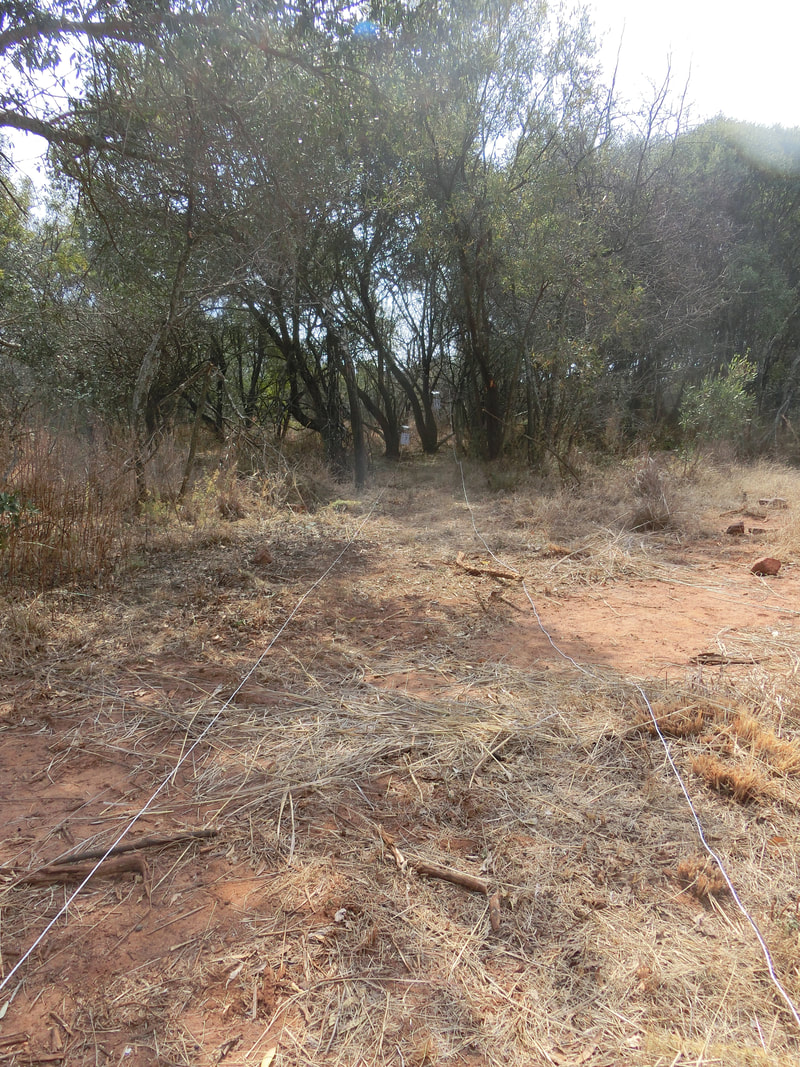
Picture
Even what seemed to be a wide open, long lane
Picture
Posed severe difficulty when taking into account the target color, the very dark background, the "flying" location, and the dark day.
Picture
By the end of the day, my score of 35 exceeded the 50% and bettered my performance of 5 years ago by a full 10 percentage points, LOL!
High score was something like 63/68, so that gives you an idea that the course was designed more with the 20 ft-lbs PCP shooter in mind.
It would be interesting to see the difficulty rating of the course.

In true FT fashion, and in the tradition of all "Southern Belles", Ginger Piatt served us a bountiful dinner with Shepherds' Pie, home baked rolls and an absolutely fantastic "Eclair pie".

My family arrived in time for desert (you can bet the 3 and 4 year olds were happy about that, LOL!
Picture
Picture
What happens with children, when one is paying attention to the camera, the other is distracted, and by the time the older starts to pay attention, the youngest gets distracted, LOL!
Picture
Brian Van Lieuw took first in Open PCP
Picture
Gary Palinkas took second in Open PCP
Picture
Gerald Long took First in WFTF PCP
Picture
Lukas Richter took Second in WFTF PCP
Picture
Miguel Sanchez too First in Hunter PCP
Picture
Amon Piatt took Second in Hunter PCP
Picture
Phil Hepler took 3rd in Hunter PCP (and by the way, designed and made the awards!)
Picture
A very Happy Piston shooter!
Picture
I love shooting with the THAGC crowd, they challenge you and they feed you well. LOL!

Hopefully, we'll meet again along some lanes.

Keep well and shoot straight!


​HM
4 Comments

A SHORT Note on tuning the DIANA 280

10/12/2020

0 Comments

 
A friend says that I CANNOT write a short note, ROFL!

So, in part this is an acceptance of that challenge, and in another sense it is just the result of the reality that I am extremely busy and I have two other projects in the pipe and I cannot devote much time.
Anyway, the usual disclaimer:


DISCLAIMER.- The operations performed in this rifle void all warranties. Nor I, nor anybody else, has control over what each individual decides to do, so no warranties are given, or implied. It's up to each tinkerer to be safe in his/her endeavours.
The modifications performed were safe within the objectives and the context of the gun in question.
Which may not be exactly the same as yours.

All machining operations carry some risk, be safe, be careful and always err on the side of caution.
When working with open flames, specially the high temperatures one, extra care needs to be taken with all liquids and gases present in the area. Do NOT risk it.


Having added that, let's tackle the "little" 280:

The 280 is a gun that is not popular at all in the USA. In part, it is the traditionally American drive towards "more is better", and partly the result of a mismanaged marketing strategy by the former exclusive importer of DIANA airguns into the USA.
Now, with DIANA looking at more options and even doing some small direct shipments to pre-qualified individuals, there is an opportunity for savvy airgunners to enjoy the petite airgun that is available in two models:
There is a Classic version that is the "no-frills" one, and there is an elegant version called the "Premium" (as most upper-scale models in the DIANA lineup are.

We'll work here on a "Classic" version.

One of the reasons why this entry will be short is because we are basing the whole "re-tune" of this gun on the work performed for the "12 ft-lbs gunsmith's tune of the LGV" , and which will also be the base for our final approach to the 430L, to be done in the near future.

We started by testing what the gun can do off the shelf, and pretty sure, it IS a "12 ft-lbs gun". in OoB / OEM form, the gun yields between 11 and 12 ft-lbs depending on the pellet.
For sure, with proper running-in and proper lubing these guns could yield a foot-pound more, but we are not going to go there, this is a special job undertaken as a "light tune" to see how much a gun can be improved within a limited budget.

So, WHAT IS a "limited budget"?
Basically the gun is a $350 gun, landed in the USA, which essentially puts it into the HW-50 "region" though the gun itself is about a lb heavier and yields a couple of ft-lbs more at the muzzle, it is a "medium gun" region by all measurements.
Customer desired a "lightly tuned" one to 10 ft-lbs or thereabouts, because he basically shoots in his garden; and we setled on: basic trigger work, change of powerplant, and overall smoothing which, we agreed, would put the budget at $500
During the course of the project, he decided to add a SIGHTRON Si FT scope, and that drove the total "ready to shoot" cost to $685 plus Sh&Ins (and pellets, ;-)  )

So, we started with this (catalogue photo):​
Picture
Removed the unnecessary hardware, and tested the gun:
Picture
As received the gun needed close to 38 # of Peak Cocking Force (PCF), and we did start the "running in" procedure of shooting and cleaning till we felt there were less fliers than proper shots, and then we decided to test a well made guide with the OEM spring.
​We disassembled the gun, having established a benchmark, de-burred and smoothed everything in there, changed the piston seal and lubed.
Picture
Atop is a CCA guide, at the bottom is the OEM guide. Not bad, but definitely not what the gun COULD profit greatly from.

With better guide the gun jumped in performance almost  ½ ft-lb, while the cocking effort did not change (nor did we expect it to), but it was still twangy and the shot cycle clearly reflected the place in the "price ladder". I felt the gun could be much more refined.

So we brought in a Titan #1 spring and started the process. We will not go into the detail, as it has been written in the abovementioned entry.

By the time the little rifle was doing 10¾ ft-lbs. we stopped, and measured the cocking effort:
Picture
Yup! It takes only 26 # PCF to yield 10¾ ft-lbs. Quite an efficient arrangement for a break barrel with a traditional piston.

When we removed the "unnecessary hardware" the obvious muzzle piece missing looked real bad, so I decided to make a Harmonics tuner with a new design that fits into smooth barrels and is adjustable by ½ mm's.

​In the end, the gun looks like this:
Picture
I added a Zip Tie at the rear of the HT to be able to read the wind in the tests, but that has been removed.

And how does it shoot?  Like this:
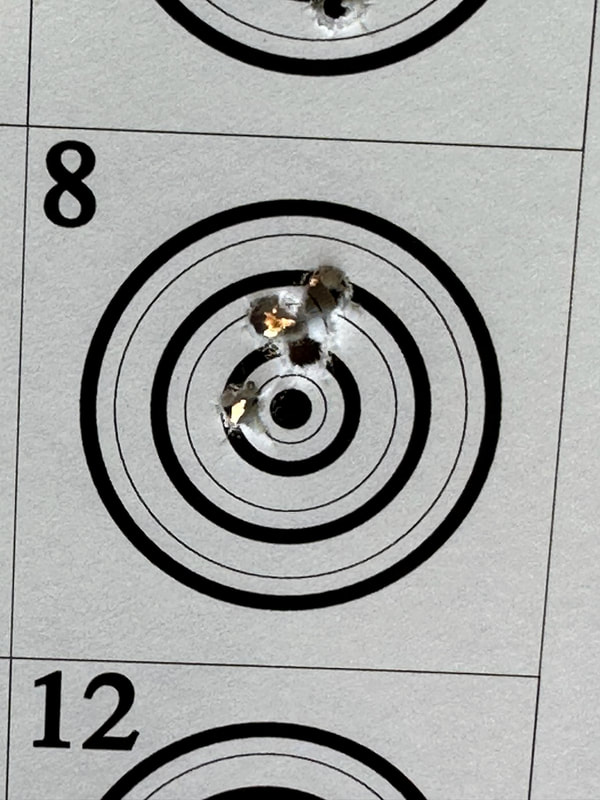
Picture
At 10 meters offhand, it is a real joy to shoot! Easy to put pellets where you want to (if you concentrate, LOL!)

​At longer ranges:
Picture
It can easily group 10 shots with the right pellets into ¼"-½" groups from the seated position.

I was surprised at the good results offered by the GTO (non-lead pellets); in the lead class, the 8.44/4.52/Pledged pellets perform the best.

Do note that about 1 in 10 shots is still a "flyer". The gun still is settling down and the Harmonics Tuner will have to be re-tuned once it does. The HT's final position, will also depend on how the gun is shot, whether sitting off a silicone knee-pad, or off the bench, things will be different.

For those of you that like numbers: the JSB Express were coming out of the muzzle at 770 ± 2  fps and the JSB Exacts were coming out at 758 ± 1 fps, so the consistency of the engine/machine is already there.

More seasoning to the barrel is needed (more shooting), some tests and then the final decision about the pellet of choice and the final adjustment of the HT and that should be a nice little gun, with power to spare for most things inside 35 yards. At 8# 14 Oz, "all in" it is a lightweight gun, somewhat "whippy".
LOP is short, that is why I added a temporary recoil pad to take it to 14½", otherwise I "scrunch" into the gun.
That has also been removed.

;-)

For ME, personally, it is not a gun I would HAVE to have. But it is an interesting class of airgun that could have a lot of success in some markets. Sadly, it is not slated to be kept in the lineup.

Though the project took a lot more time than expected, I learned a lot and I loved the end result.​


Keep well and shoot straight!


HM
0 Comments

The Gunsmith's Tune; Part 2/4.- 12 ft-lbs Walther LGV

9/29/2020

0 Comments

 
DISCLAIMER.- The operations performed in this rifle void all warranties. Nor I, nor anybody else, has control over what each individual decides to do, so no warranties are given, or implied. It's up to each tinkerer to be safe in his/her endeavours.
The modifications performed were safe within the objectives and the context of the gun in question.
Which may not be exactly the same as yours.

All machining operations carry some risk, be safe, be careful and always err on the side of caution.
When working with open flames, specially the high temperatures one, extra care needs to be taken with all liquids and gases present in the area. Do NOT risk it.


For those that do not like to devote time to reading long blogposts, let me save you the hardship:

It didn't work.

For those that enjoy the trip more than the destination, welcome aboard and read on!

As any "de-tune", this started by cutting down coils from the Titan #1 spring.
I will assume that readers are conversant with the operations of cutting, sanding/grinding, forging closed and then squaring an airgun spring. So I will skip those details.

Where we left last entry was that the QYS's were coming out of the muzzle at 879 fps ± 3, and BHE's at 876 fps ± 3. With a pre-load of 64 mm's
The goal was to get MV's of 797 fps for the QYS's, so we cut off two coils. Now pre-load was 47 mm's and MV's were for the QYS's: 877fps ± 6 and the BHE's 870 fps ± 4.

So, two coils off and we only lost 2 fps????!!!!!

We took off two coils more, this time pre-load was 29 mm's and MV's were 838 fps ± 3 for the QYS's and 796 fps ± 5 for the BHE's

Since we were still some distance off the goal, I took off one more coil. Preload was now 18 mm's and MV went down to 766 fps ± 3 for the QYS's and 729 fps ± 3 for the BHE's.

To recover some of the MV, I added a 0.081" spacer at the bottom of the spring, and that drove the MV's to 801 fps ± 3 for the QYS's and 757 fps ± 2 for the BHE's

With those uniformities, I had high hopes for the de-tune. so I started shooting test targets. This is where we were in for a disagreeable surprise.

But let's get to the pictures:
Picture
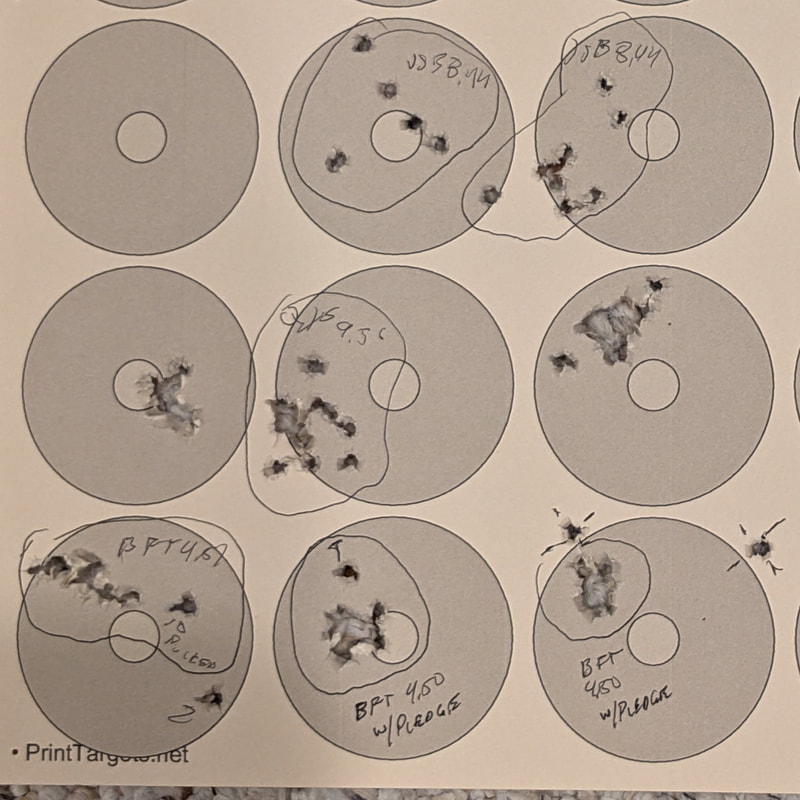
Tested the QYS, JSB 8.44/4.52, and the JSB 8.44/4.52. While short range tests were interesting, at 40 yards the whole thing unraveled.
I thought that indicated that we needed to treat this gun as a different gun, and so we were back to square 1 testing different lubes in the pellets:
Picture
It seemed that the barrel really liked Pledge as a lube, so we tested different pellets:
Picture
But again, at 40 yards the whole thing fell through.
And so I decided to test something else, the harmonics tuner:
Picture
The fact that the HT made little difference told me that there was something wrong.
Completely frustrated, I decided to test myself, and this is the benchmark:
Picture
As you can see, it was not a shooter's problem.
I started thinking that the spring and the guide were simply not in agreement with the rest of the gun.
What followed then was to check the gun with a Walther kit, to see how it behaved.
And so, I installed a Walther 12 ft-lbs kit (piston, spring and guide). MV's were quite satisfactory:
QYS's: 786 ± 5
JSB Xp: 825 ± 3
JSB Xact: 786 ± 2
Testing pellets with the barrel's preferred lube:
Picture
Indicated that at this power level, the light Express pellet was performing better, so I decided to tune the HT to that pellet, with this process:
Picture
From this test, I selected the setting of the HT at -5.14 mm's and proceeded to shoot some medium and long range tests:
Picture
Again, while results for 19 and 39 yards were satisfactory, when taken to 50 yards, the results were poor.

So, clearly, this barrel simply does not want to perform at long range at this power level. Yes, there are barrels like that. I would say that MOST barrels are like that.

CONCLUSIONS: 


While it was somewhat disheartening to see the good behaviour not carried out to the low power level, it did confirm that the ABP, as a technology, is more reliable at these power levels that a large pre-load.

I have reverted the gun to its higher performance and, MAYBE in the future, I will shoot a "Hunter" course with it, as the performance of the slightly heavier pellet at the limit of stability is indeed interesting.

And, so we learn more from our "failures" than from our successes. Yes that is science, that is life.

Next will be the application of these findings to the 430L.

Keep well and shoot straight!


HM
0 Comments
<<Previous

    Hector Medina

    2012 US National WFTF Spring Piston Champion
    2012 WFTF Spring Piston Grand Prix Winner
    2013 World's WFTF Spring Piston 7th place
    2014 Texas State WFTF Piston Champion
    2014 World's WFTF Spring Piston 5th place.
    2015 Maine State Champion WFTF Piston
    2015 Massachusetts State Champion WFTF Piston
    2015 New York State Champion WFTF Piston
    2015 US National WFTF Piston 2nd Place
    2016 Canadian WFTF Piston Champion
    2016 Pyramyd Air Cup WFTF Piston 1st Place
    2017 US Nationals Open Piston 3rd Place
    2018 WFTC's Member of Team USA Champion Springers
    2018 WFTC's 4th place Veteran Springer
    2020 Puerto Rico GP Piston First Place
    2020 NC State Championships 1st Place Piston

    Archives

    October 2020
    September 2020
    August 2020
    July 2020
    June 2020
    May 2020
    April 2020
    March 2020
    February 2020
    January 2020
    December 2019
    November 2019
    September 2019
    August 2019
    July 2019
    May 2019
    April 2019
    January 2019
    December 2018
    November 2018
    October 2018
    September 2018
    August 2018
    June 2018
    May 2018
    April 2018
    March 2018
    February 2018
    January 2018
    December 2017
    November 2017
    October 2017
    September 2017
    March 2017
    December 2016
    October 2016
    September 2016
    July 2016
    June 2016
    March 2016
    January 2016
    December 2015
    November 2015
    October 2015
    September 2015
    August 2015
    June 2015
    May 2015
    April 2015
    March 2015
    February 2015
    January 2015
    December 2014
    November 2014
    October 2014
    August 2014
    July 2014
    June 2014
    May 2014
    March 2014
    February 2014
    December 2013
    November 2013
    October 2013
    September 2013

    Categories

    All
    Events
    Gear
    Hunting
    Tests

    RSS Feed

Proudly powered by Weebly