Following on our "Unintended Coincidence" post, a friend with a LoA DIANA 34 EMS wanted to change calibers.
He was not happy with the 0.177" caliber as it seemed to be on the "loose" side and pellets fell when he swung the action closed.
So, we sourced a few barrels from DIANA and, while it took some time, I think the results are good.
Process is not complicated but it does require a specific order of operations.
You start by taking the action out of the stock, a simple three screw operation that we all know how to do.
Then you need to take out the rear sight and the front sight. Rear sight is no problem because the screws are visible. Just make sure that you do NOT loose the 0.5 mm's ball that creates the "clicks" in the rear sight elevation knob.
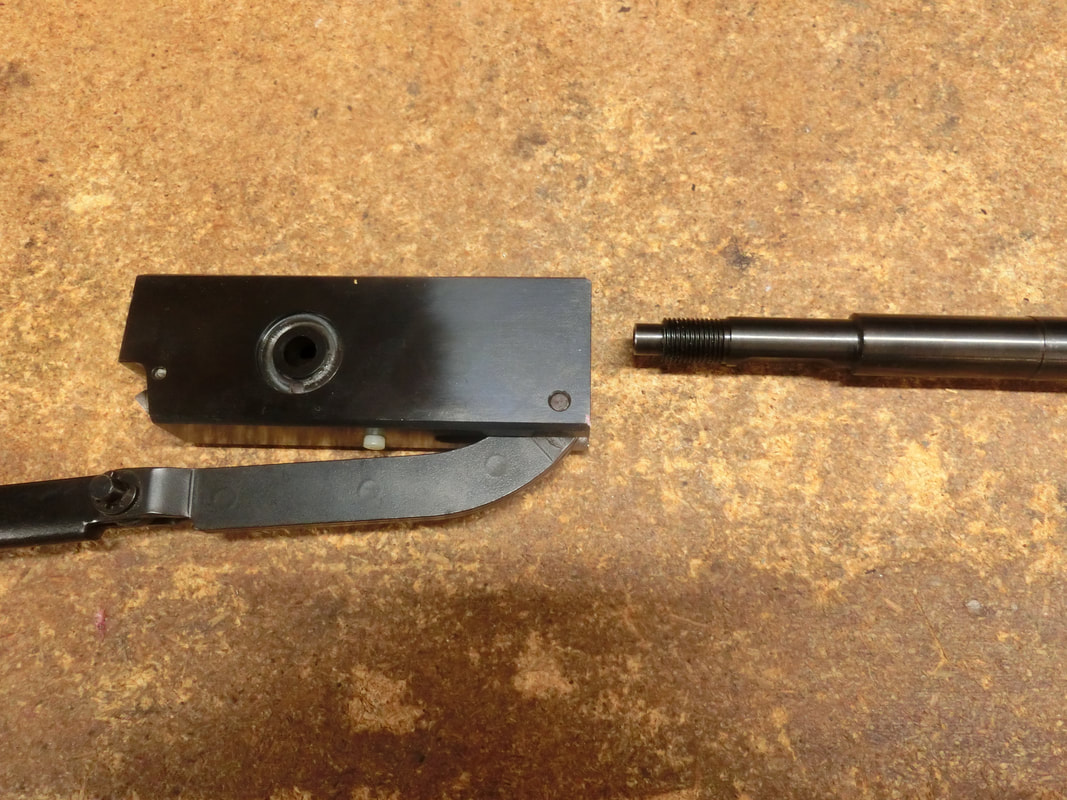
The front sight however, is a bit more tricky because under the visible "thread protector" there is a nut, and in the rear sight ramp itself, there is a grub screw:
He was not happy with the 0.177" caliber as it seemed to be on the "loose" side and pellets fell when he swung the action closed.
So, we sourced a few barrels from DIANA and, while it took some time, I think the results are good.
Process is not complicated but it does require a specific order of operations.
You start by taking the action out of the stock, a simple three screw operation that we all know how to do.
Then you need to take out the rear sight and the front sight. Rear sight is no problem because the screws are visible. Just make sure that you do NOT loose the 0.5 mm's ball that creates the "clicks" in the rear sight elevation knob.
The front sight however, is a bit more tricky because under the visible "thread protector" there is a nut, and in the rear sight ramp itself, there is a grub screw:
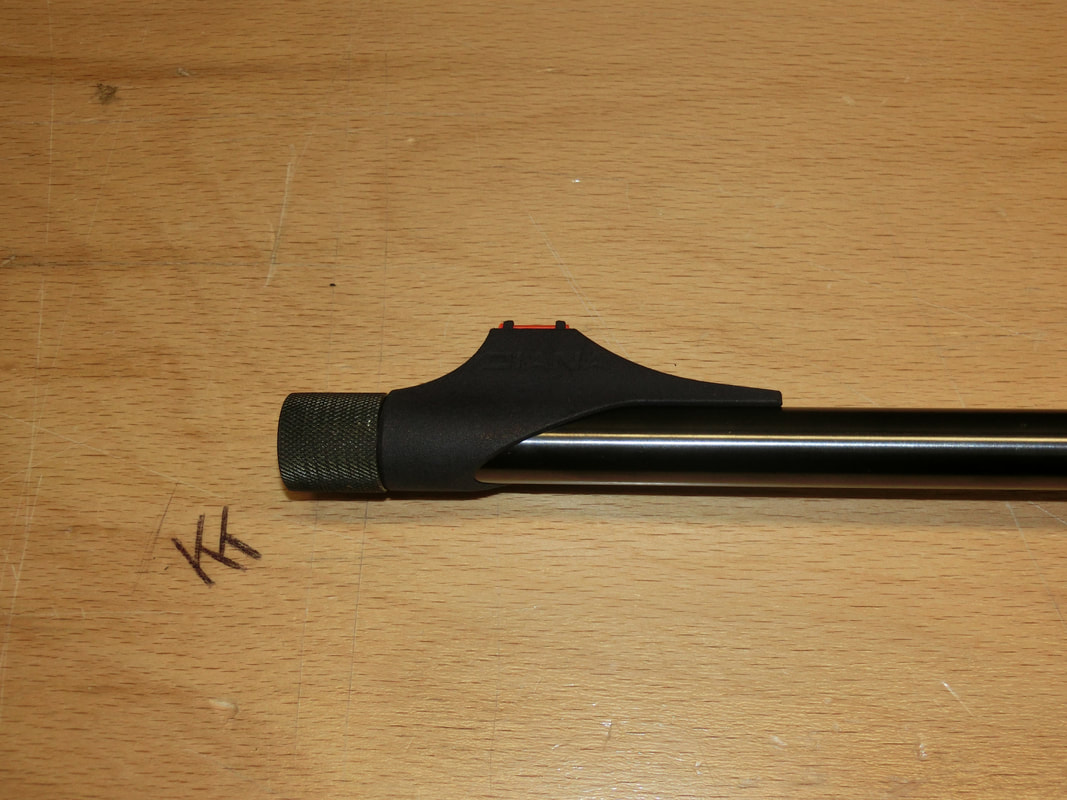
Front sight assembly
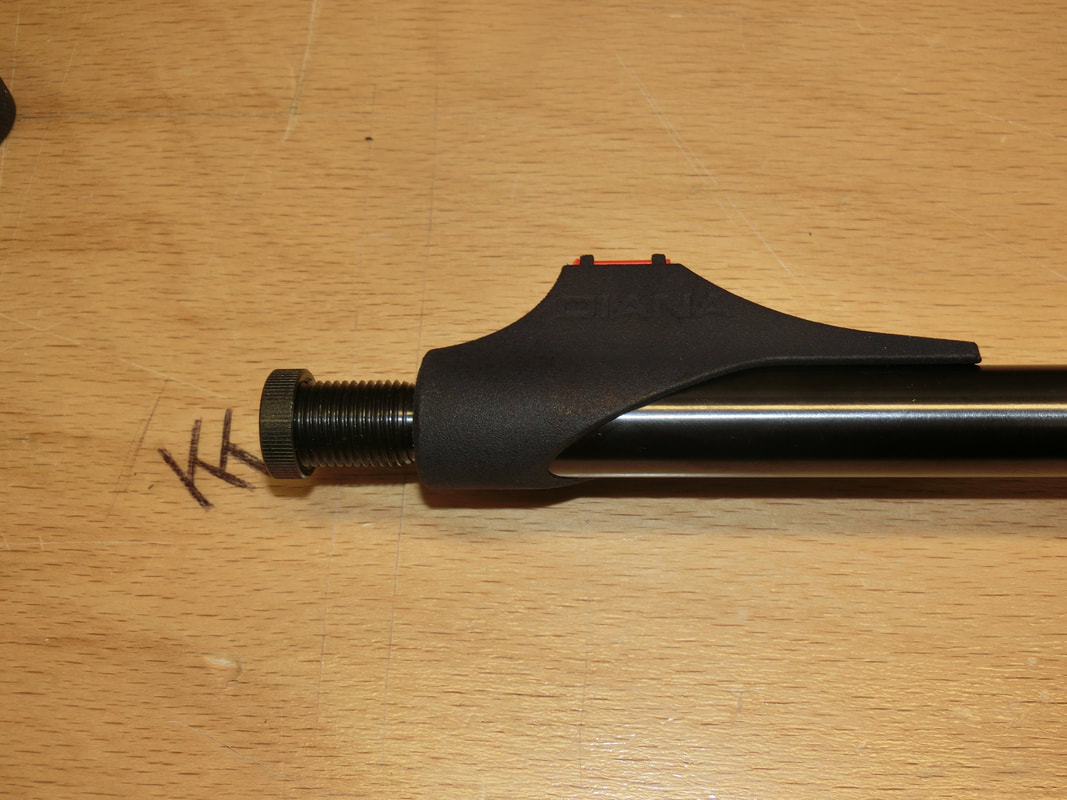
Thread protector removed and nut loosened.
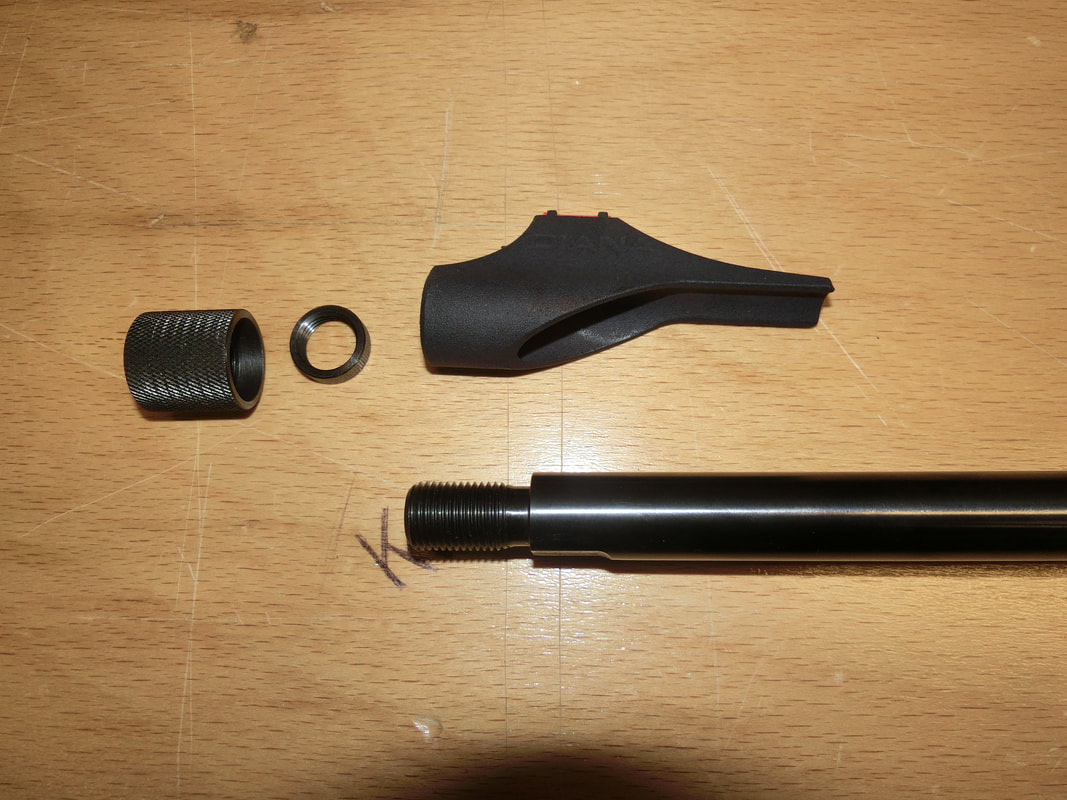
After the grub screw has been loosened, the whole ramp can come off.
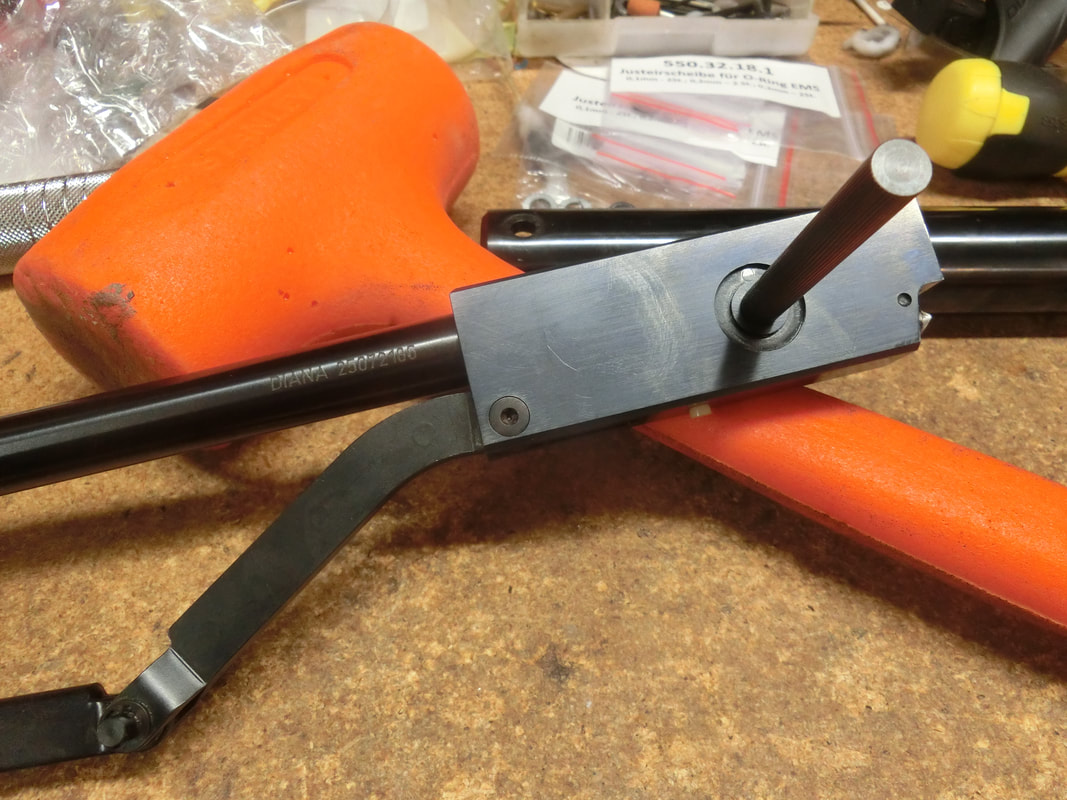
So, now without the sights, we can start working on the action
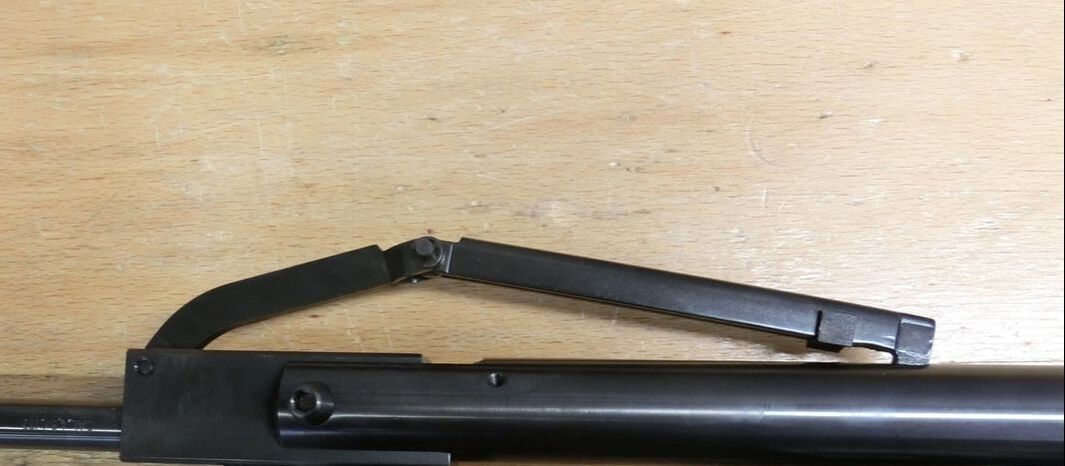
Unlock the "knee" in the compound linkage and disconnect the linkage from the piston
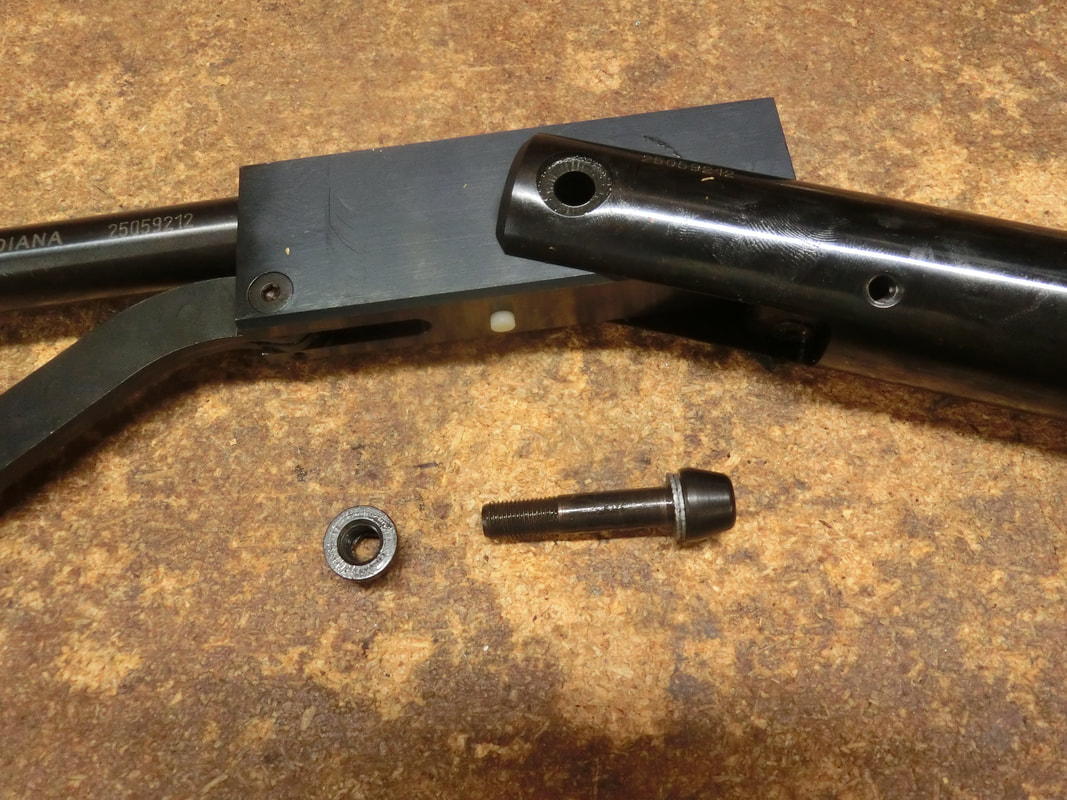
You can now undo the main barrel block bolt/axle. Be sure to use TWO wrenches. Since there are Loc-Washers on BOTH sides, when "undoing" the bolt, you will feel it tightening and then releasing.
If the cocking linkage bothers you, now is the time to disconnect it from the block. There is a small grub screw on the distal end that "locks" this screw in place. Loosen that, and then remove the affixing screw.
Personally, it does not bother me so, I always work with the linkage connected.
Personally, it does not bother me so, I always work with the linkage connected.
You can even work with the rear sight on, but then you should be careful
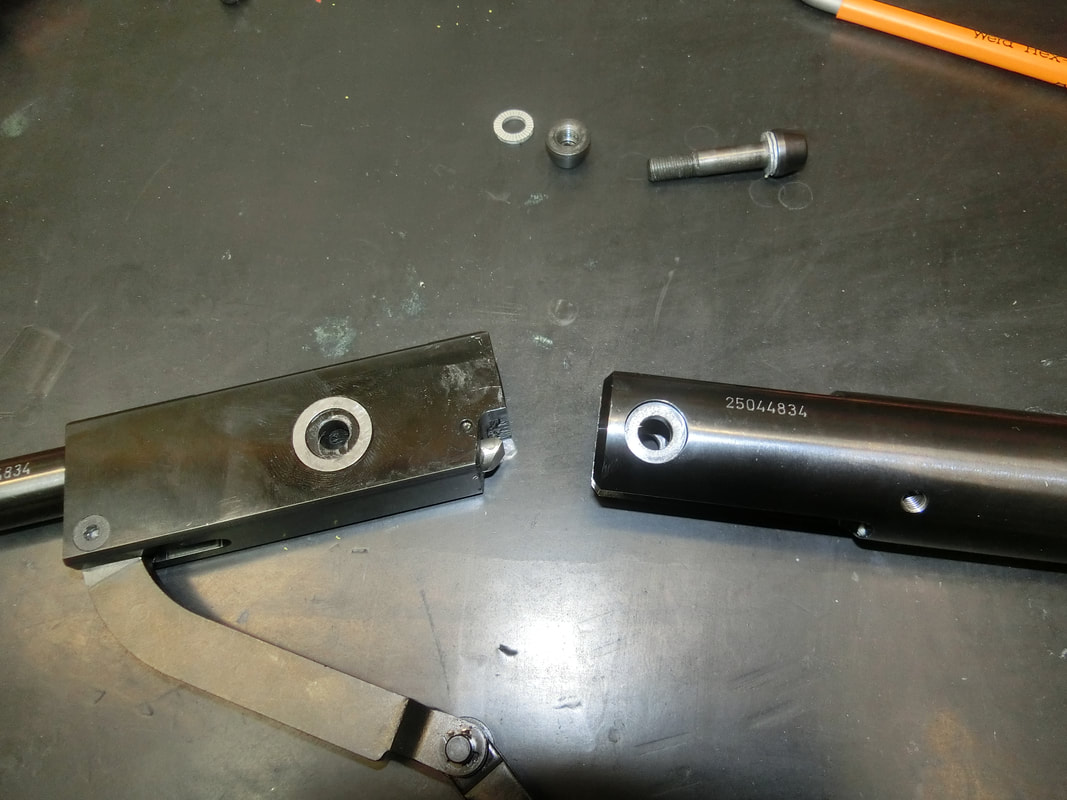
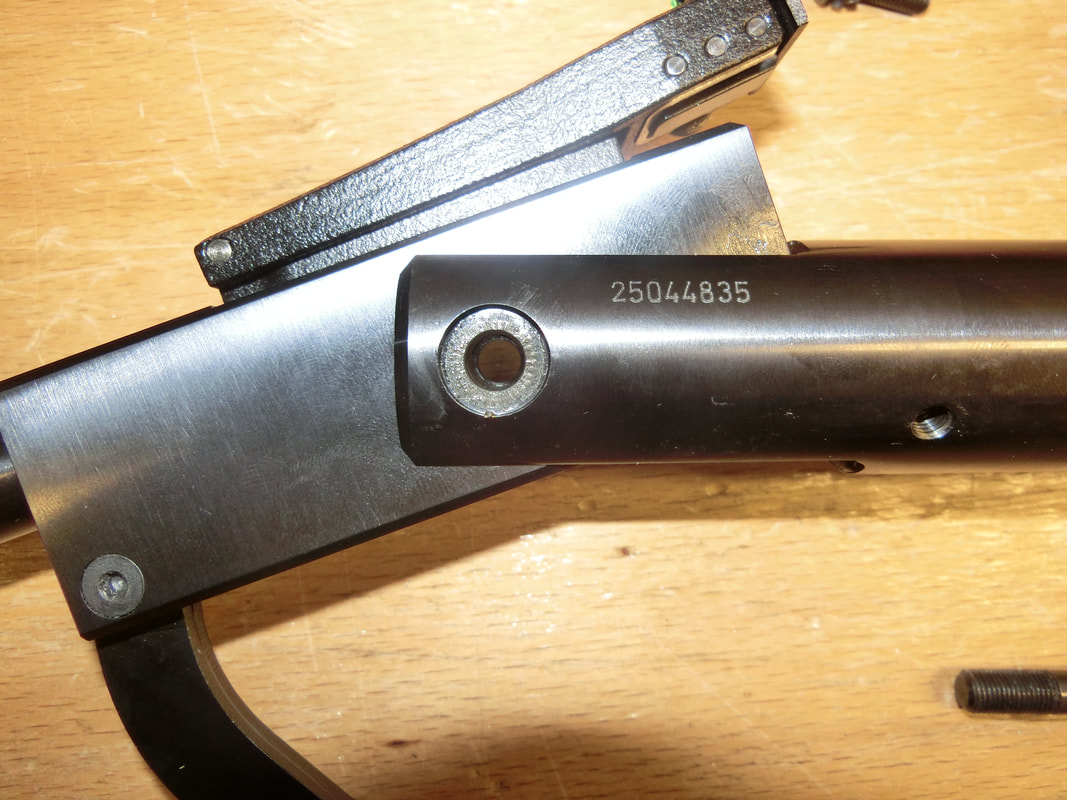
And now you can slide the barrel block out of the forks.
There are two thick washers that provide for clearance between the barrel block and the forks. Those can be lifted with a strong magnet.
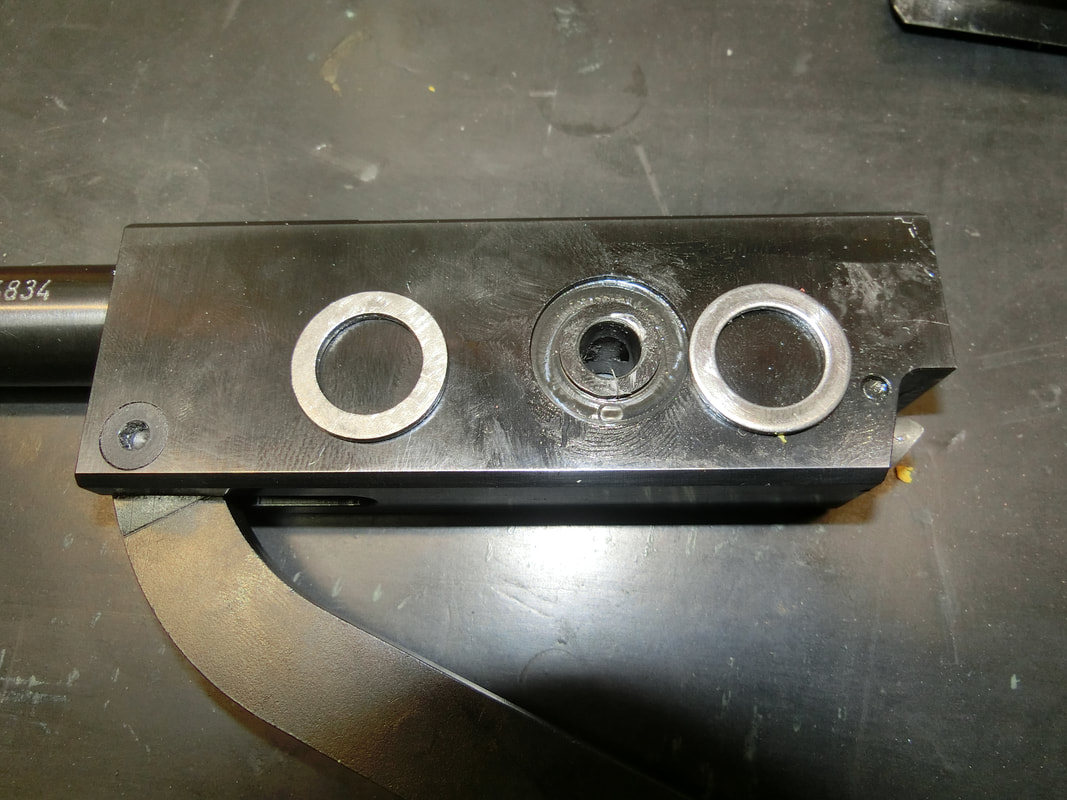
Now you need to insert a tool that prevents the barrel from rotating when you loosen the barrel locking castle nut
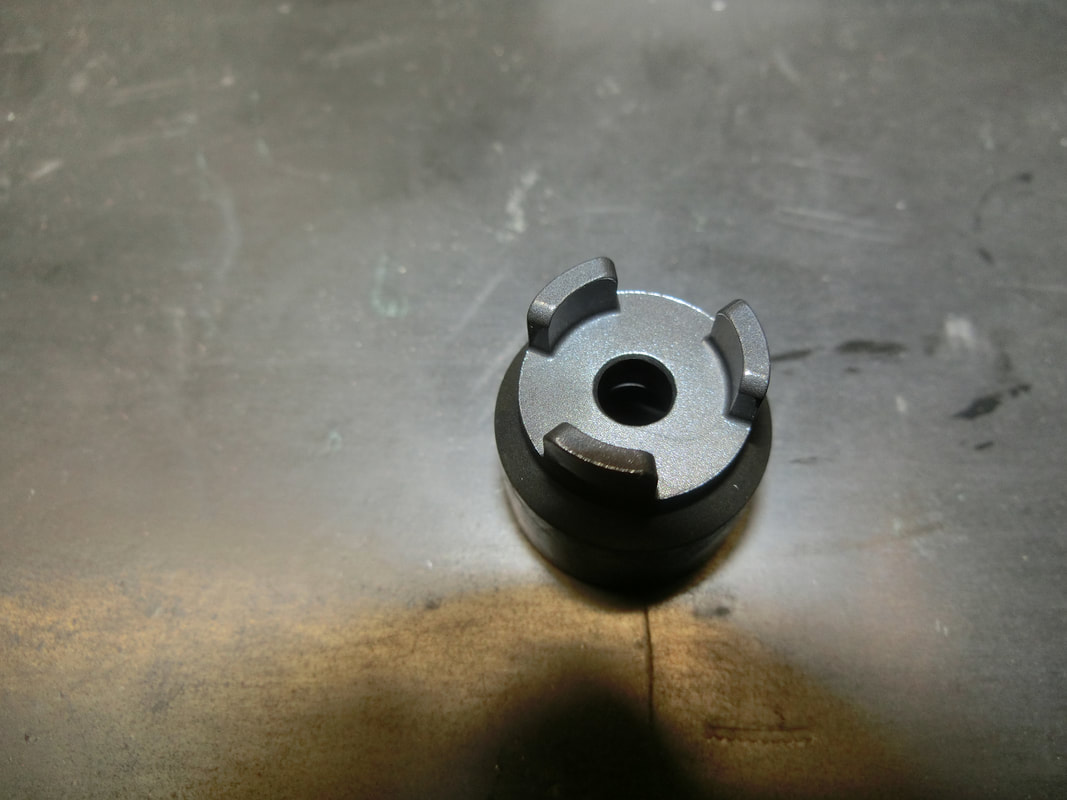
Using this special socket. And a 3/8" breaker bar, you give the breaker bar a good "Whack" with a plastic mallet
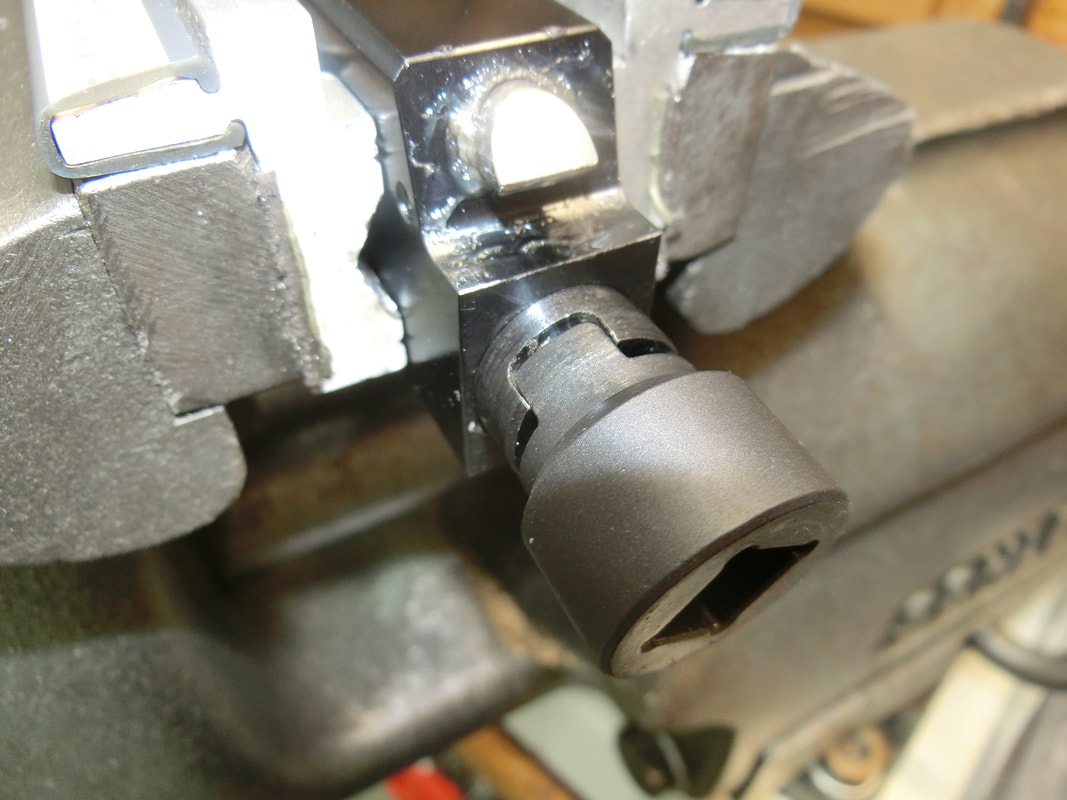
Once it has broken loose, you can remove it using any other socket handle
As in most gunsmithing that involves actions, it is best to set everything under tension and then "whacking" the wrench than to try to break the tightness smoothly. This is one of the more complicated things because it seems that you would need three hands. You don't, but you need to do it suddenly.
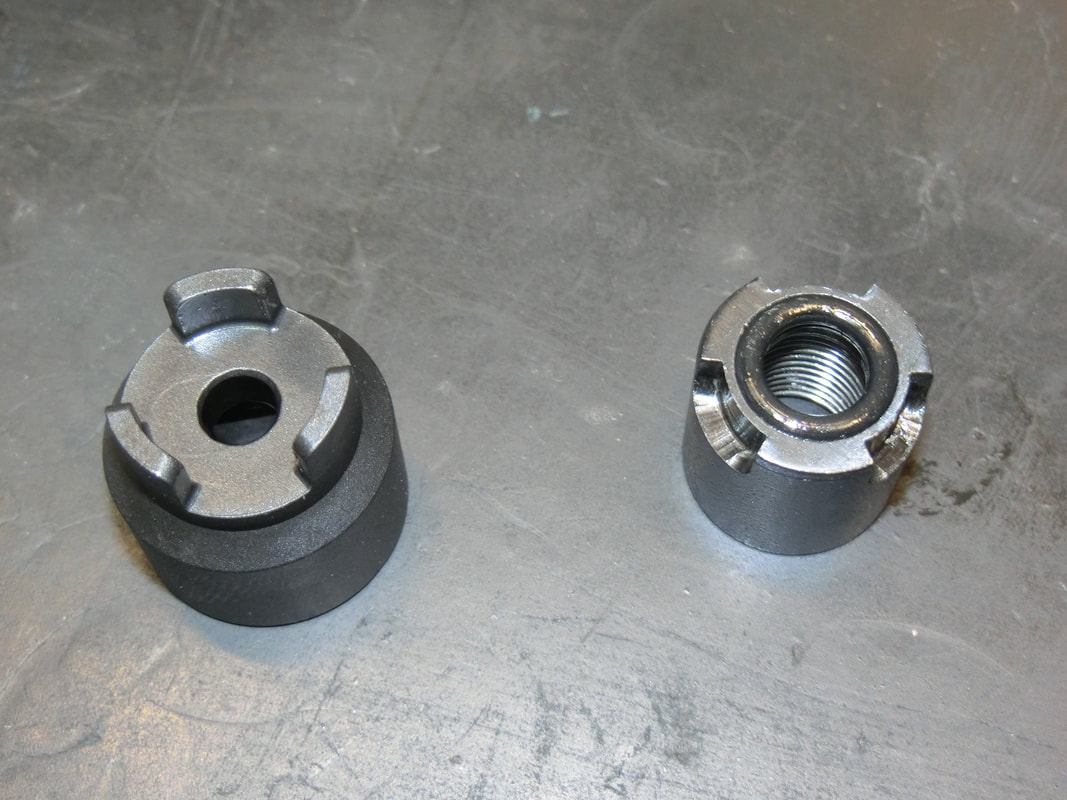
Once the castle nut comes out, it is easy to remove the breech seal/O'Ring
Using a PP/dead-blow hammer, you separate the barrel from the block
If you are just changing barrels, you just follow the reverse procedure to install the new barrel.
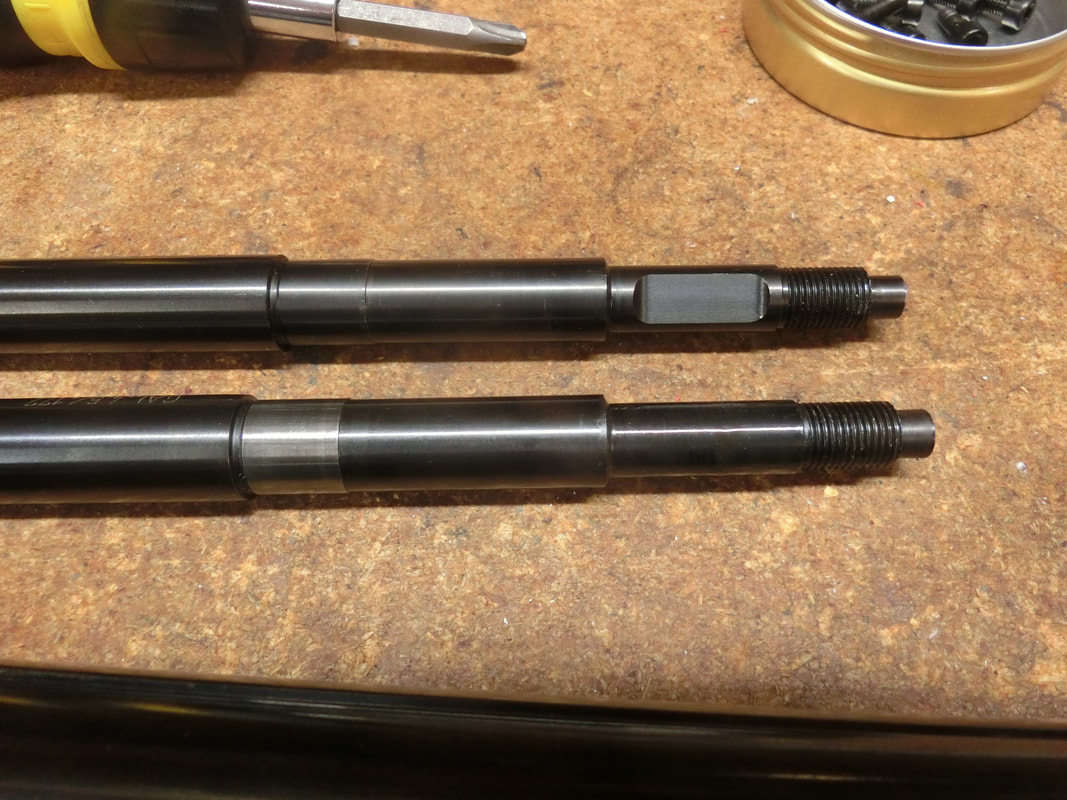
BUT, the truth is that now is the time to do whatever you want done to the barrel. From re-crowning to polishing the rifling with JB, or lapping the bore if you are so inclined.
Personally, I like to clean the barrels very well and then polish the bore and rifliig with JB bore paste.
In this picture you can see clearly, from left to right how the "exiting" pellets show less and less scratches and deformations as the process goes along:
Personally, I like to clean the barrels very well and then polish the bore and rifliig with JB bore paste.
In this picture you can see clearly, from left to right how the "exiting" pellets show less and less scratches and deformations as the process goes along:
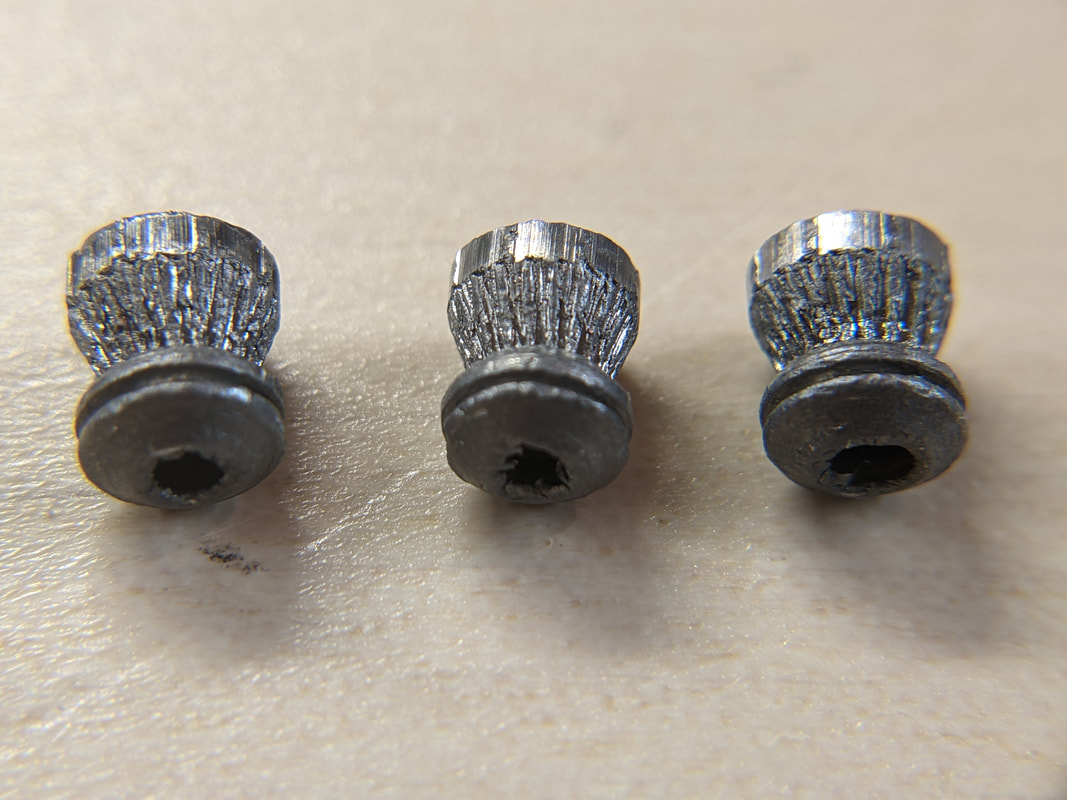
From left to right: OEM barrel finish, then after a few passes with JB Bore paste, then after the whole treatment has been done.
If you think that the difference is purely cosmetic and wondering ¿"what does it matter if a pellet looks ugly when it comes out of the bore"? then look at the edges of the skirts:
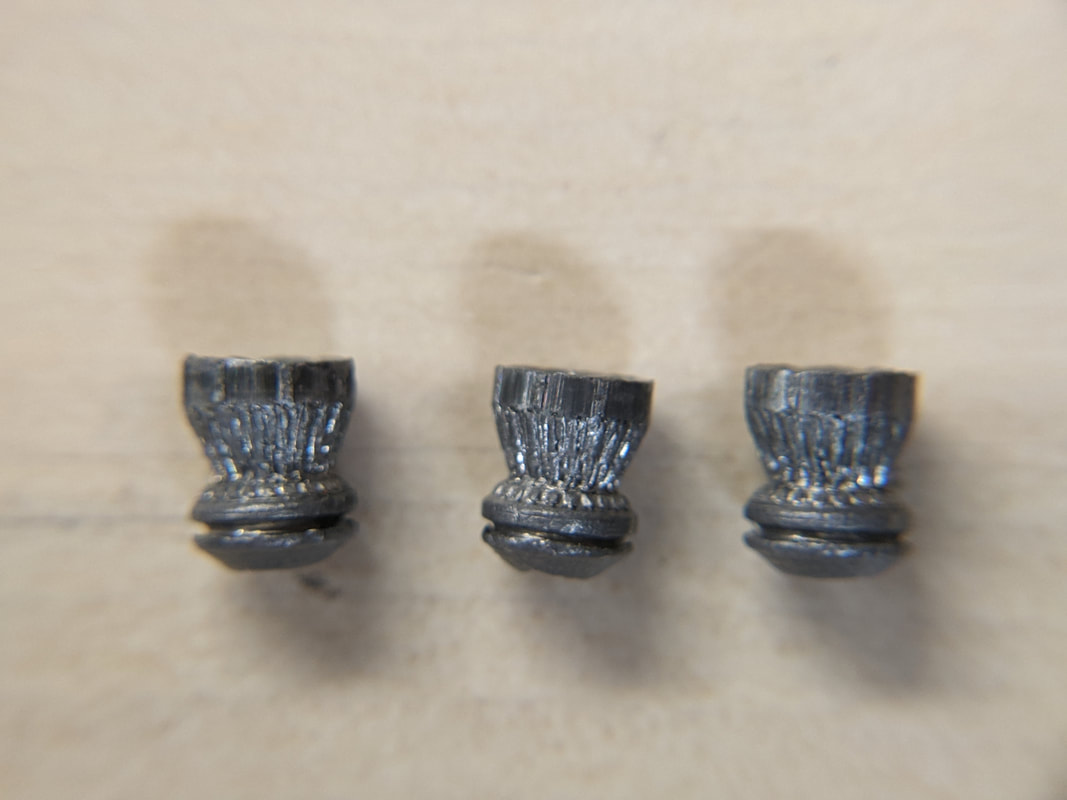
The rougher edges always translate in a skirt that is more uneven.
Every bit of lead scraped out of place, instead of swaged into a new shape of the pellet is a disturbing influence not only on the pellet exit from the crown, but also on the pellet path.
Shards left in the bore may adhere to the next pellet and create a "vane" that will send a flyer out of the aimpoint.
This barrel was additionally re-crowned.
In the end, the work performed paid out.
What counts is performance at the target, and with the barrel's favorite pellets, it did quite well for a break-barrel in the 15 ft-lbs class:
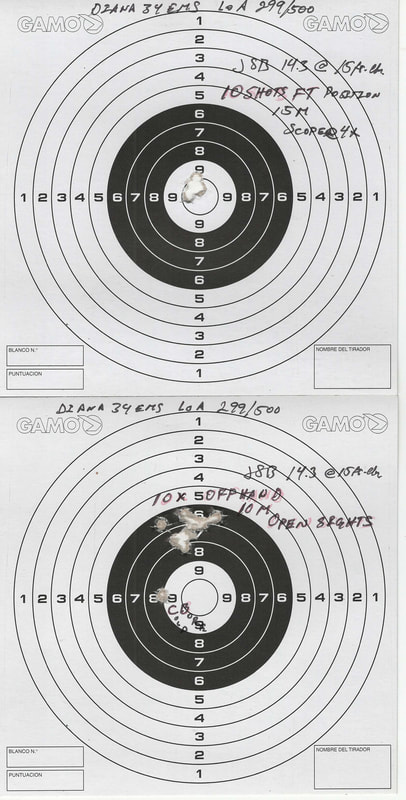
Top group is 10 shots from the FT position at 15 meters (about 16½ yds) with a 4X scope, and the bottom group is also a 10 shot group, but with open sights at 10 m.
I don't know how it was shooting before, but I do know that any reasonable target at normal break barrel airgun range is in danger with this rifle.
;-)
Keep well and shoot straight!
HM
I don't know how it was shooting before, but I do know that any reasonable target at normal break barrel airgun range is in danger with this rifle.
;-)
Keep well and shoot straight!
HM
 RSS Feed