Part 3: Dragnet
For those of us that remember B&W TV, "B" Westerns, and were raised on a visual diet of clear-cut good and evil as white hats and black hats, the name 'Dragnet' will always recall Det. Sgt. Joe Friday.
And badge # 714 will always mean dedication to the truth and unswerving loyalty to the Law.
Among its most famous phrases:
"All we want are the facts, Ma'am"
In honor of such a simple, unswerving, and devoted to service attitude, we decided to title this entry.
Take it away, Steve!
I mentioned in that write-up that after recrowning the barrel on my 56TH, Hector completely assembled my barreled action with some of his own components and returned to me for testing. It arrived with one of Hector's Short Stroked HMO powerplants, a tuned T06 trigger and the most beautifully detailed Diana 54 stocks I have ever seen! He went all out on this set up provided to me for testing.
We have already seen the rifle in action during the Harmonic Tuner testing. Now lets turn our attention to the powerplants, beginning with the Short Stroke HMO set-up.
28mm x 76mm HMO Short Stroke
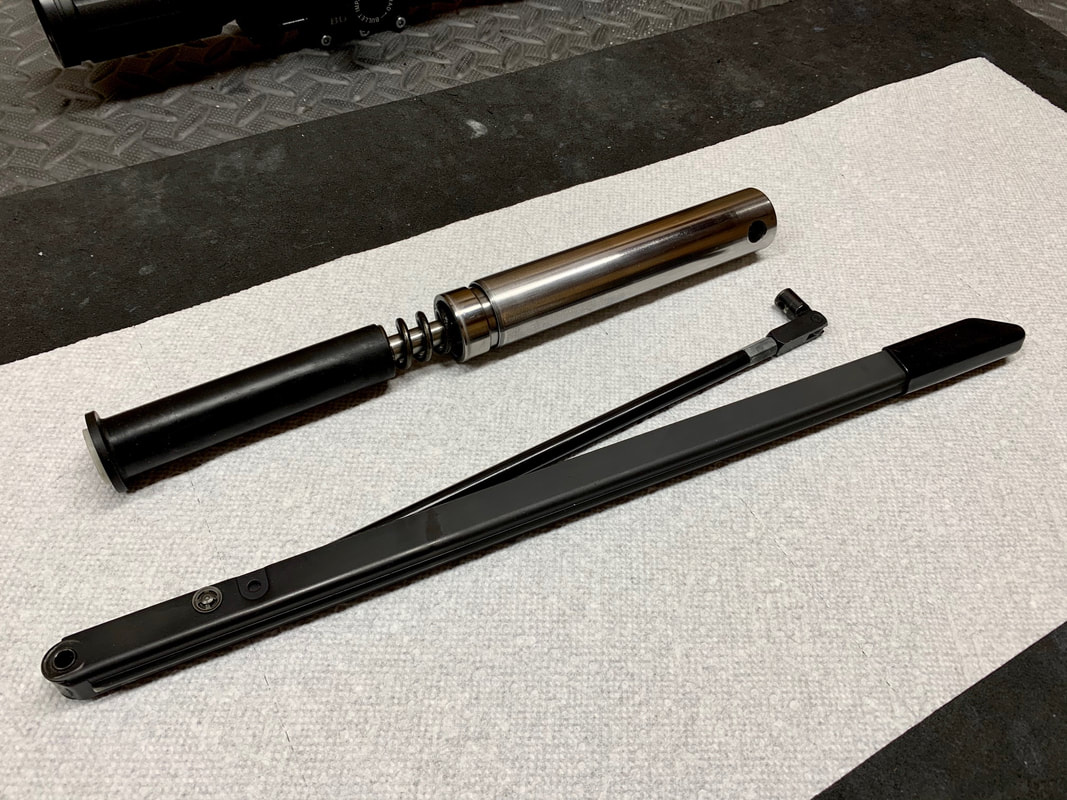
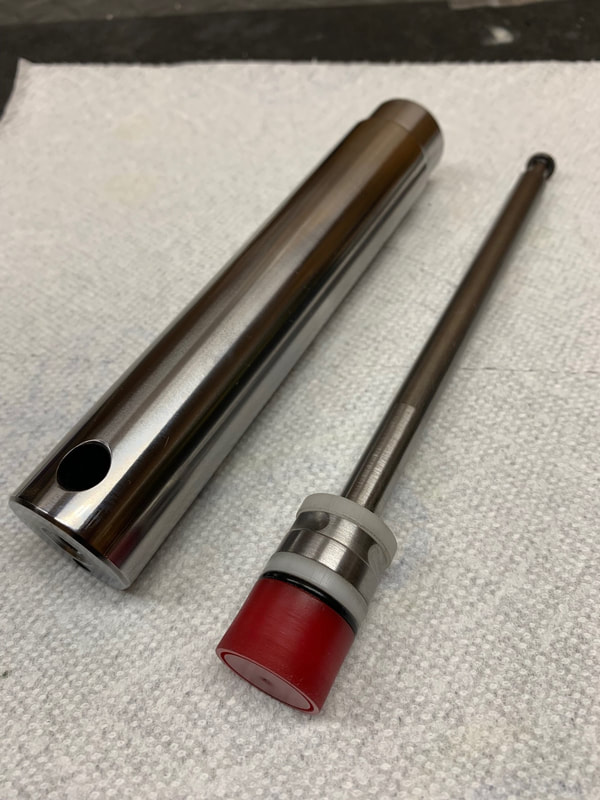
The set-up as provided to me included everything you see pictured below;
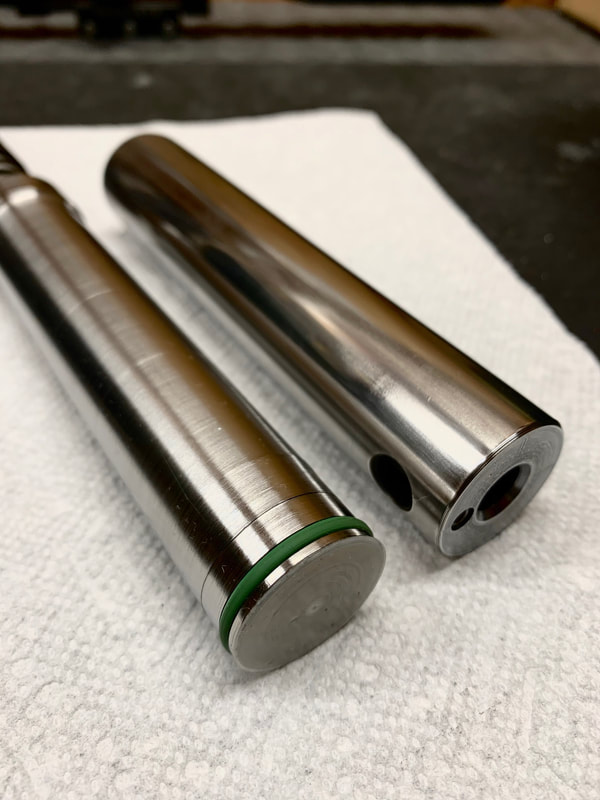
Compression Tube with Reinforced Breech Seal
HMO piston
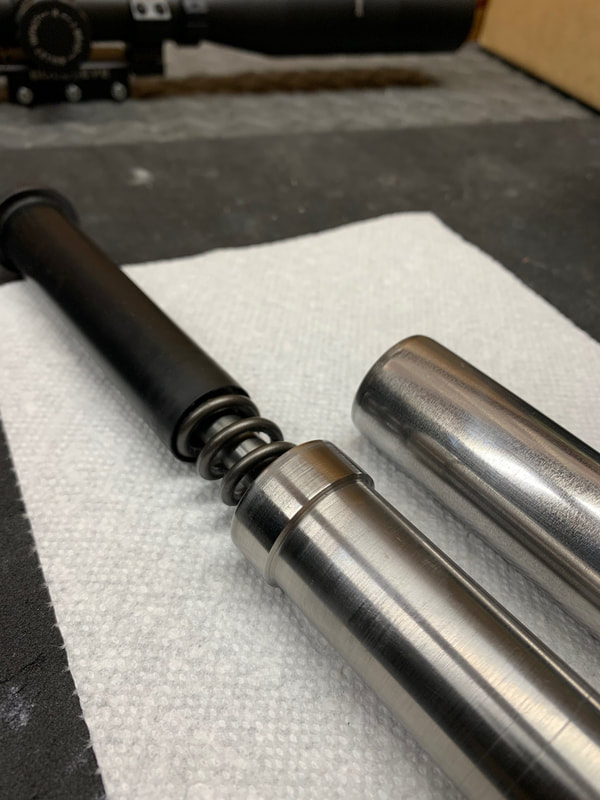
Main Spring with dual guides
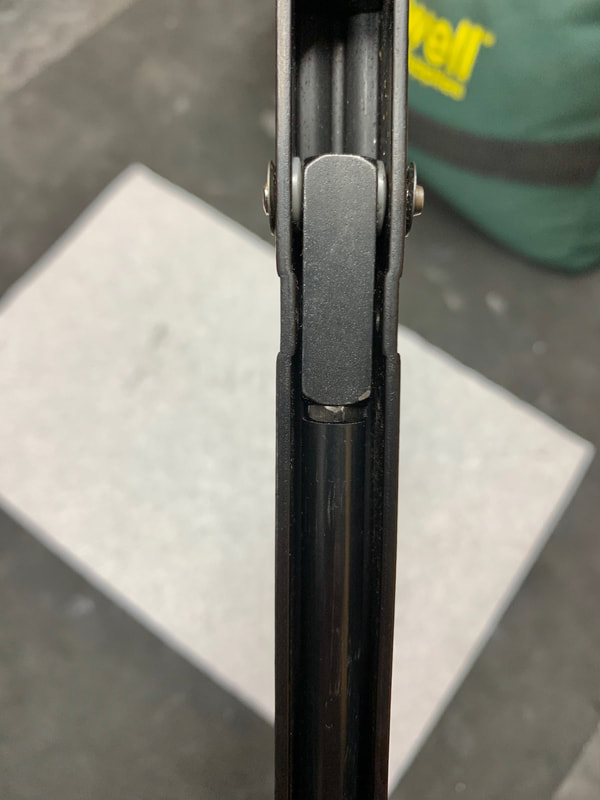
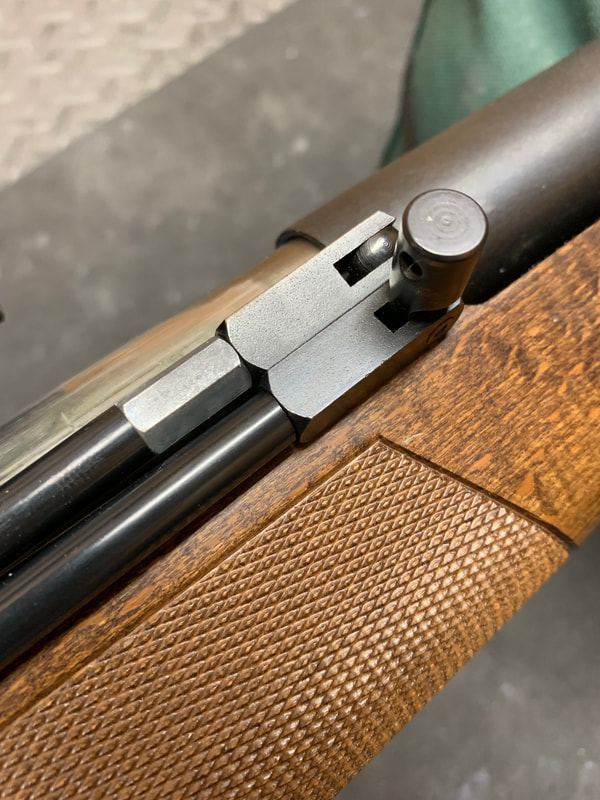
Cocking Handle with modified fulcrum and linkage extension
It was set up for my requested energy level (11.2 to 11.4 fpe range)
You can also see the dual spring guide set-up. This includes a conventional guide that inserts into the main spring, and an outer guide that surrounds the spring.
After all testing was complete, I purchased this set-up from Hector. It is well made, durable and easy to tune on target. I was able to successfully tune to sub 3/16" c-t-c 5-shot groups across two series of tests at 32 yards.
AGT 22mm x 96MM Skirtless
This set-up has been covered in much greater detail in a couple posts I have made on GTA and AGN, but I will give a quick overview;
This set-up consists of a factory Compression Tube sleeved down to 22mm. The transfer port retains the factory 4.1mm ID.
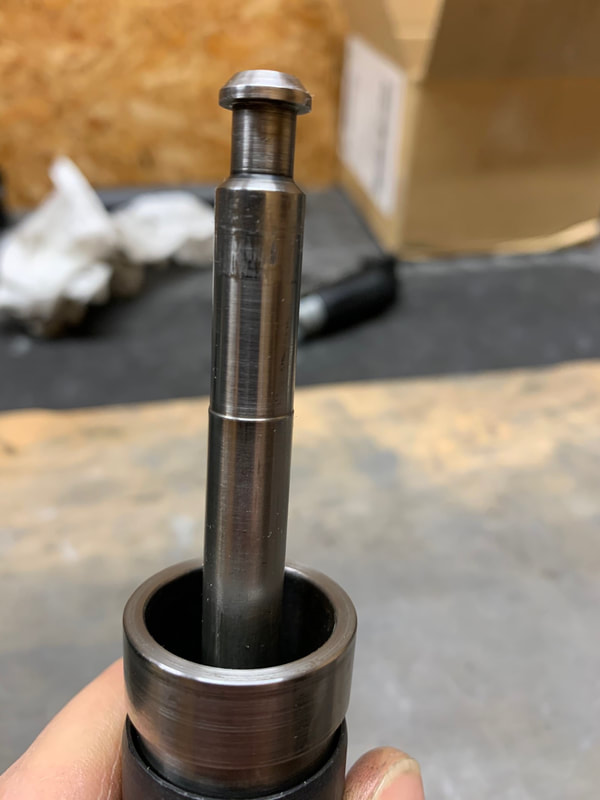
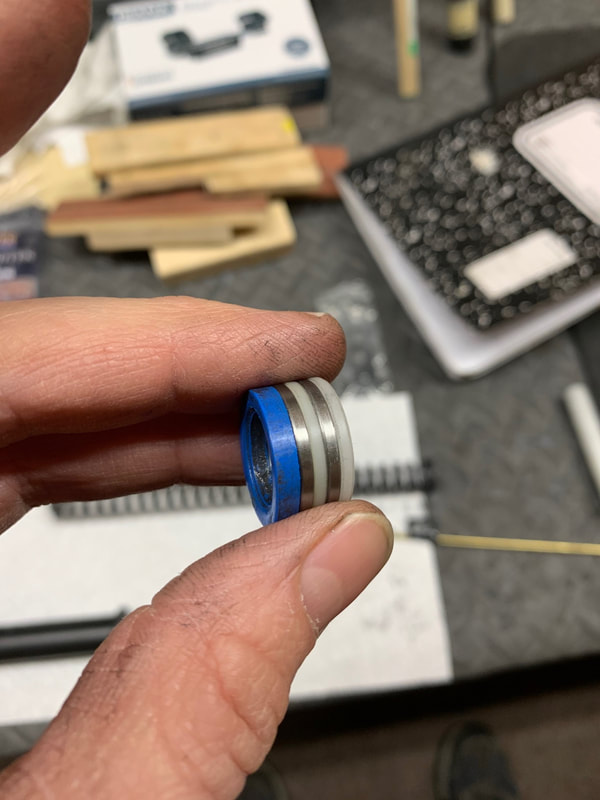
The piston uses the factory piston rod, and has a dual seal piston affixed on the end. The dual seals consist of a parachute seal and an o-ring main seal, and help reduce the effects of temperature changes on your velocities. The piston also has two supporting guide bearings, with a special top hat that also functions as a third support bearing.
This is an exceptionally smooth powerplant and was producing groups as small as 1/4" c-t-c at 49 yards. It is also very well made, solid and durable. Adjusting preload can be done without a compressor. I am able to compress the trigger assembly into place with one hand and insert the trigger block pins with the other hand.
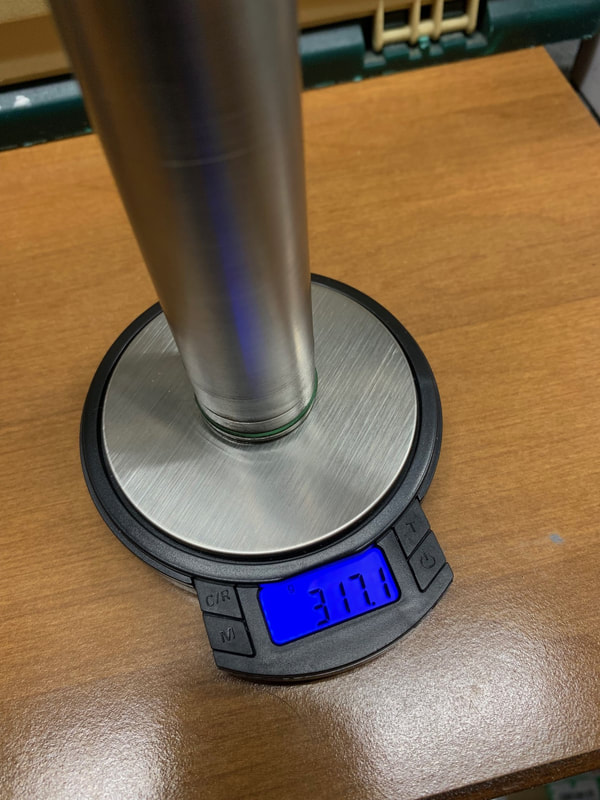
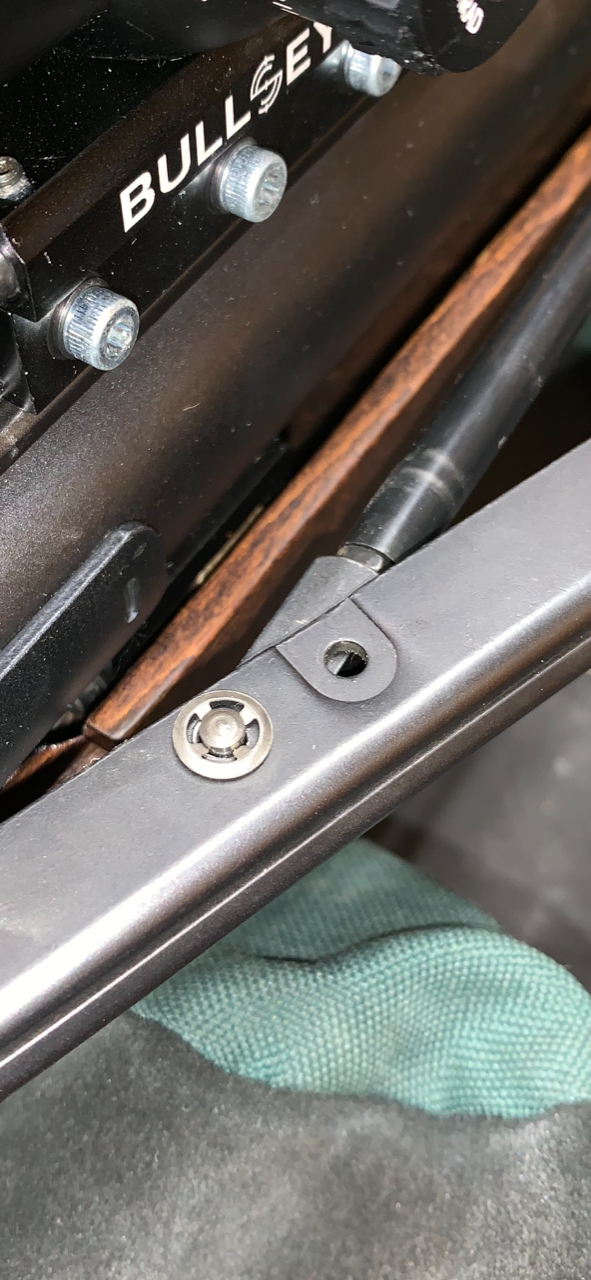
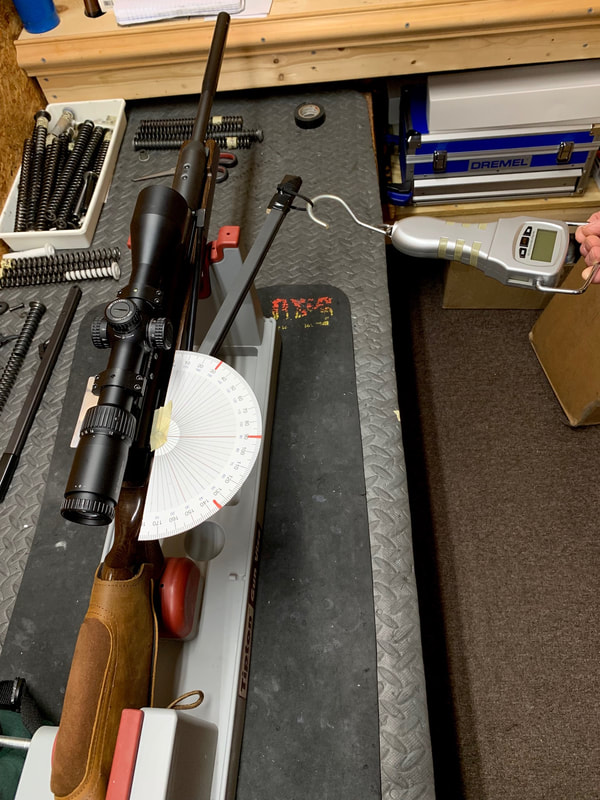
This was accomplished by taping a Protractor above the Cocking Handle, centered directly over the pivot point. The rubber grip cap was removed from the cocking handle and a slotted wooden block was inserted inside the end of the handle. The block was supported by rubber sheeting, and had a groove in the center. I then looped a wire tie around the handle, centered in the groove. The rifle was supported firmly in a padded support and measurements were taken using a digital scale.
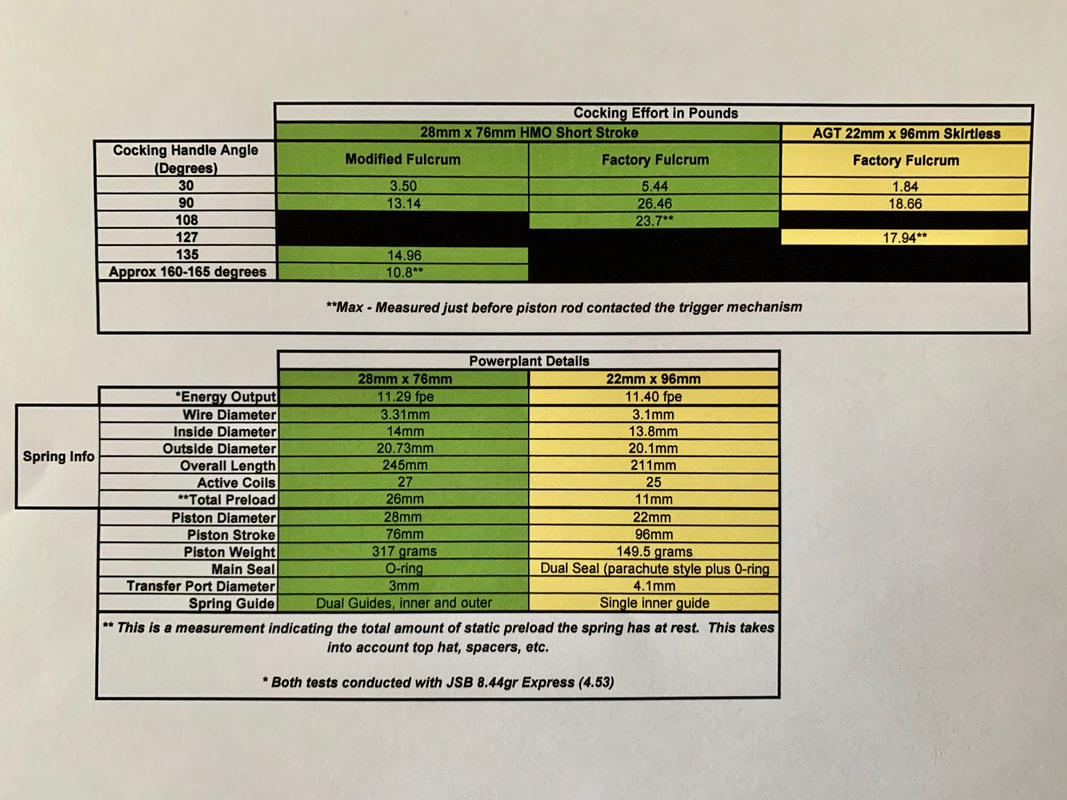
The weight measurements were taken at specific locations in the cocking stroke, with the max reading being recorded just before the piston rod contacted the trigger mechanism. Due to the differences in cocking stroke length across the power plants, the max readings were not the same as you can see in the chart below.
The pull point was centered right where you would place your hand when cocking the rifle and scale was kept inline with the direction of pull.
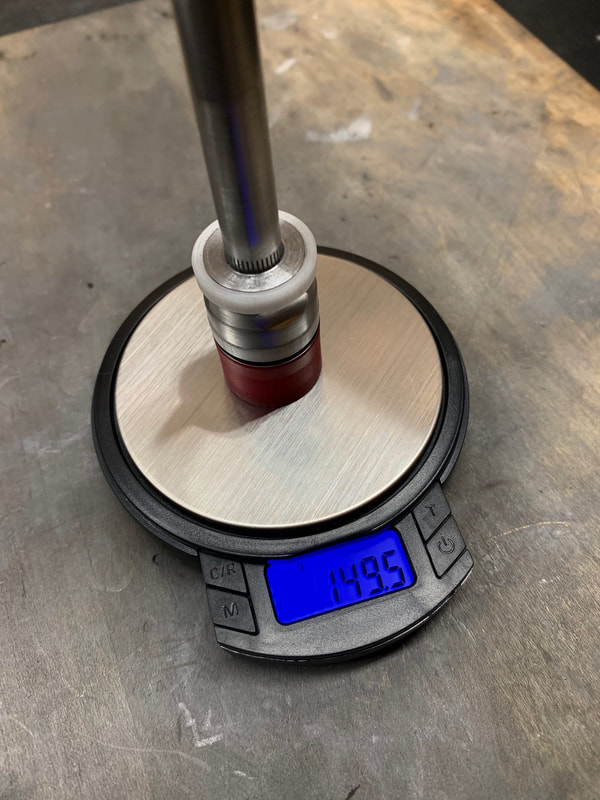
Here is the set-up for testing:
I decided to combine everything into a single chart for a simple visual comparison. See below:
I enjoyed this testing very much and hope you found the write-up both interesting and helpful.
Steve
 RSS Feed