DISCLAIMERS:
1.- ALWAYS FOLLOW THE LAW! Shooting at night-time produces very different perceptions in different parts of the country and the world, so, make sure you are well aware of your laws and that you are not infringing on anyone else's right to safety, security, and tranquility.
2.- Application shown here is safe for the gun intended. NO warranties are made or implied.
3.- Shooting at night requires 10X more care plus the need to ABSOLUTELY identify your target and make sure of your backstop. Take your time, wait for the shot, and make sure to make it count.
4.- Also make sure you visit/scout the place during daytime and that you KNOW the spot like you know your "farcebook" welcome page, or the nicks and scratches in your favourite airgun stock.
5.- If you know the spot and you know the distances, and you know your target, practice under as similar as possible conditions. Do not wait for the hunt to actually practice your viewing, lighting of the "work area", keeping track of personal gadgets, simplifying of trajectory data and having the facility to consult it at all times, even in the dark.
Now that is over let's get down to it:
It seems that every 4 years
something interesting pops up.
8 years ago I published the first version of this with SIGHTMARK's Photon
4 years ago, it was the turn to post the newer version using the SIGHTMARK "Wraith"
Now, it is the turn of a relative newcomer : PARD
PARD has already some history in Europe, where night/dawn/dusk hunting is almost preferred. Less people around, less bother.
We in the US still are in somewhat of a legal "labyrinth" because it seems that almost every county can set different rules, and in some states, it comes down to township/parish.
So, the first disclaimer is there for real: ALWAYS FOLLOW YOUR LAW.
It was a friend/customer the one that first pointed me in PARD's direction. He was looking for something within a $200 budget and didn't really want a dedicated unit. He wanted an "add-on" to his scope.
So, we undertook the research and the analysis of the specs and settled on one unit that he tested extensively, sharing his results.
After that, it was a question of waiting till someone came up with the need.
And it happened a few weeks ago.
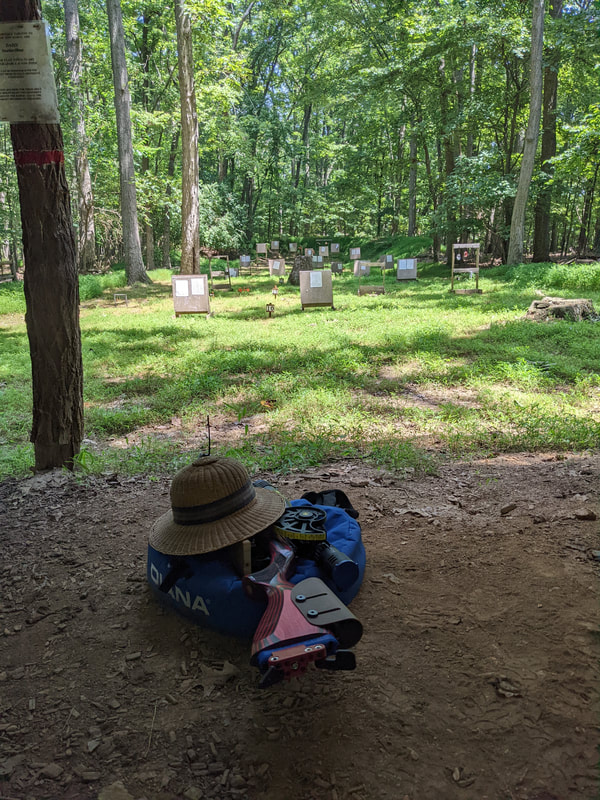
The carrots, lettuces, and tomatoes of a good friend were being raided by different rodents that surfaced at dusk and night. Some of them edible, some of them not, but they still did damage.
And so, the HIGH COMMAND (Wife), decided to send the troops (Husband) in.
Well, it was a good excuse to get a new gun and the night equipment to accomplish the mission.
;-)
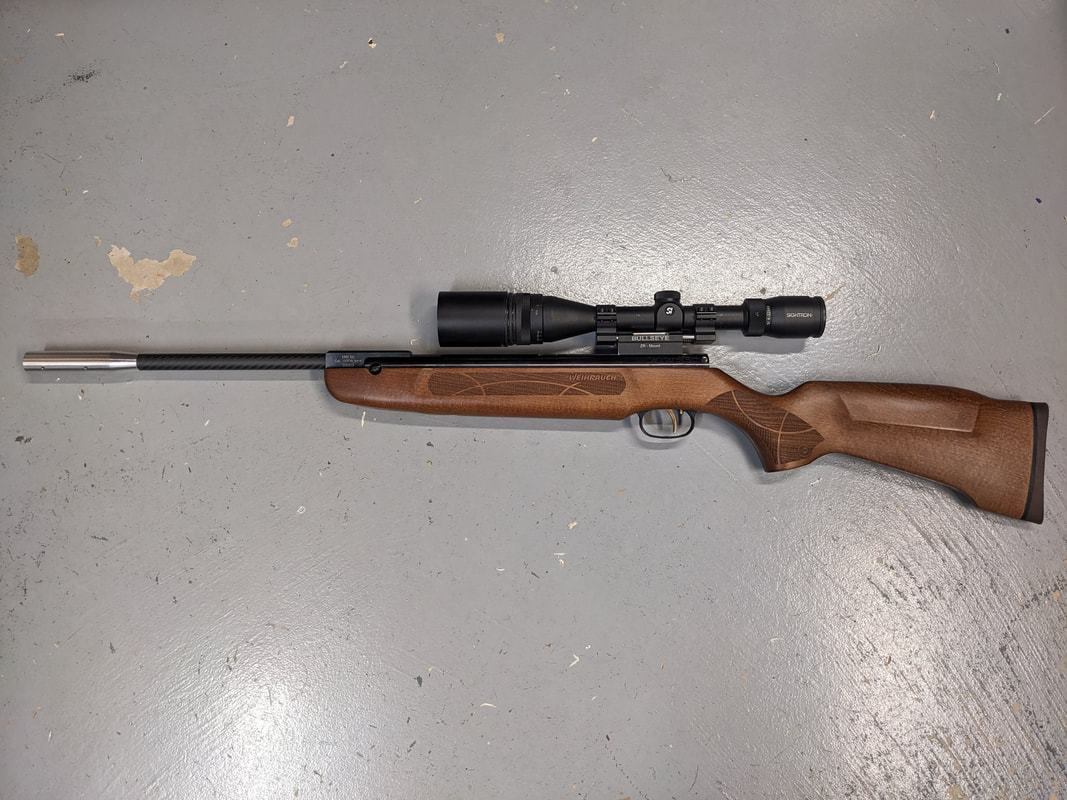
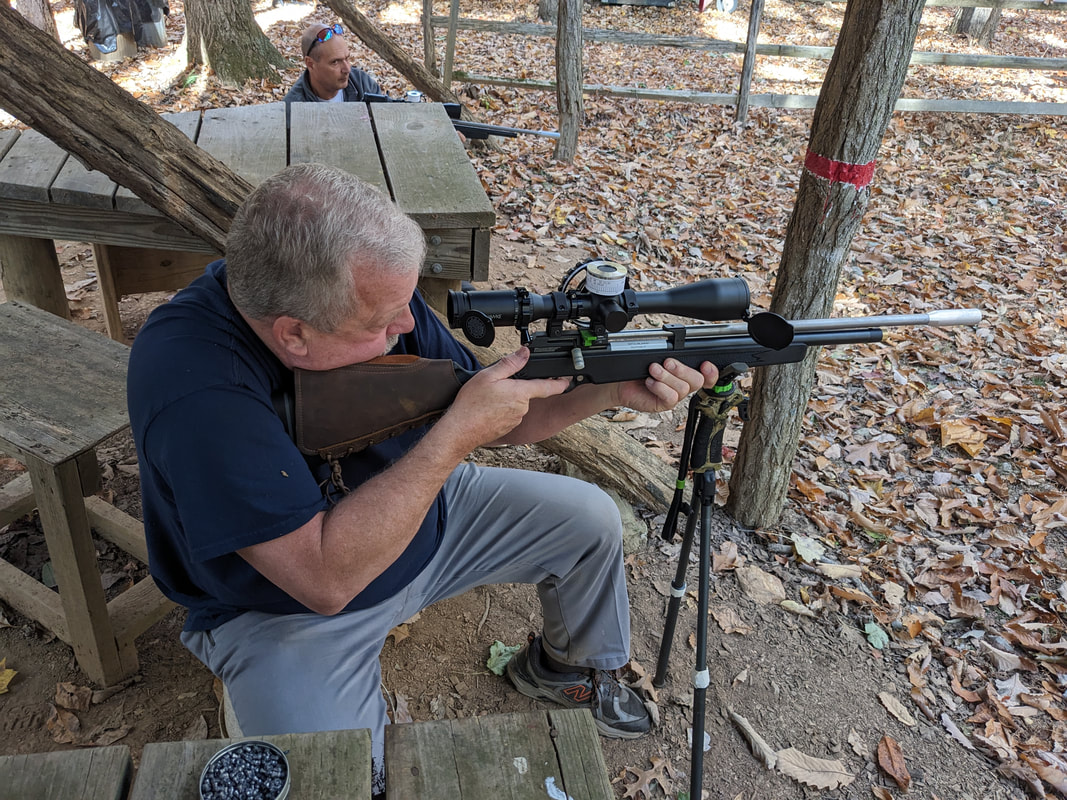
The gun chosen was a DIANA 48, that he sourced 2nd hand independently, and when the sighting system question came up, it was an easy choice.
PARD has made the effort to keep to the "standard configuration" of the traditional rifle scope.
Which was one characteristic that made the demise of the "Photon" doubly lamented. The requirement of using different "housings" made the use of Picatinny bases mandatory. And that excluded the use of the ZR mount, thereby risking the vibrations and inverse recoil of the springer ruining the sight.
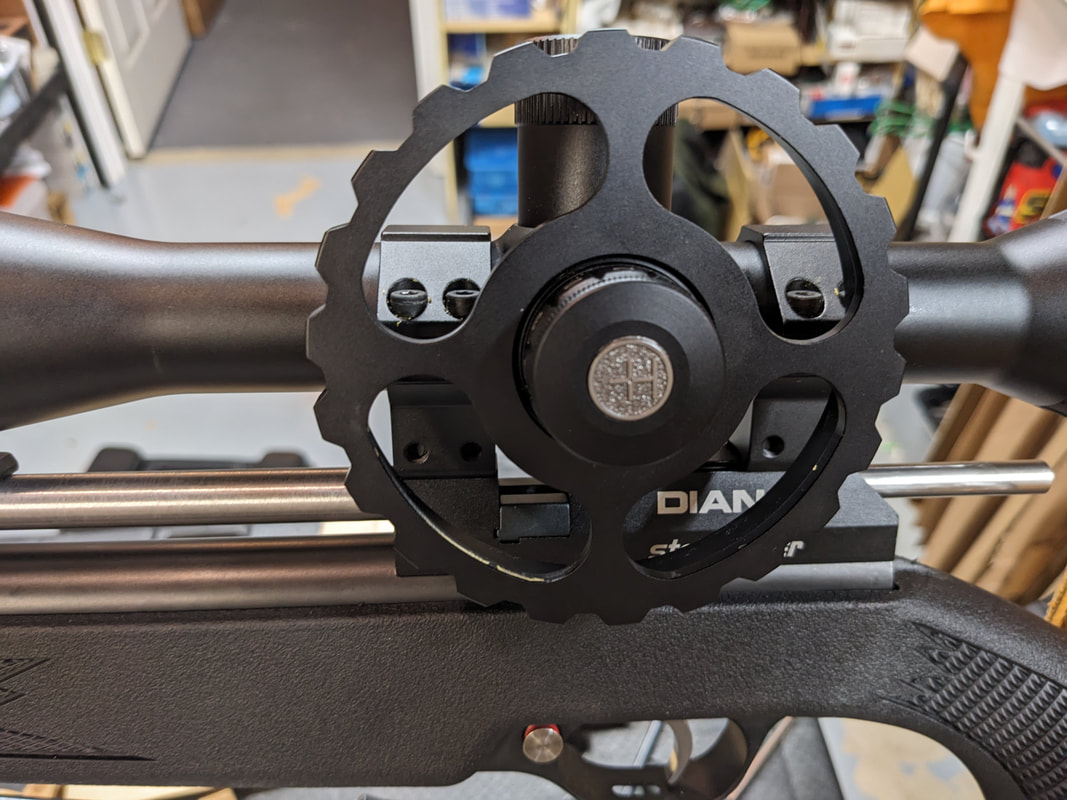
PARD kept the "morphology" of the traditional riflescope and therefore allowed us to mount the unit using a normal, 30 mm's, Accurized ZR Mount.
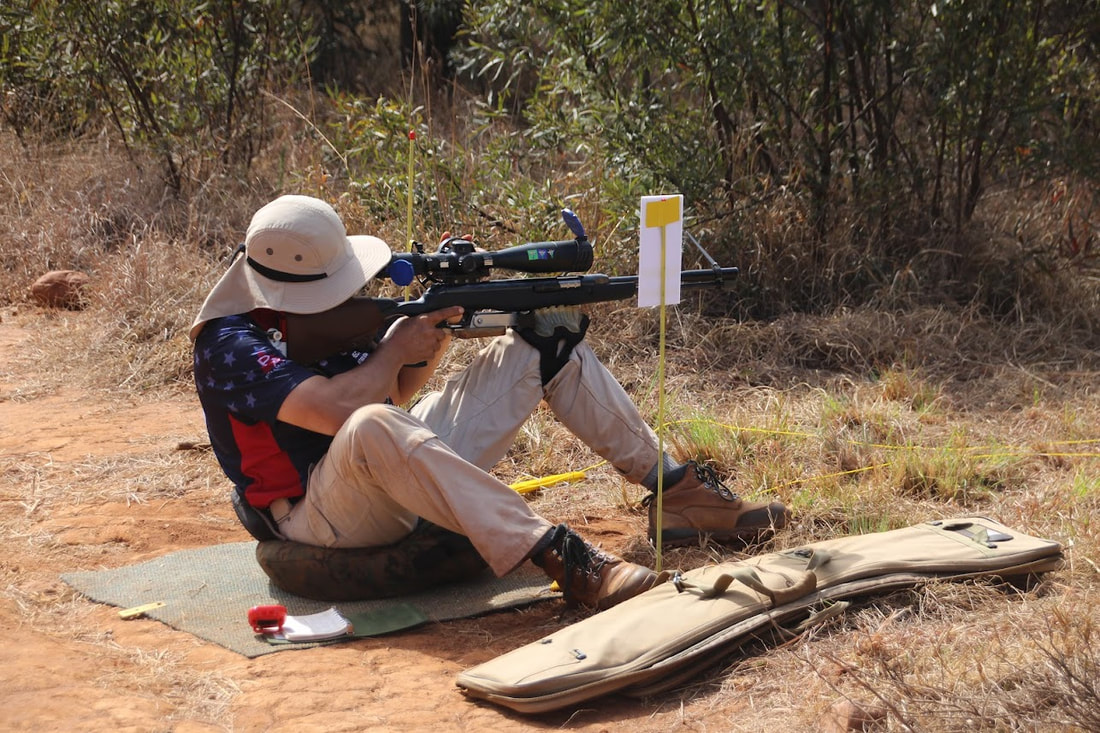
Here it is in a different 48:
8 years ago I published the first version of this with SIGHTMARK's Photon
4 years ago, it was the turn to post the newer version using the SIGHTMARK "Wraith"
Now, it is the turn of a relative newcomer : PARD
PARD has already some history in Europe, where night/dawn/dusk hunting is almost preferred. Less people around, less bother.
We in the US still are in somewhat of a legal "labyrinth" because it seems that almost every county can set different rules, and in some states, it comes down to township/parish.
So, the first disclaimer is there for real: ALWAYS FOLLOW YOUR LAW.
It was a friend/customer the one that first pointed me in PARD's direction. He was looking for something within a $200 budget and didn't really want a dedicated unit. He wanted an "add-on" to his scope.
So, we undertook the research and the analysis of the specs and settled on one unit that he tested extensively, sharing his results.
After that, it was a question of waiting till someone came up with the need.
And it happened a few weeks ago.
The carrots, lettuces, and tomatoes of a good friend were being raided by different rodents that surfaced at dusk and night. Some of them edible, some of them not, but they still did damage.
And so, the HIGH COMMAND (Wife), decided to send the troops (Husband) in.
Well, it was a good excuse to get a new gun and the night equipment to accomplish the mission.
;-)
The gun chosen was a DIANA 48, that he sourced 2nd hand independently, and when the sighting system question came up, it was an easy choice.
PARD has made the effort to keep to the "standard configuration" of the traditional rifle scope.
Which was one characteristic that made the demise of the "Photon" doubly lamented. The requirement of using different "housings" made the use of Picatinny bases mandatory. And that excluded the use of the ZR mount, thereby risking the vibrations and inverse recoil of the springer ruining the sight.
PARD kept the "morphology" of the traditional riflescope and therefore allowed us to mount the unit using a normal, 30 mm's, Accurized ZR Mount.
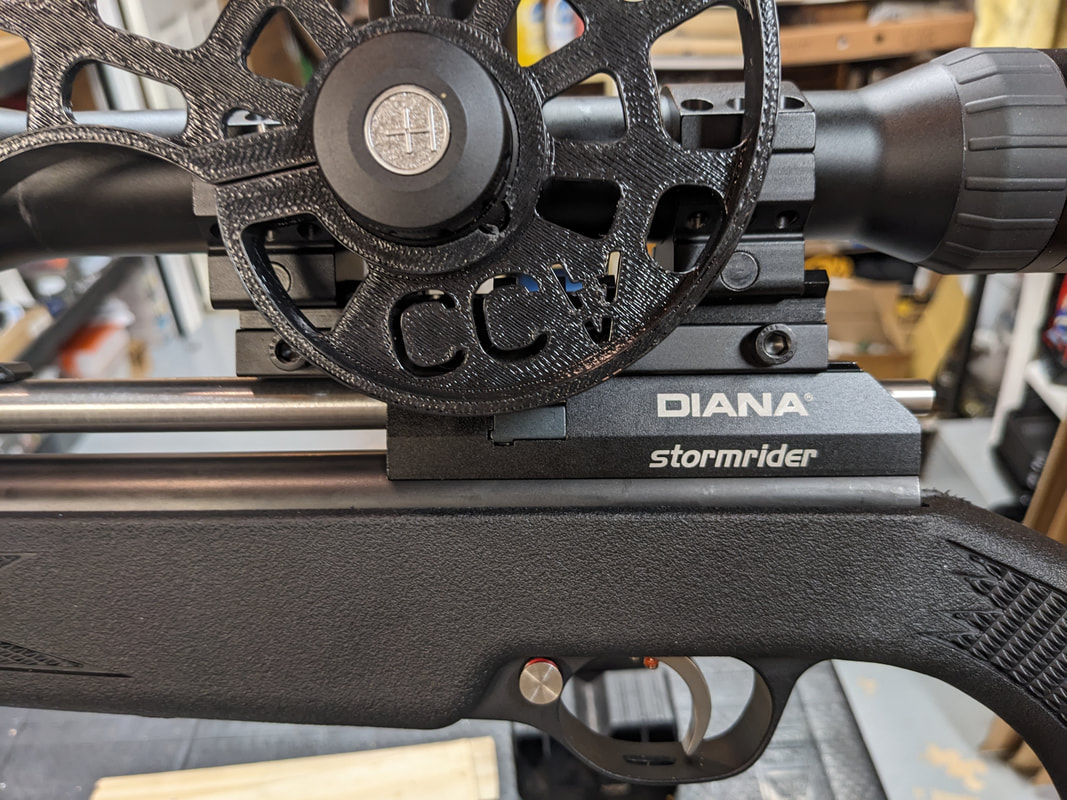
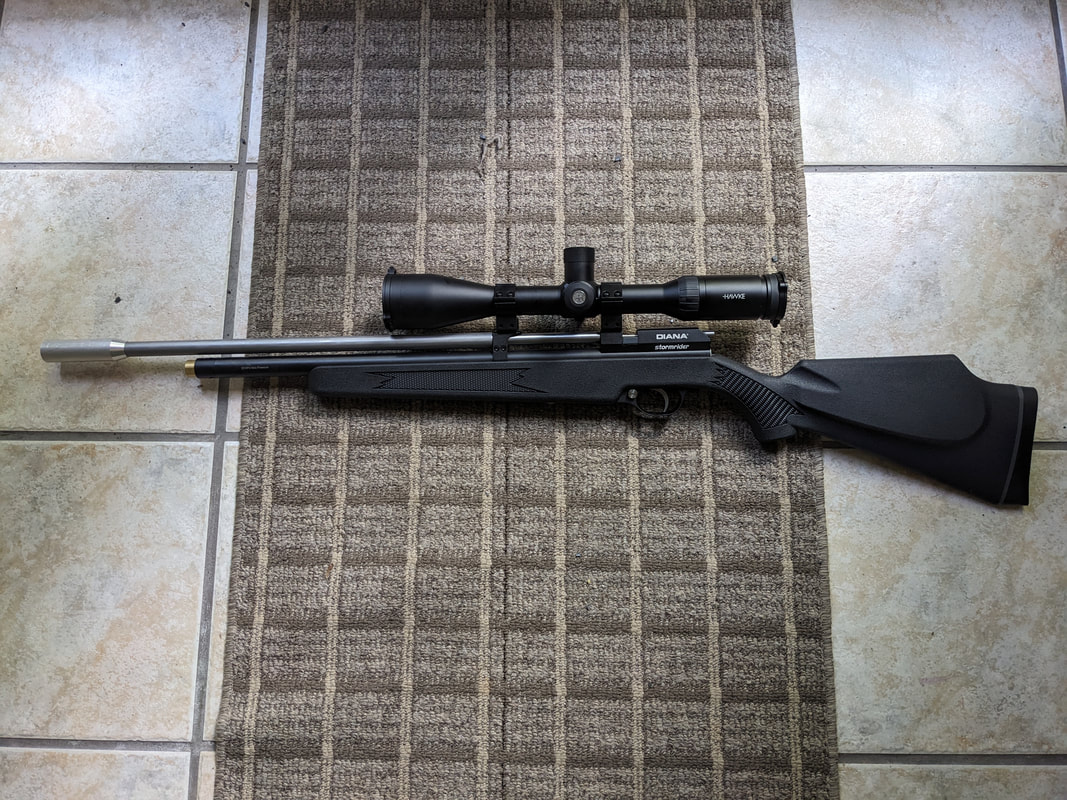
Here it is in a different 48:

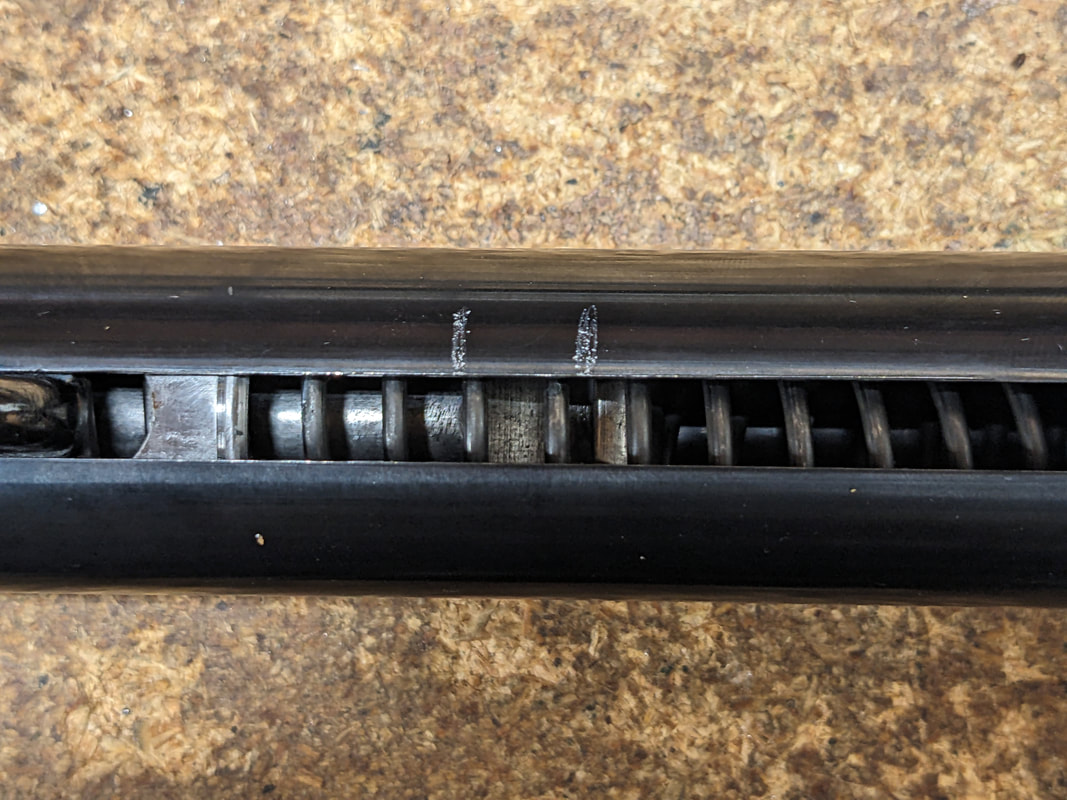
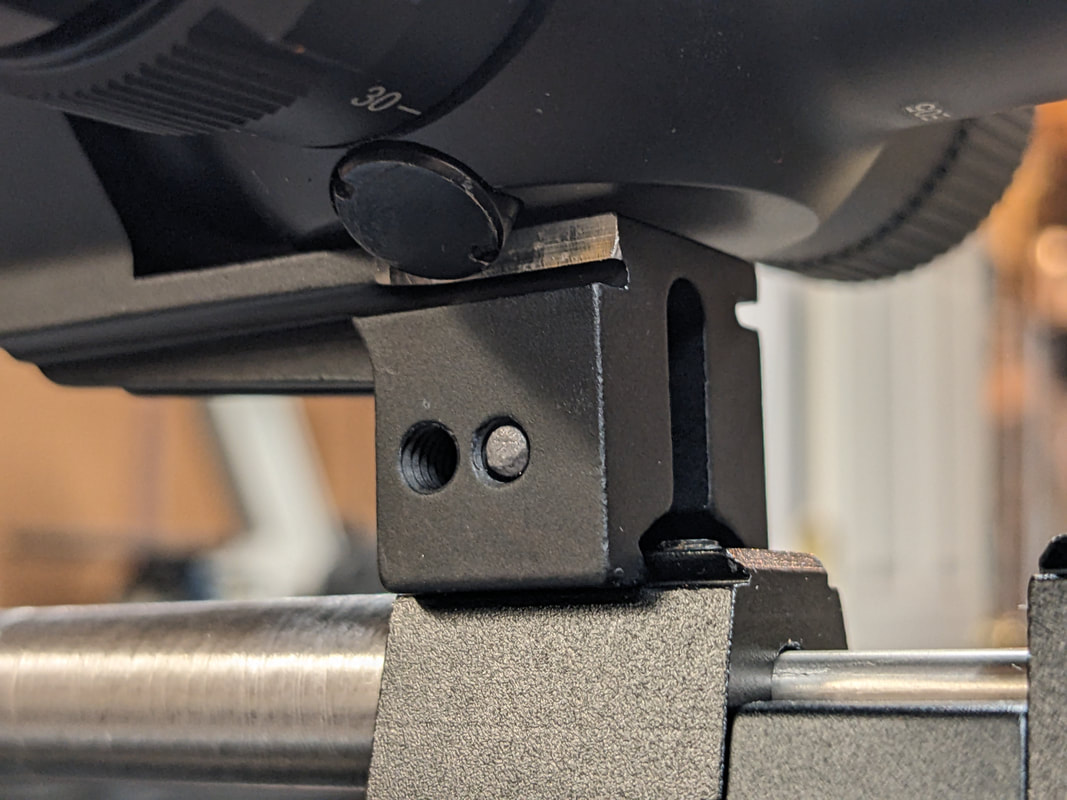
And here is a detailed view:

It is a bit high, but that is easily corrected with a lace-on cheekpad.
The rear focus has a HUGE travel availability because this scope focuses from 6 yards to infinity, amd the thing adapts easily to external cameras, even though there is an INTERNAL camera that is MUCH MORE than a simple camera.
Now, how does it work?
Let me tell you BEFORE, what elements in the scope ARE NOT what they seem to be;
The elevation and windage turrets are NOT the elevation and windage turrets.
The elevation turret is actually a knob that works pretty much like old "iPod" devices and that then got into cars and almost everything else: the knob rotates to move around a menu, and pushing the knob changes the menu where you are operating, either getting you deeper into details, or long pushes save and exit what you have just adjusted.
The knob lets you sight in the scope to the gun in the same way that the Photon did (you bring the POA to the POI) there are 6 profiles you can save / store, it allows you to choose between 6 reticles, it changes colors and contrasts. And performs other functions.
The "windage and parallax" turrets, are in reality the battery housing. The battery goes clear across the unit. There is NO OPTICAL path between the front and rear halves of the scope.
What in other scopes are the controls of the illuminated reticle, in this scope are the buttons to operate the Laser rangefinder (Oh, yes, this model does have a laser rangefinder capable of determining distances from 6 to 1,200 yards, with a precision of ±1 yard); at this area you will also find the buttons to take pictures, or video. Though there is a setting where the recoil of the gun automatically pre-triggers a few seconds of video and stores from the "before" the recoil moment till after, in order to fully capture a shot.
The rear block also houses the slot for a memory card and external connectors.
The big, round, blue-ring'ed button is the on/off
So, how does it work?
There is a VERY sensitive photosensor in the front half, that photosensor transmits images to a round display (no TV / squarish displays here), that is what your eye sees at the rear half.
So, you are looking at a display that "augments the reality" of the image formed by the photosensor.
The onboard computing capabilities add info, like range, in/de-clination, direction (yes it has a compass), and other stuff.
The onboard computing power is powerful enough to have a ballistic calculator (G1) that actually PROPOSES you an aimpoint for the distance measured by the LRF, if you have it working and you have programmed the parameters of your projectile/system.
And YES!, it does accept BC's in the 0.0X region, so most quality pellets, even in the small bores, will be able to take advantage of this facility.
You should still hold off for the wind, we still have not reached the point where there is a wind-shear radar in the device to help you with that... but . . .¿Who knows in another 4 years? LOL!
The Images:
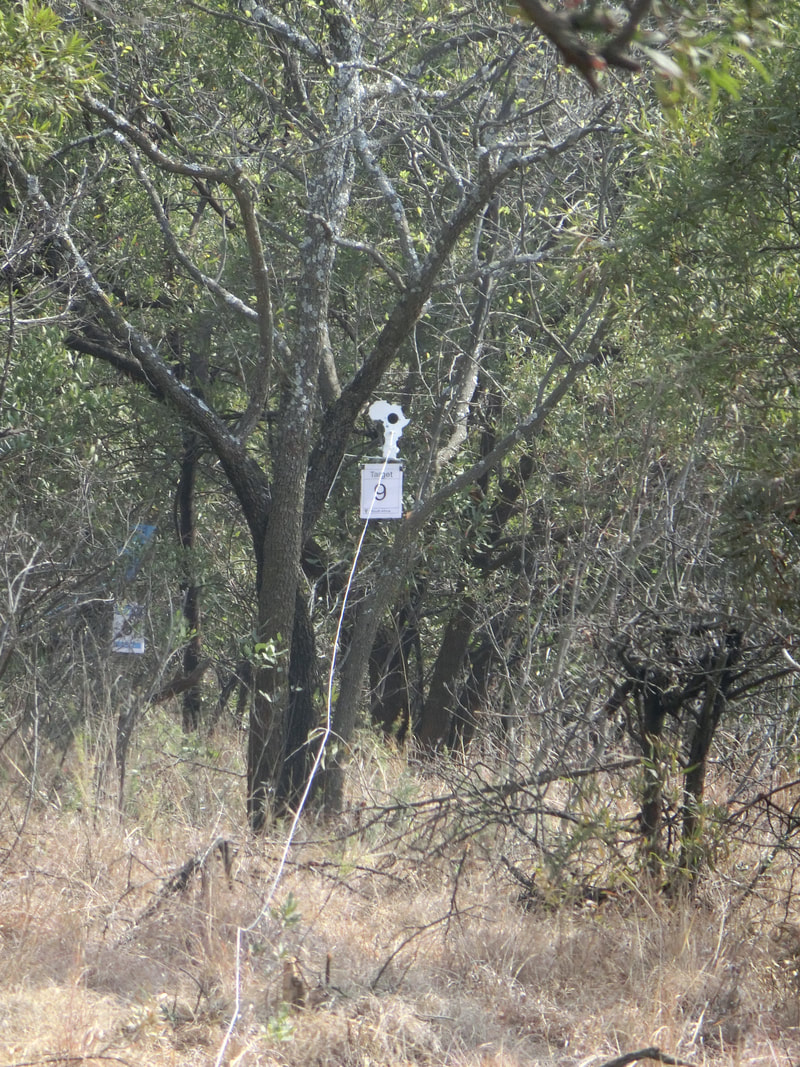
The images are clear and sharp, again, taking pictures of scope images is not easy, you need three hands and 4 eyes, so I did my best. Apologies for some fuzziness:
Here is what the LRF tells us of a target at measured 10 m:
The rear focus has a HUGE travel availability because this scope focuses from 6 yards to infinity, amd the thing adapts easily to external cameras, even though there is an INTERNAL camera that is MUCH MORE than a simple camera.
Now, how does it work?
Let me tell you BEFORE, what elements in the scope ARE NOT what they seem to be;
The elevation and windage turrets are NOT the elevation and windage turrets.
The elevation turret is actually a knob that works pretty much like old "iPod" devices and that then got into cars and almost everything else: the knob rotates to move around a menu, and pushing the knob changes the menu where you are operating, either getting you deeper into details, or long pushes save and exit what you have just adjusted.
The knob lets you sight in the scope to the gun in the same way that the Photon did (you bring the POA to the POI) there are 6 profiles you can save / store, it allows you to choose between 6 reticles, it changes colors and contrasts. And performs other functions.
The "windage and parallax" turrets, are in reality the battery housing. The battery goes clear across the unit. There is NO OPTICAL path between the front and rear halves of the scope.
What in other scopes are the controls of the illuminated reticle, in this scope are the buttons to operate the Laser rangefinder (Oh, yes, this model does have a laser rangefinder capable of determining distances from 6 to 1,200 yards, with a precision of ±1 yard); at this area you will also find the buttons to take pictures, or video. Though there is a setting where the recoil of the gun automatically pre-triggers a few seconds of video and stores from the "before" the recoil moment till after, in order to fully capture a shot.
The rear block also houses the slot for a memory card and external connectors.
The big, round, blue-ring'ed button is the on/off
So, how does it work?
There is a VERY sensitive photosensor in the front half, that photosensor transmits images to a round display (no TV / squarish displays here), that is what your eye sees at the rear half.
So, you are looking at a display that "augments the reality" of the image formed by the photosensor.
The onboard computing capabilities add info, like range, in/de-clination, direction (yes it has a compass), and other stuff.
The onboard computing power is powerful enough to have a ballistic calculator (G1) that actually PROPOSES you an aimpoint for the distance measured by the LRF, if you have it working and you have programmed the parameters of your projectile/system.
And YES!, it does accept BC's in the 0.0X region, so most quality pellets, even in the small bores, will be able to take advantage of this facility.
You should still hold off for the wind, we still have not reached the point where there is a wind-shear radar in the device to help you with that... but . . .¿Who knows in another 4 years? LOL!
The Images:
The images are clear and sharp, again, taking pictures of scope images is not easy, you need three hands and 4 eyes, so I did my best. Apologies for some fuzziness:
Here is what the LRF tells us of a target at measured 10 m:

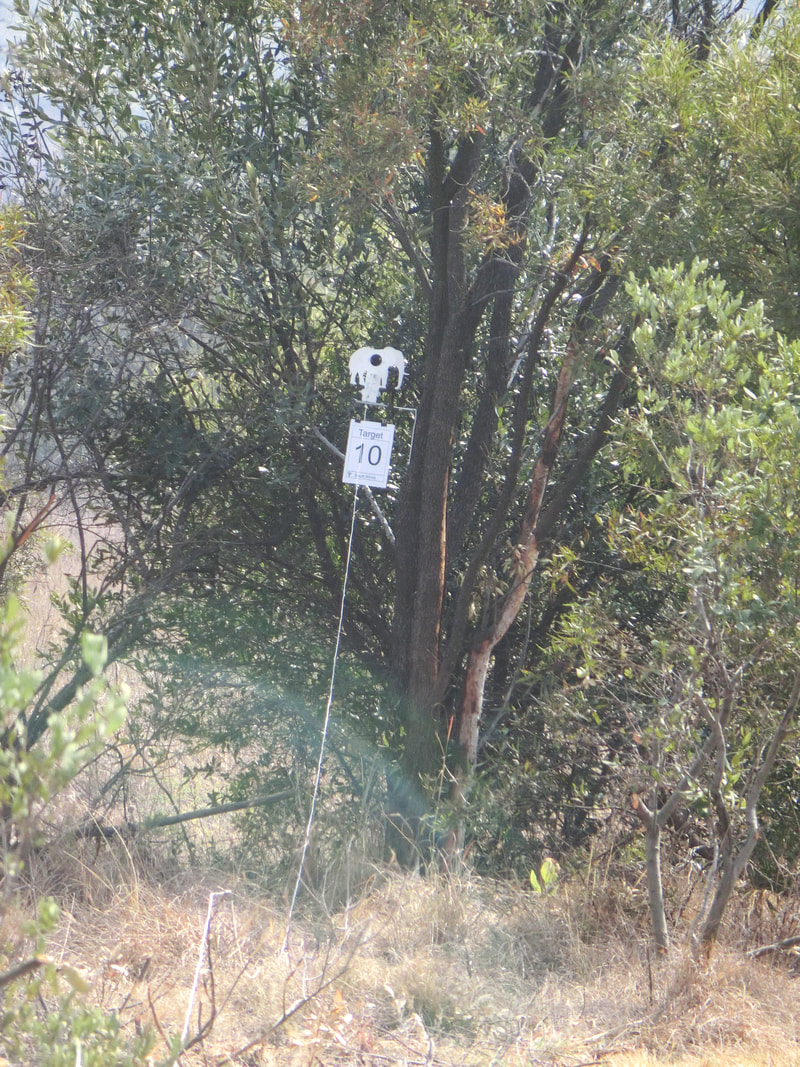
And at 23 m:

The colored bands are more due to a slight difference in sampling frequency between camera and display, the colored bands do NOT exist in the image viewed.
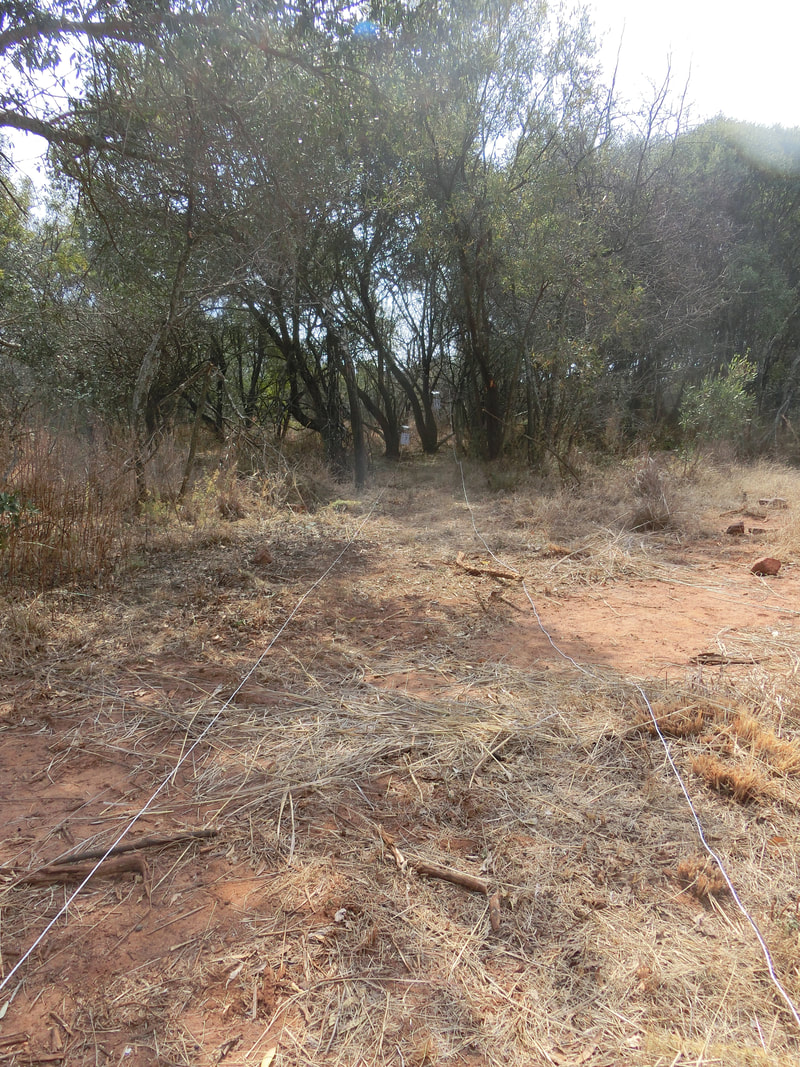
Now at 37 meters:
Now at 37 meters:

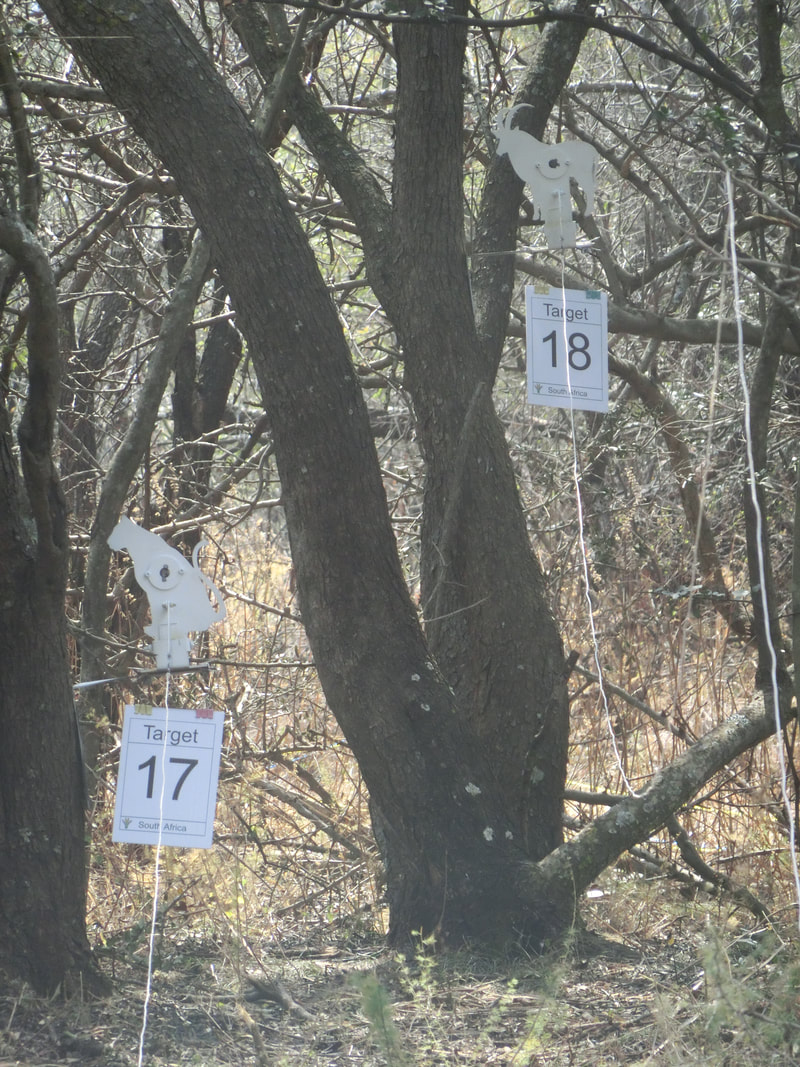
And now at 50 meters:

The fact that the LRF can pinpoint the distances to a relatively small object is VERY interesting.
I didn't delve deeper because PARD has honored every single spec, and I may need to buy my own scope to really play with it. LOL!
The behaviour in total darkness: impeccable. Taking pictures: impossible.... Sorry!
At a one dollar under $800 it is not an inexpensive unit, and it is, nominally, at the same price as the Photon of 8 years ago was in its own time.
The FUNCTIONALITY of the device, however, is a LOT greater and if we take into account what inflation has advanced in these 8 years, it really is an interesting proposition.
Would I take it out in daytime? ABSOLUTELY! It gives the benefits of a device that can handle many different scenarios/situations and conditions.
Would I like to shoot FT with it? Certainly YES! It would still need to be handled carefully in the 10 to 17 yards range because +/- 1 yard within the "near Zero" is not good enough for pin-point hits at tiny KZ's.
There are quite a few videos of this model in YouTube, just search for the model, and the Manufacturer's page for this model is here.
If you are in need of a well executed night vision scope that looks like any other scope AND that works well in daytime, this is a worthwhile investment and it merits a really good look into it.
Keep well and shoot straight!
HM


 RSS Feed