Some time ago, I had the privilege and the pleasure to work with the US Army DevCom to make a tool to validate the ballistic gel blocks they use for tests:
https://www.ctcustomairguns.com/hectors-airgun-blog/a-bb-gun-for-the-us-army-c
It was a TRIP! LOL!
After a few months I was contacted by the DevCom person that had been my "liaison" for the project with a peculiar question: "Can we give your data to some colleagues of ours in other institutions?"
My answer was "SURE"
And I forgot about it.....
Suddenly the phone rings from an unexpected number in Alabama. Well, I normally do not answer the phone, so the screening system kicked in, and, for a change it was a serious call.
I picked up the phone and the voice at the other end says:
"Hello we're with the FBI"
¡GULP! ¿what did I do?
And then he continues: the guys at Picatinny Arsenal told us you made a small rifle that shoots BB's at the speed we need to test ballistic gel blocks.
Phewwwww!!!!! my soul returned to my body, LOL!
The conversation was VERY amiable and cordial and we agreed to meet.
We had a wonderful lunch and it was then that I was told that the Redstone Arsenal (that houses the Ballistic Research Facility - BRF) for the FBI and the DEA (two of the Top LEO's in the USA) needed a similar device.
But that they wanted it "improved". ¿How? no idea, just make it better!
And with this "open commission" off I went to work.
The project took a bit longer than usual for me (and that is, indeed long, as many of you know, nothing leaves the workshop without performing to its best, and that takes time).
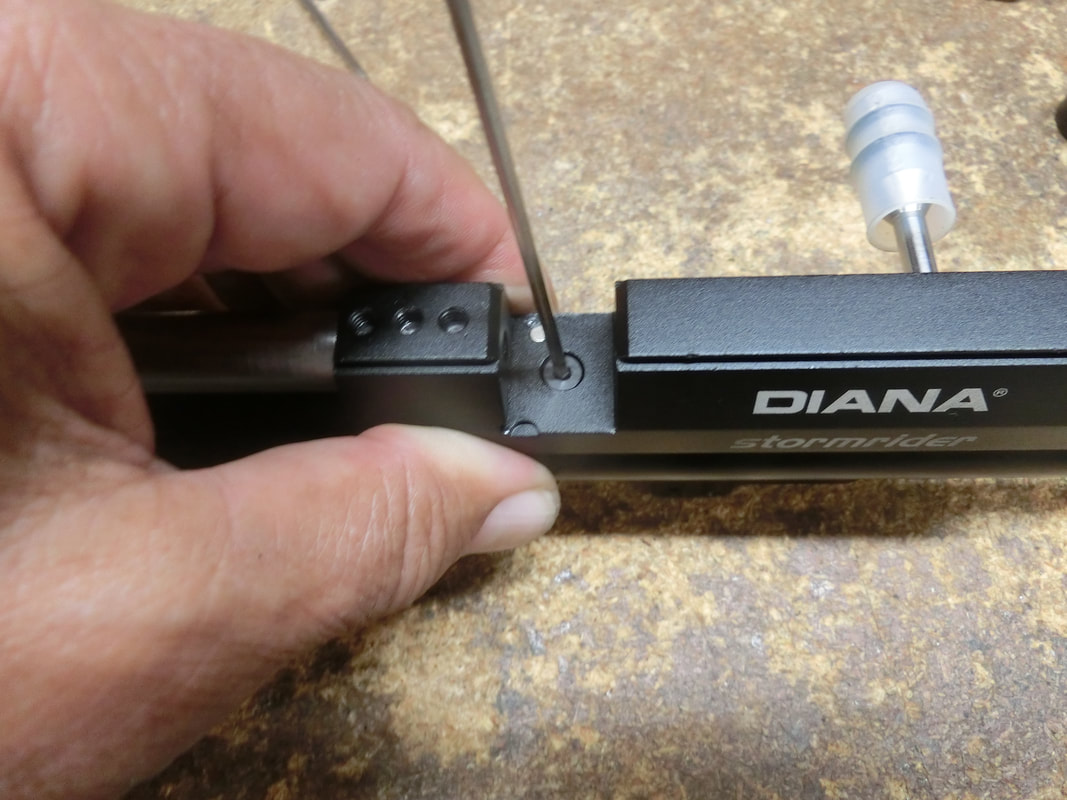
The First improvement was relatively easy: the BFR had the need to test DOZENS of blocks in one "go", so a Magazine had to be developed that would work for BB's.
Luckily, CARM magazines came through with flying colors and made the magazine exactly as I wanted them.
https://www.ctcustomairguns.com/hectors-airgun-blog/a-bb-gun-for-the-us-army-c
It was a TRIP! LOL!
After a few months I was contacted by the DevCom person that had been my "liaison" for the project with a peculiar question: "Can we give your data to some colleagues of ours in other institutions?"
My answer was "SURE"
And I forgot about it.....
Suddenly the phone rings from an unexpected number in Alabama. Well, I normally do not answer the phone, so the screening system kicked in, and, for a change it was a serious call.
I picked up the phone and the voice at the other end says:
"Hello we're with the FBI"
¡GULP! ¿what did I do?
And then he continues: the guys at Picatinny Arsenal told us you made a small rifle that shoots BB's at the speed we need to test ballistic gel blocks.
Phewwwww!!!!! my soul returned to my body, LOL!
The conversation was VERY amiable and cordial and we agreed to meet.
We had a wonderful lunch and it was then that I was told that the Redstone Arsenal (that houses the Ballistic Research Facility - BRF) for the FBI and the DEA (two of the Top LEO's in the USA) needed a similar device.
But that they wanted it "improved". ¿How? no idea, just make it better!
And with this "open commission" off I went to work.
The project took a bit longer than usual for me (and that is, indeed long, as many of you know, nothing leaves the workshop without performing to its best, and that takes time).
The First improvement was relatively easy: the BFR had the need to test DOZENS of blocks in one "go", so a Magazine had to be developed that would work for BB's.
Luckily, CARM magazines came through with flying colors and made the magazine exactly as I wanted them.

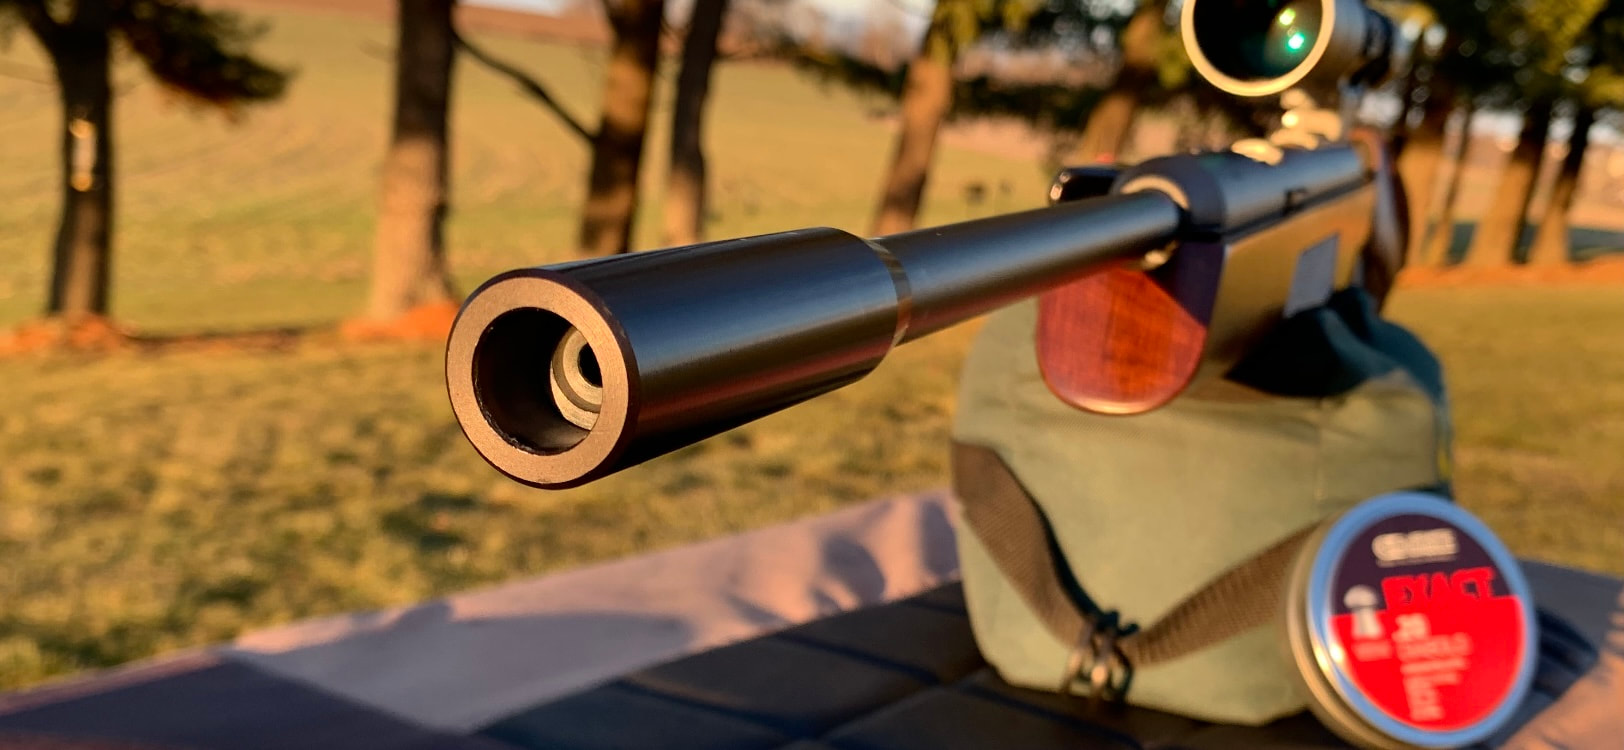
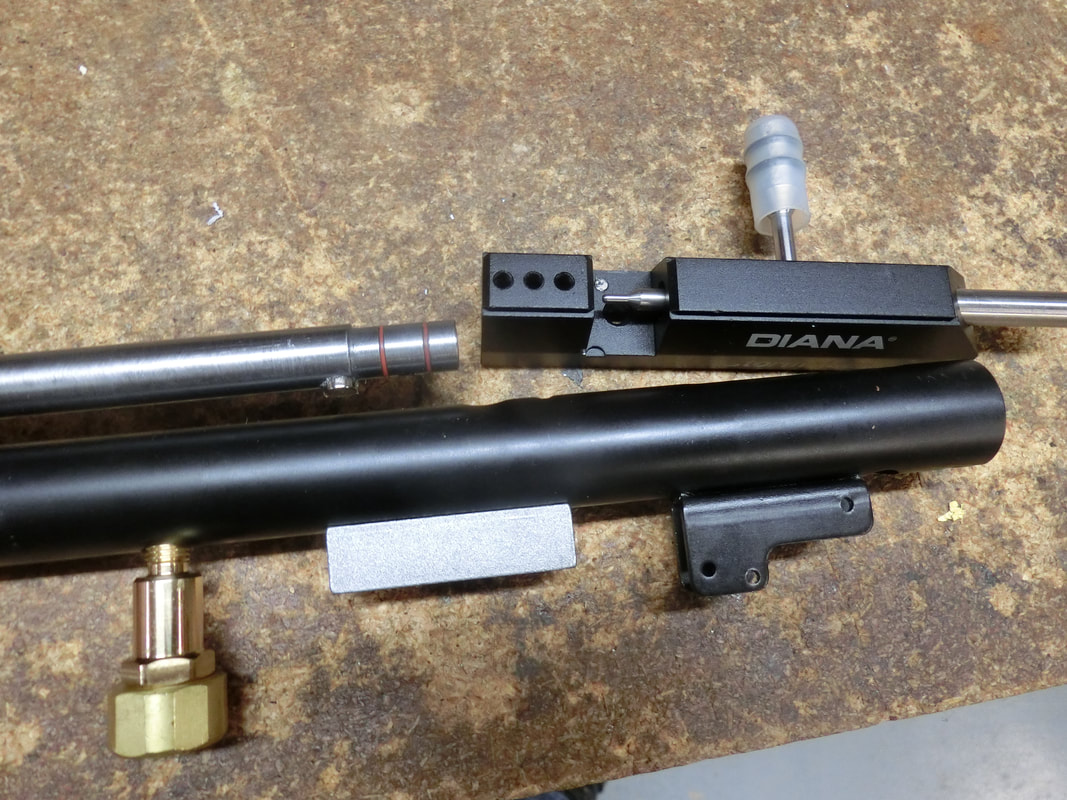
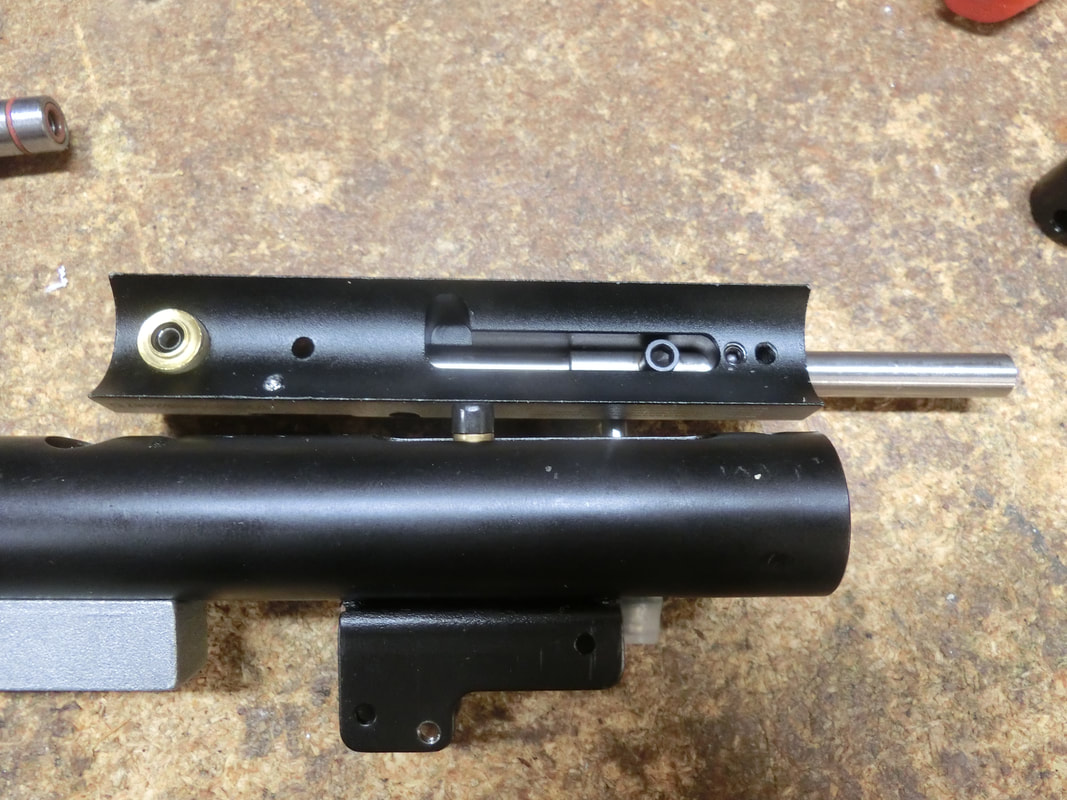
Lothar Walther was out of smoothbore barrels, and so a special run had to be made. This time L-W made them without a choke, which proved to be a welcome idea.
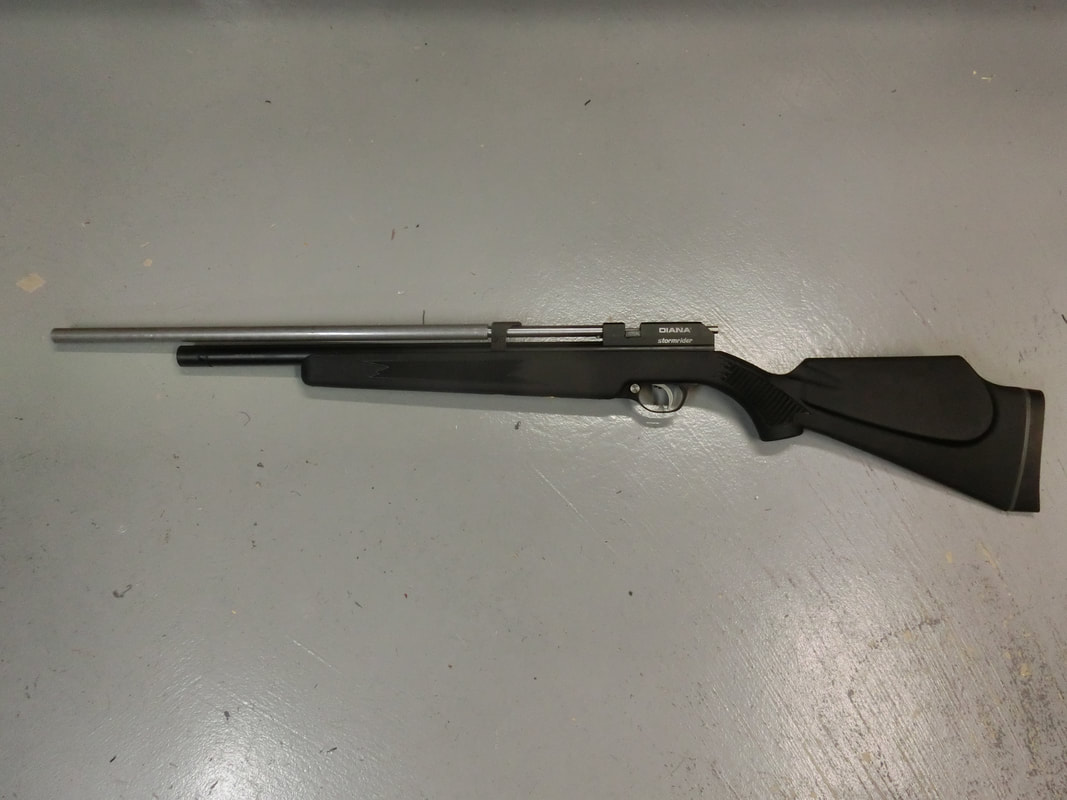
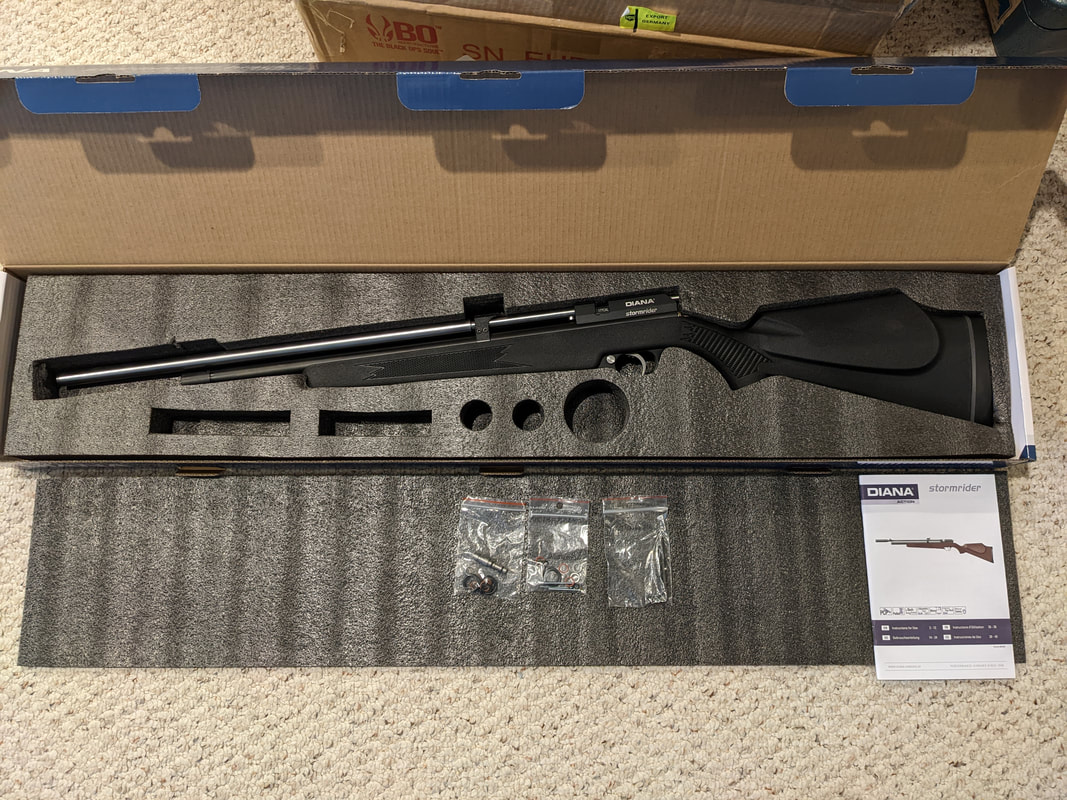
BLS supplied the DIANA Stormriders.
ALTAROS air solutions made the small run of vented regulators for this project.
And the project started.
I will not repeat the process detailed in the Army rifle's entry above mentioned, so I will concentrate on the "improvement" of the FFH device.
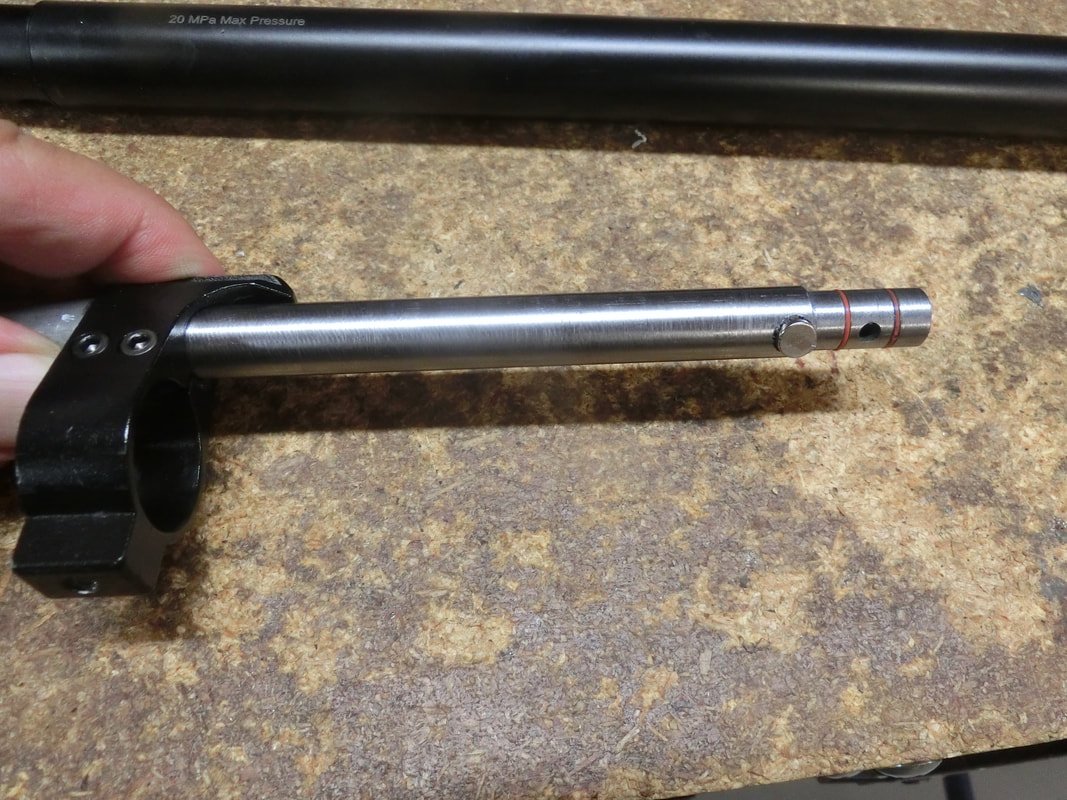
At first I thought that what had been an EXTERNAL FFH control just needed to be installed inside the action, but the first tests proved me completely wrong. There was not enough space!.
And then I understood why most modern PCP's that have the characteristic (call it FFH, Sling-Shot, or any other name it is the same thing, use a LONG space to accomplish this.
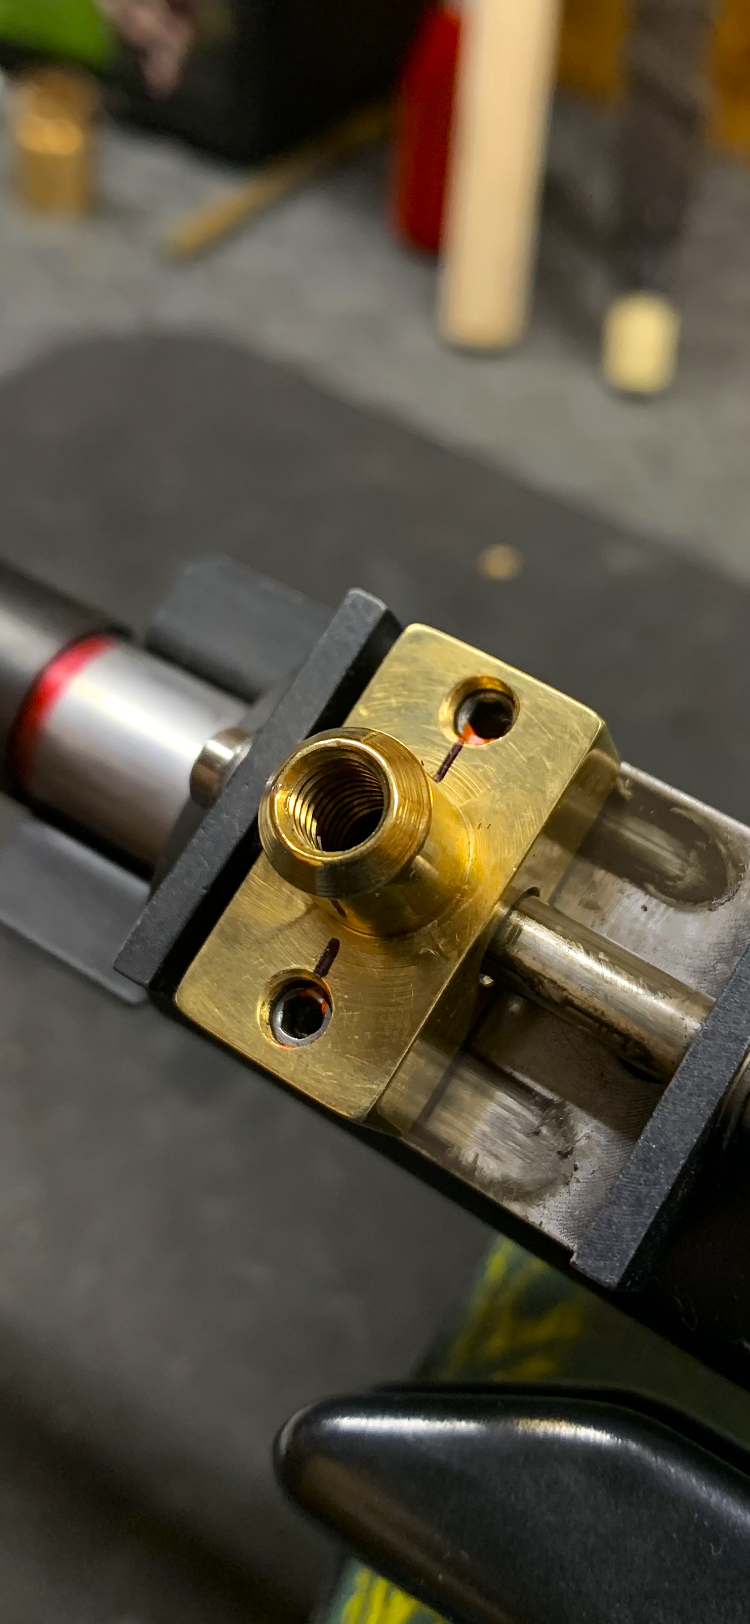
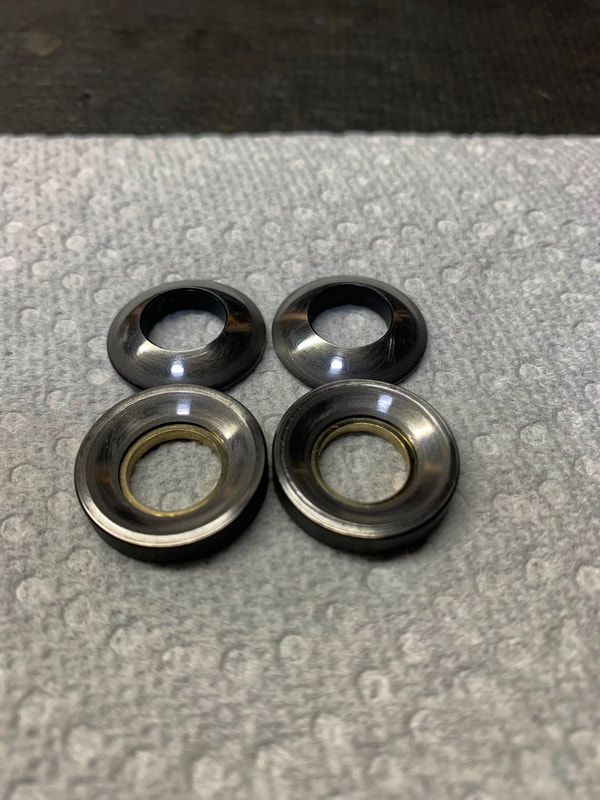
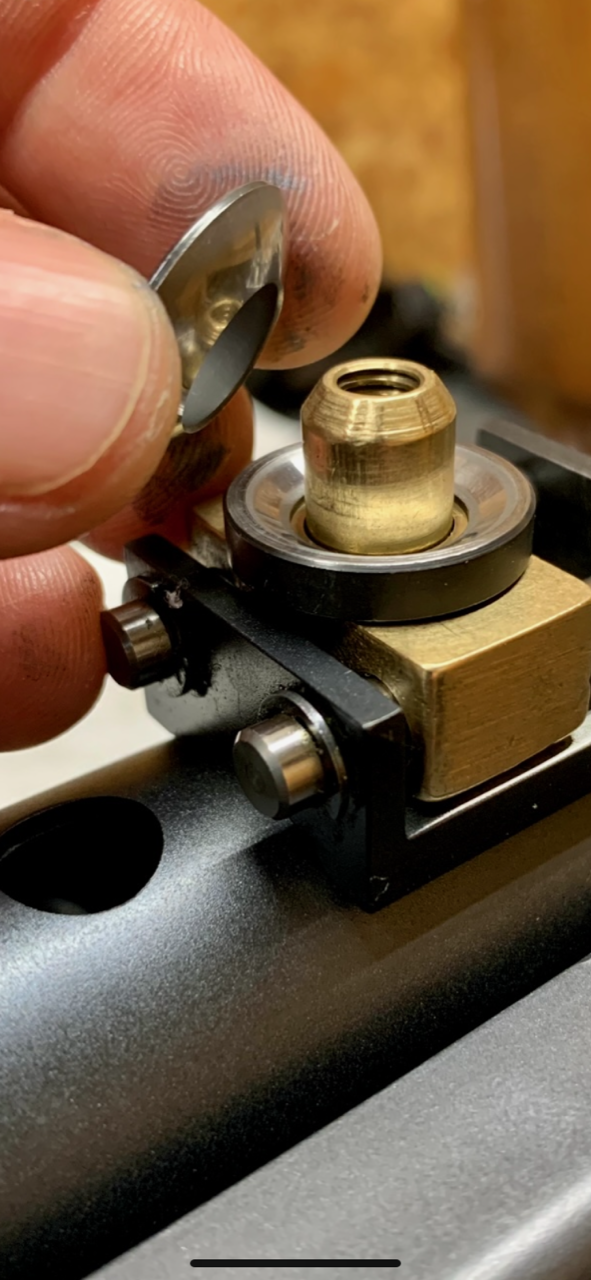
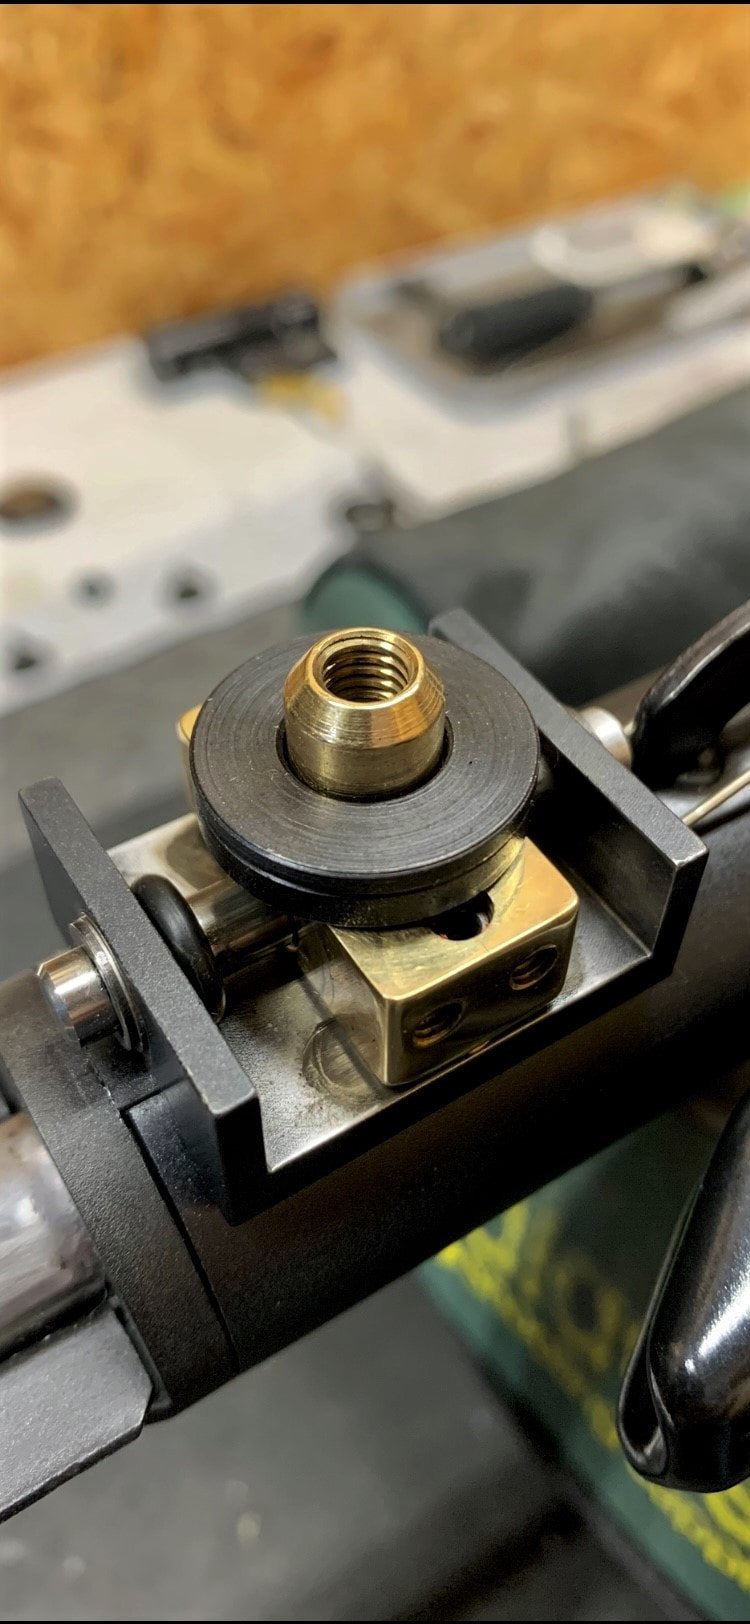
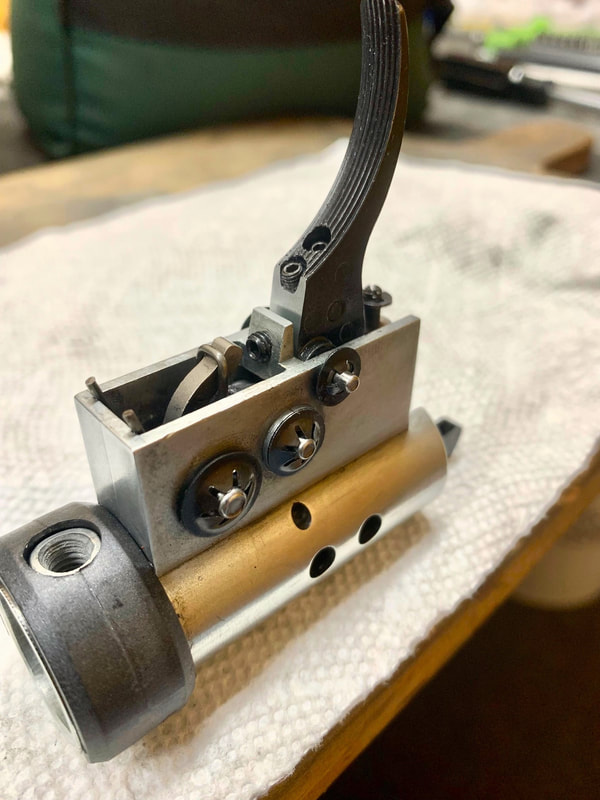
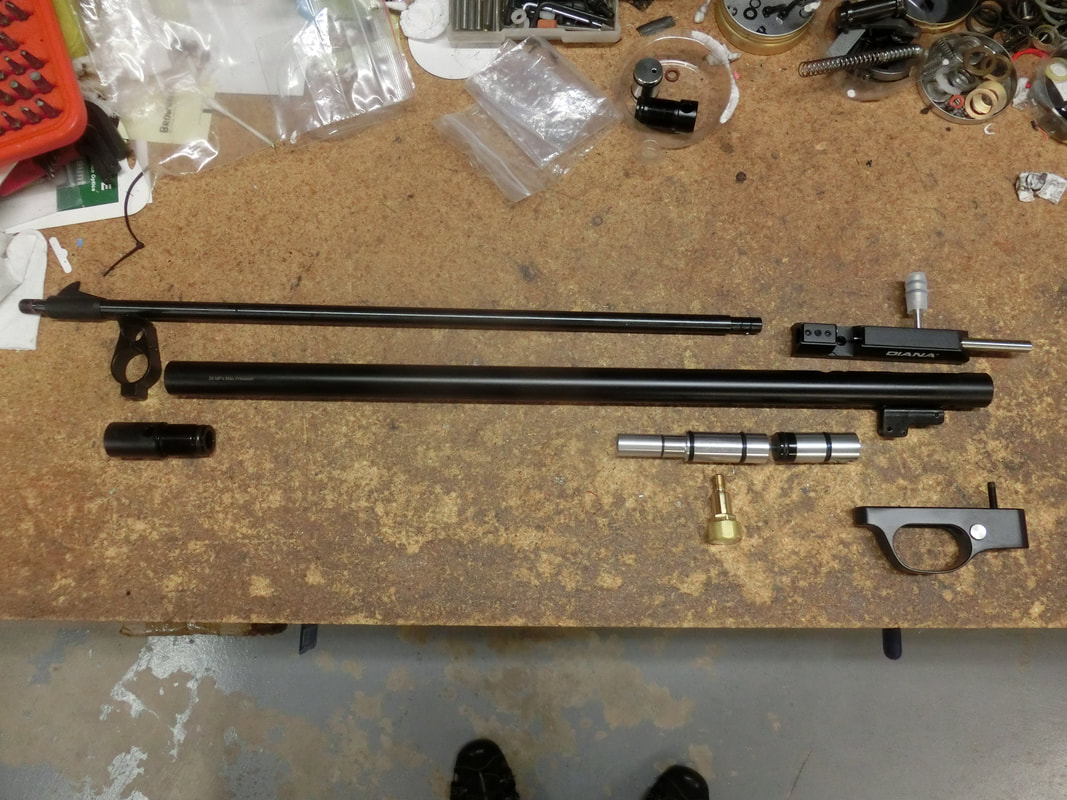
I did not have the space, so, somehow the system had to be "folded".
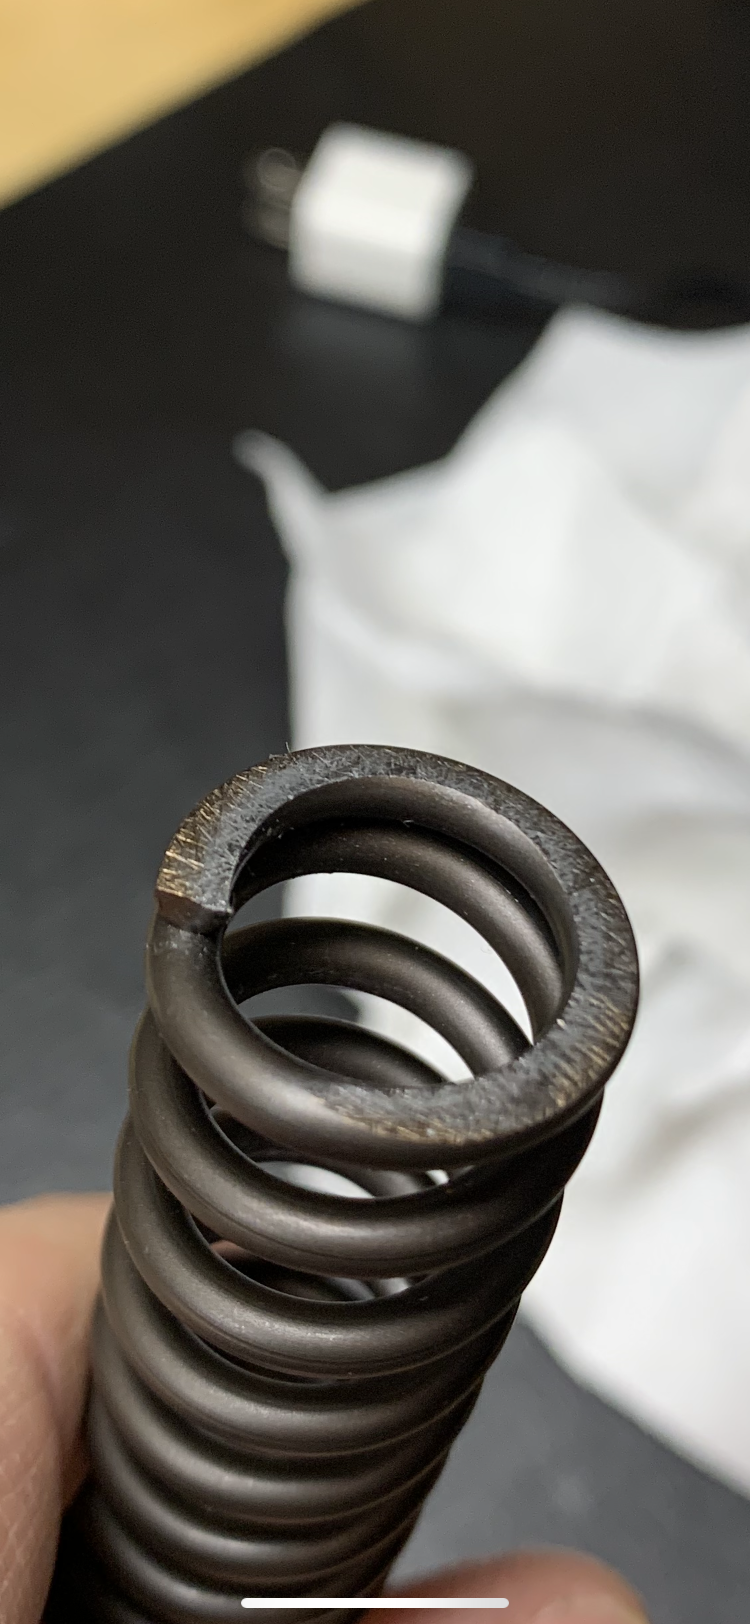
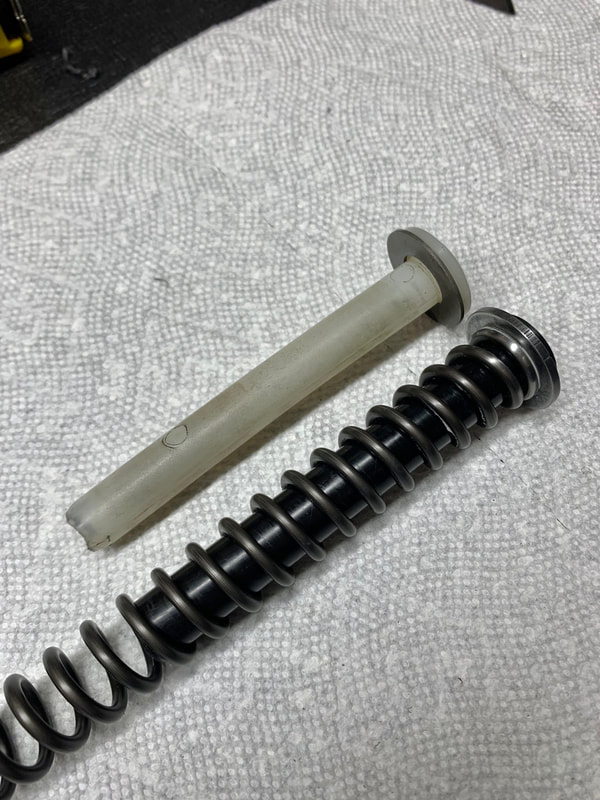
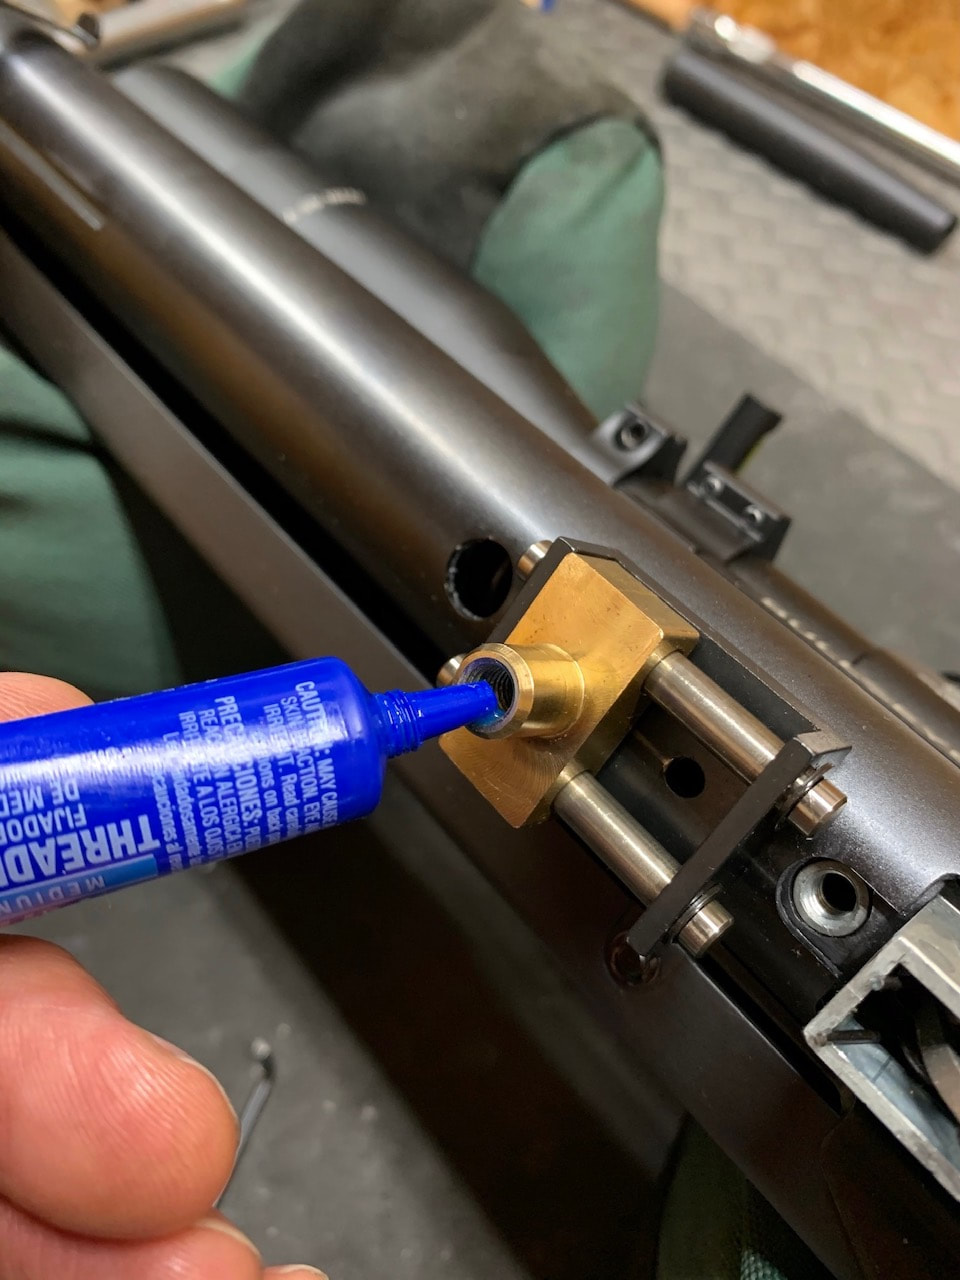
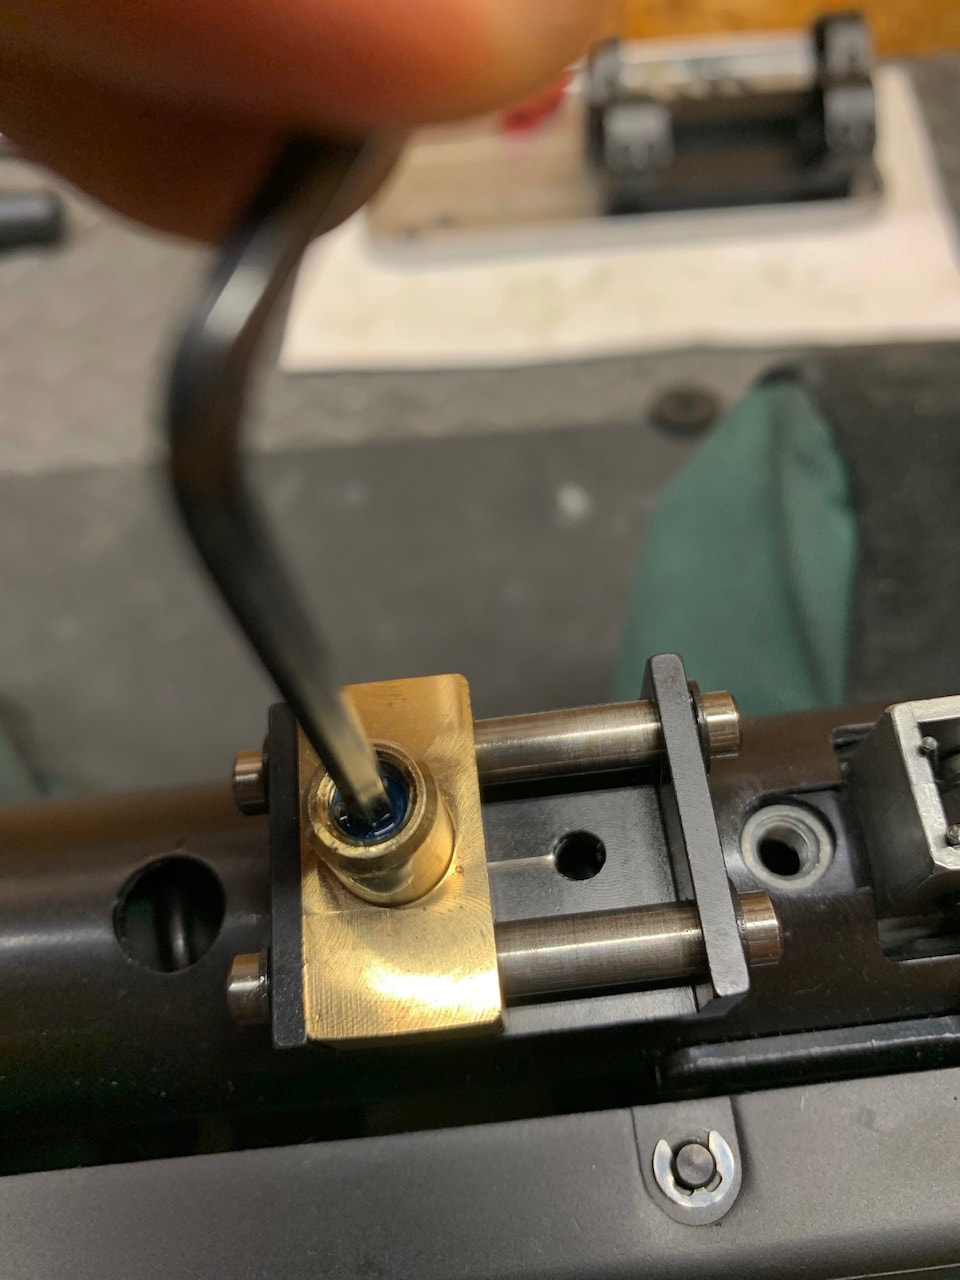
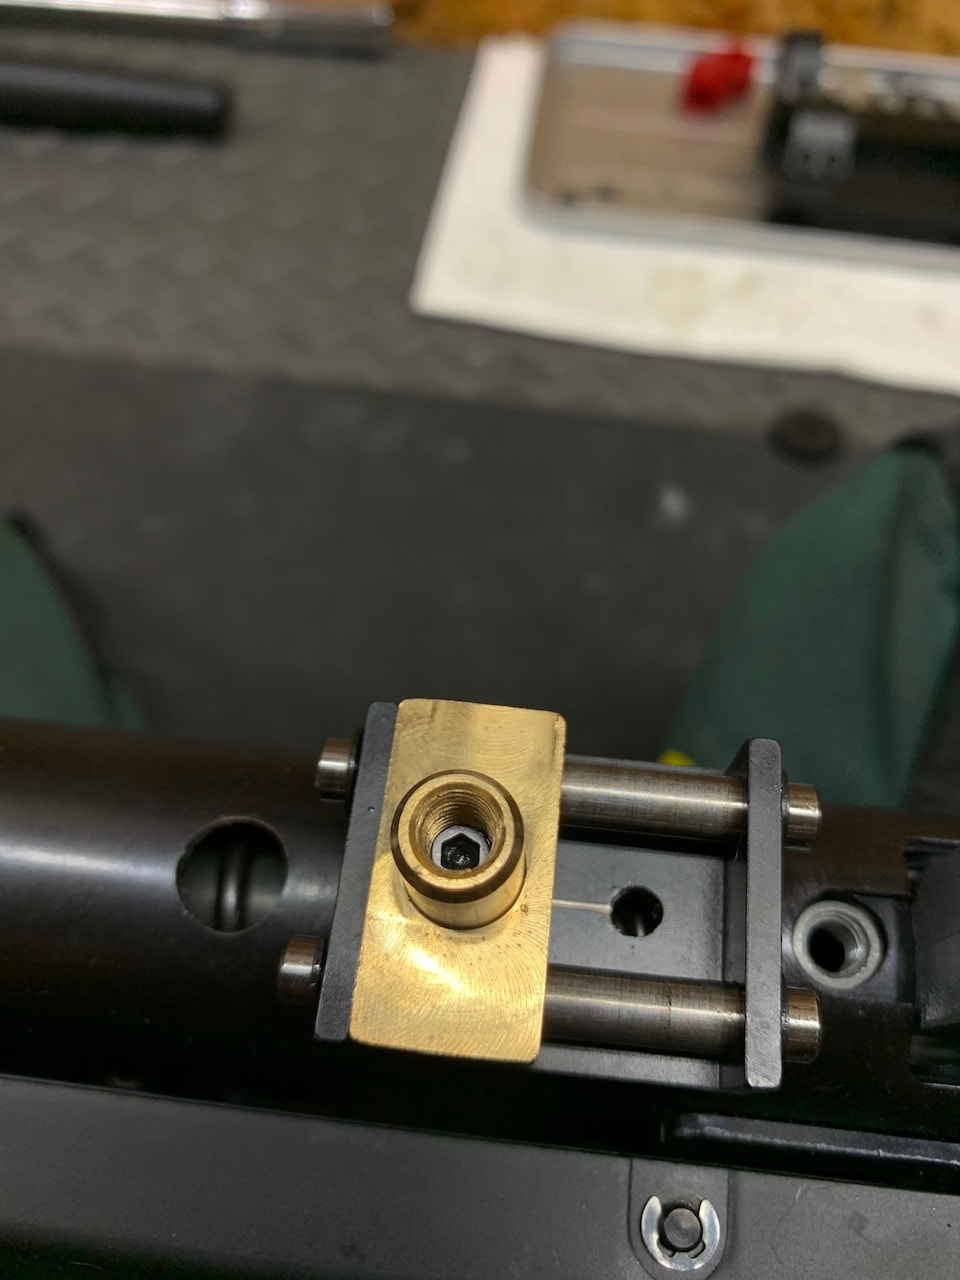
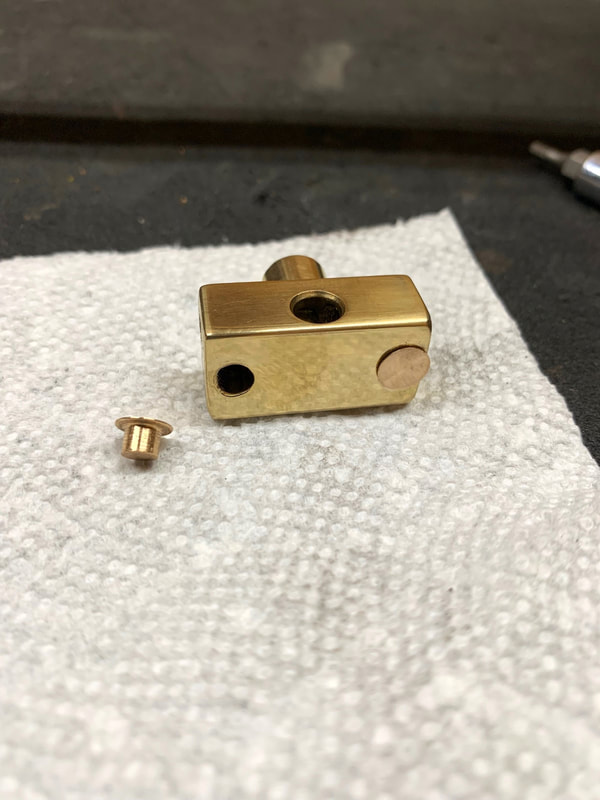
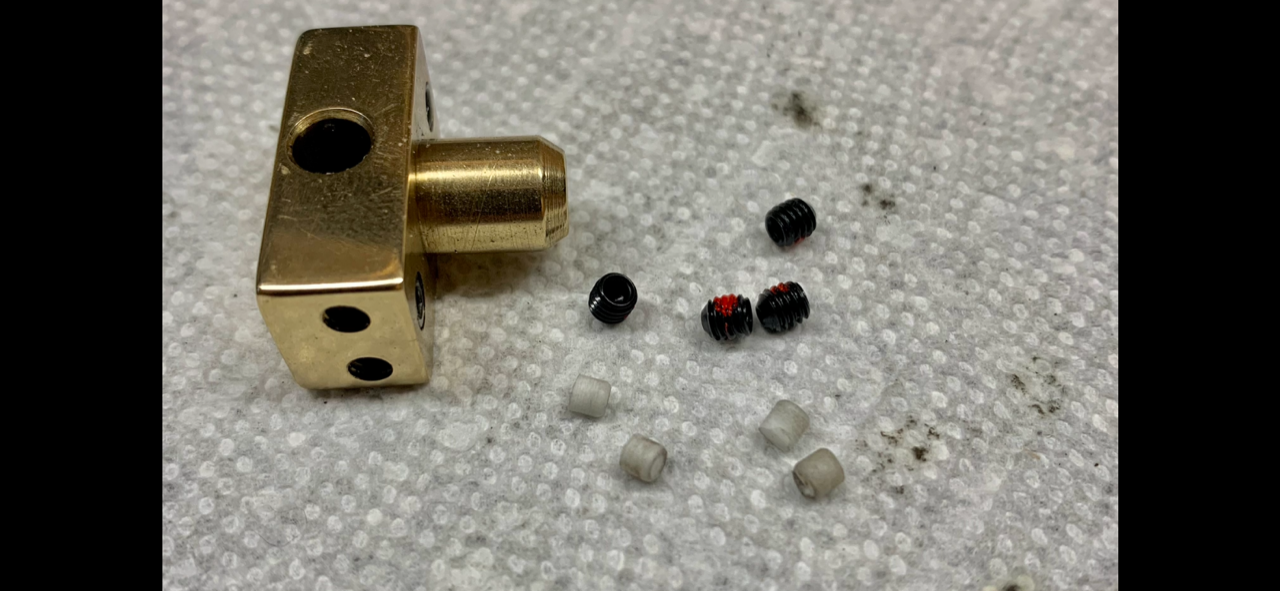
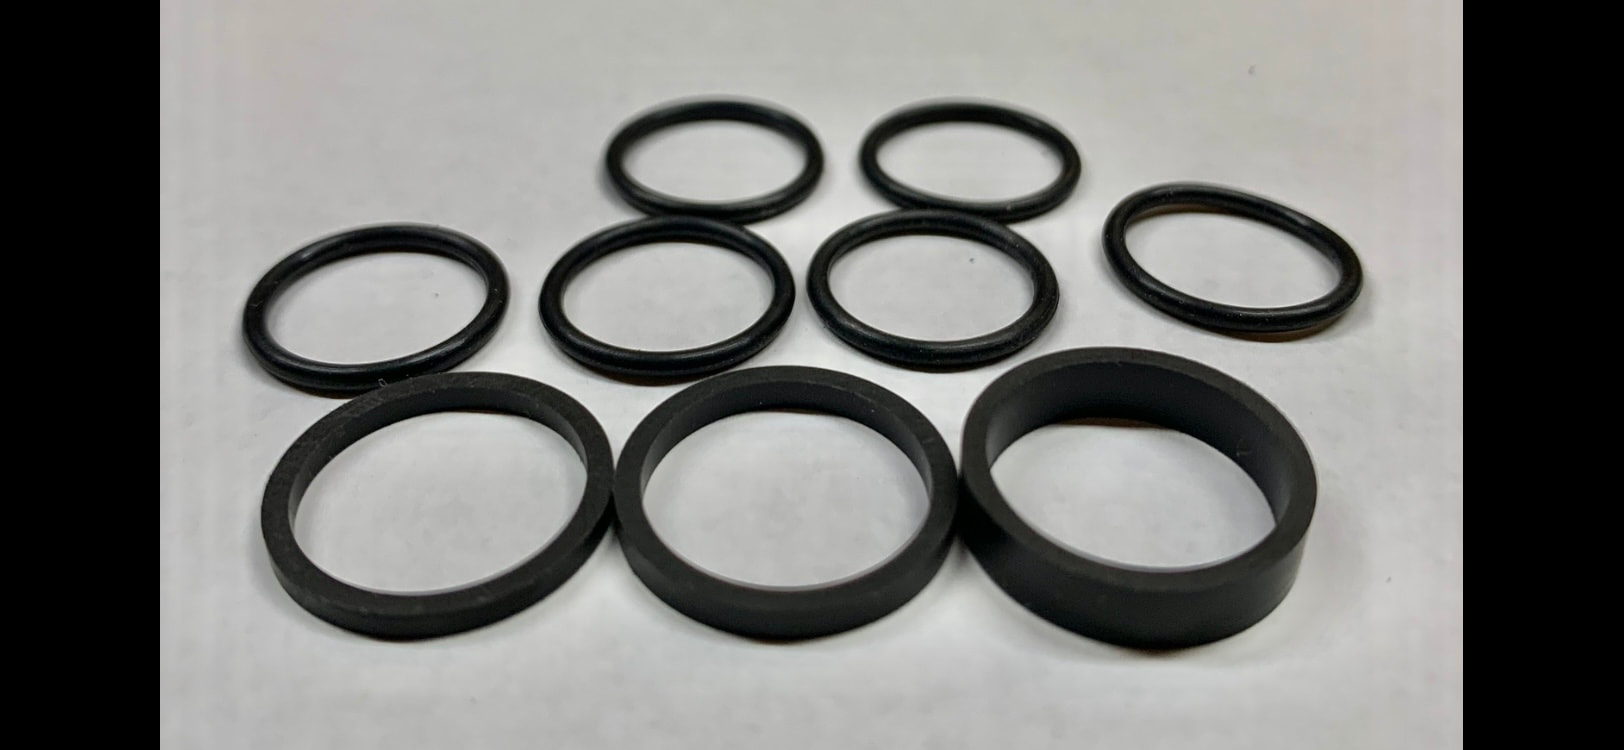
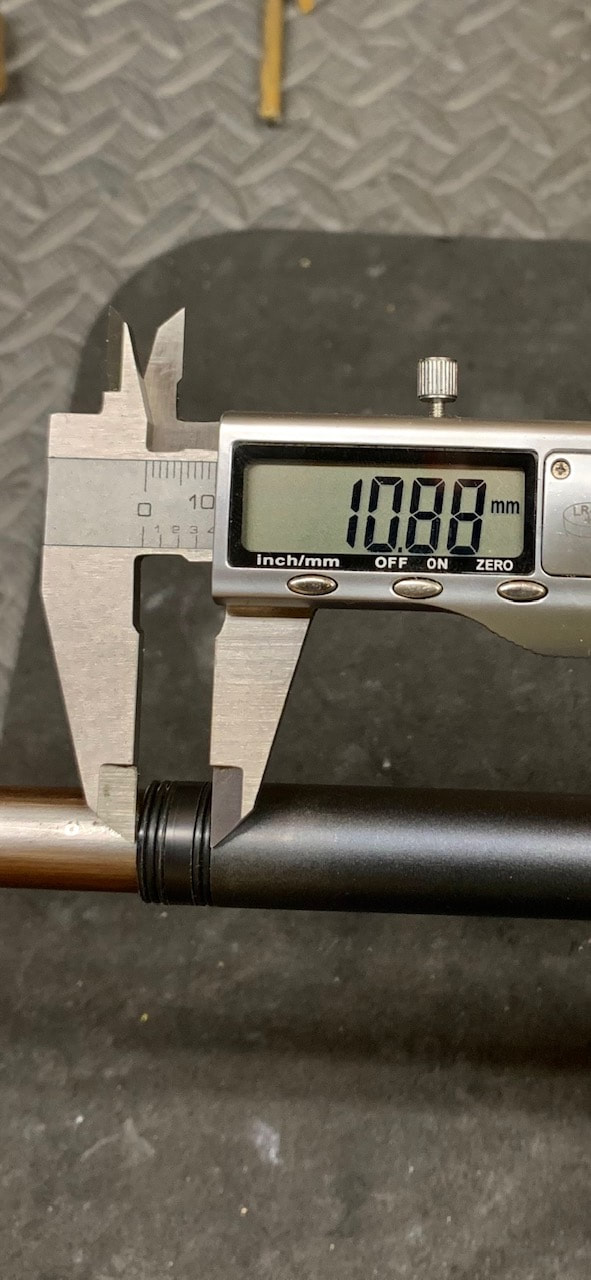
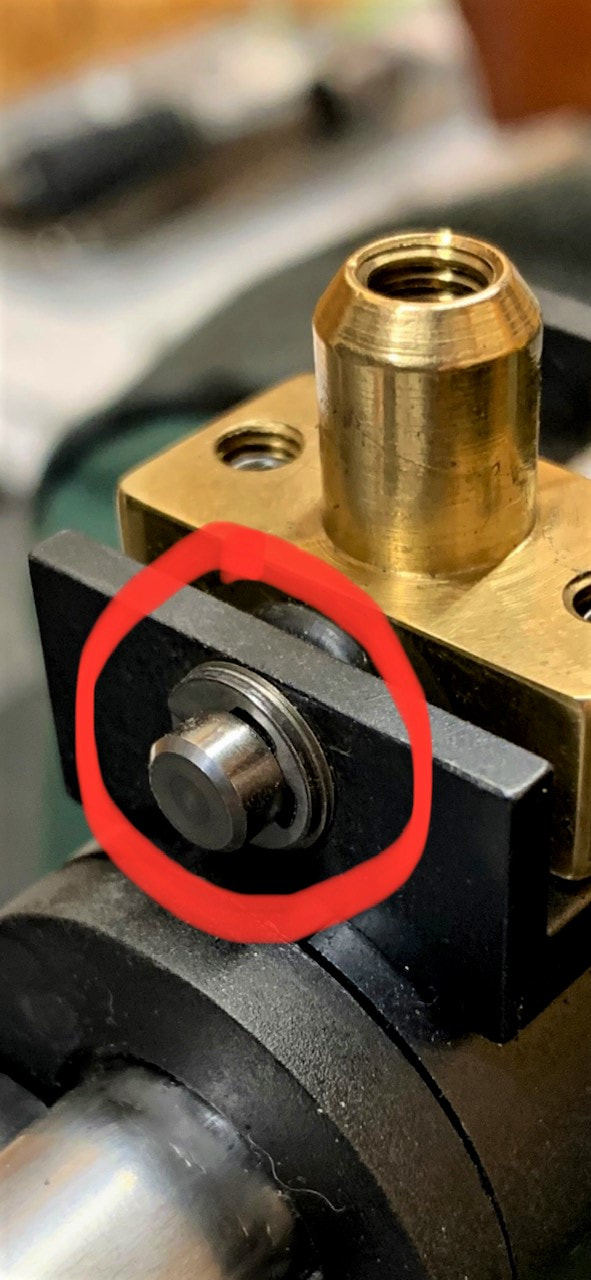
After many weeks, prototypes, and tests, I went back to my spring-piston roots and designed a system that is structurally self contained.
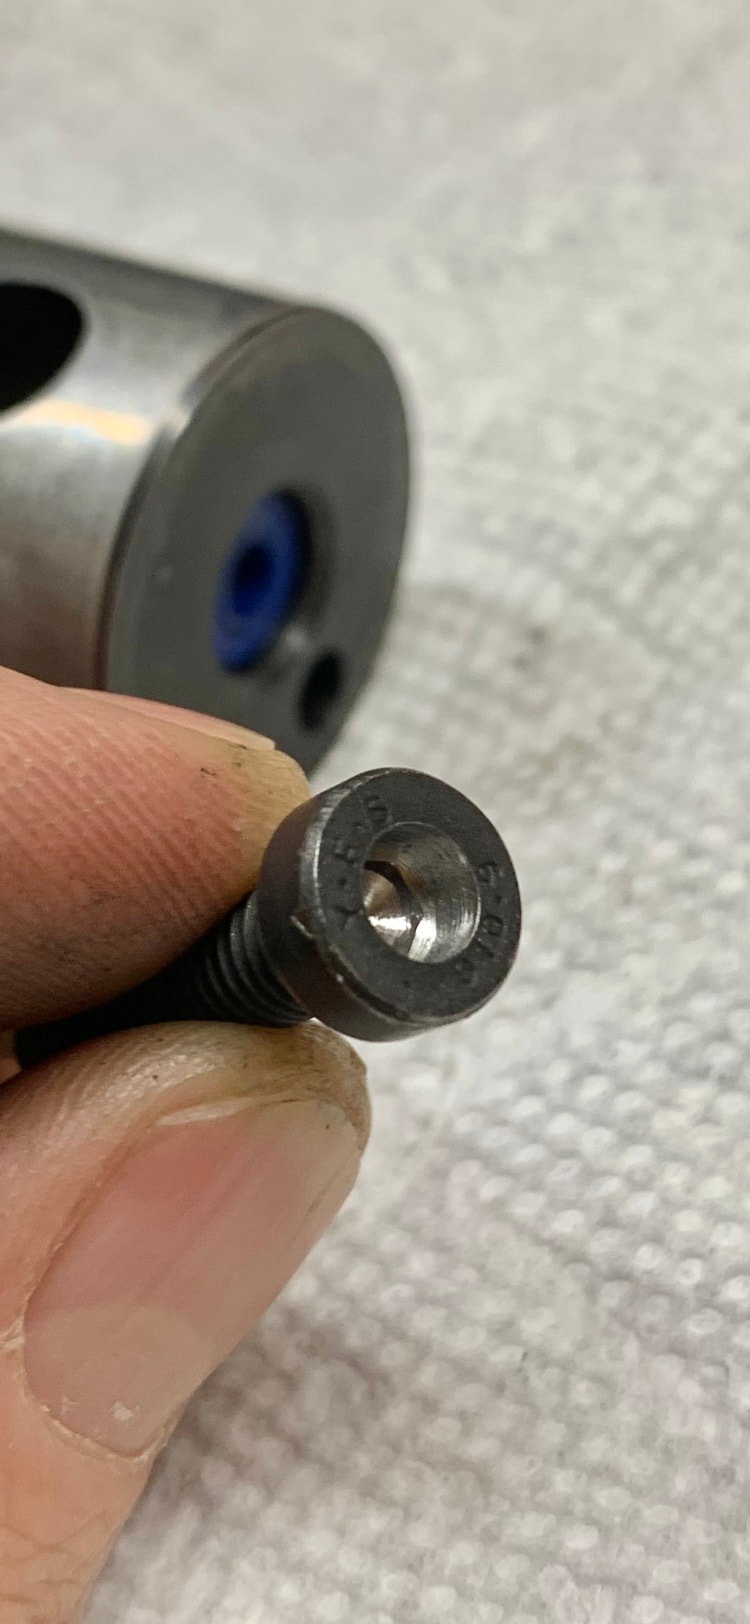
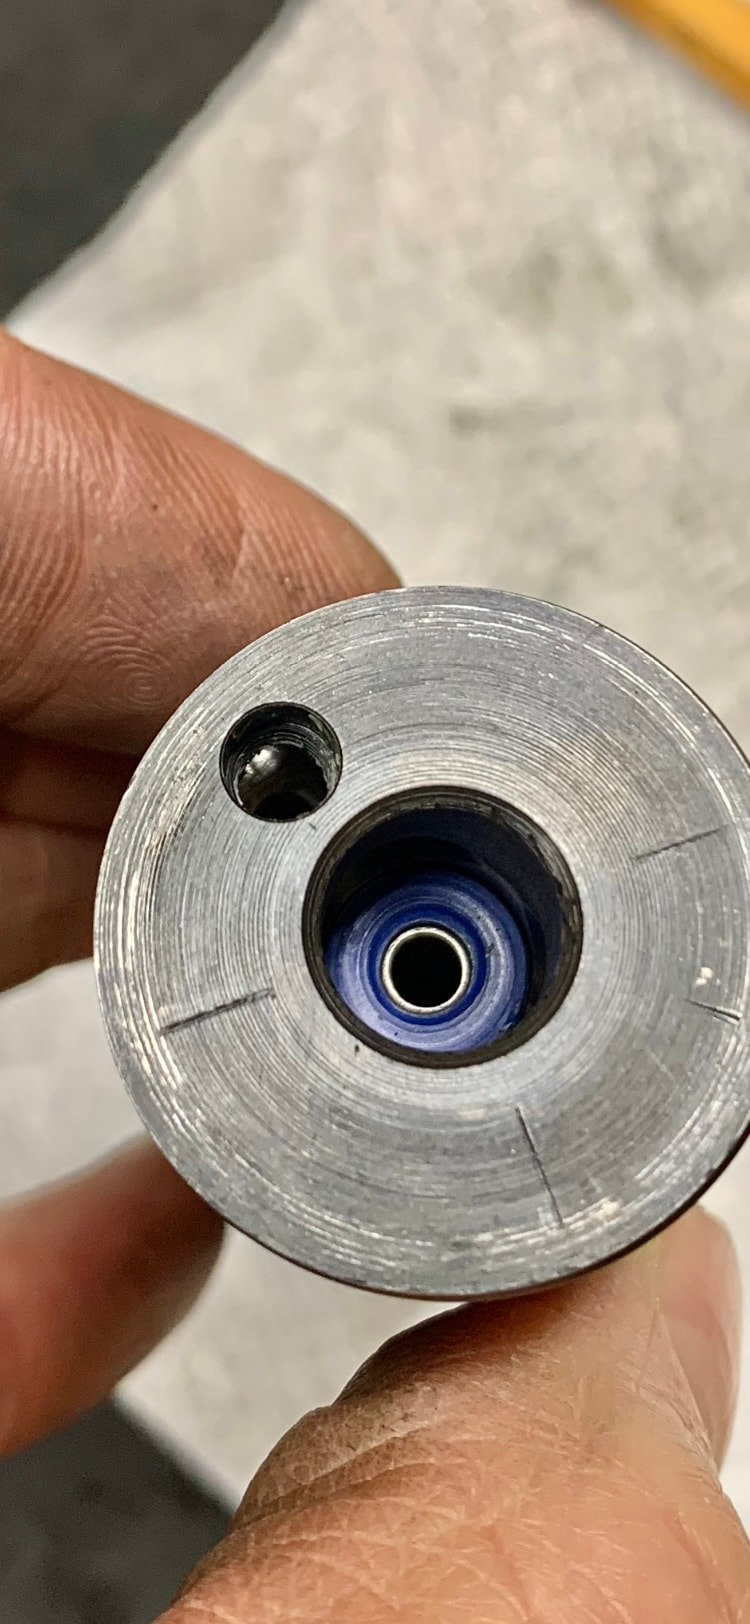
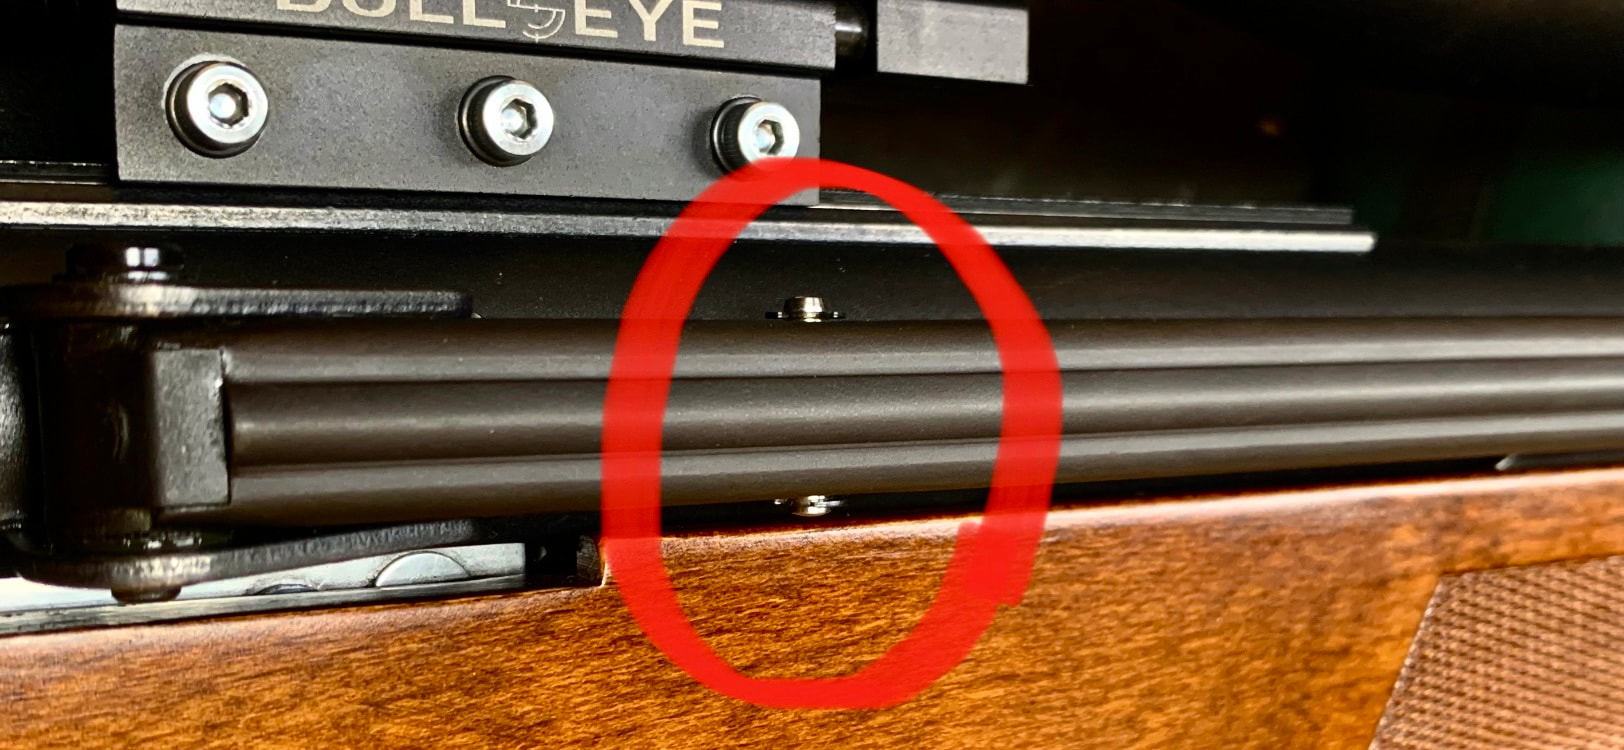
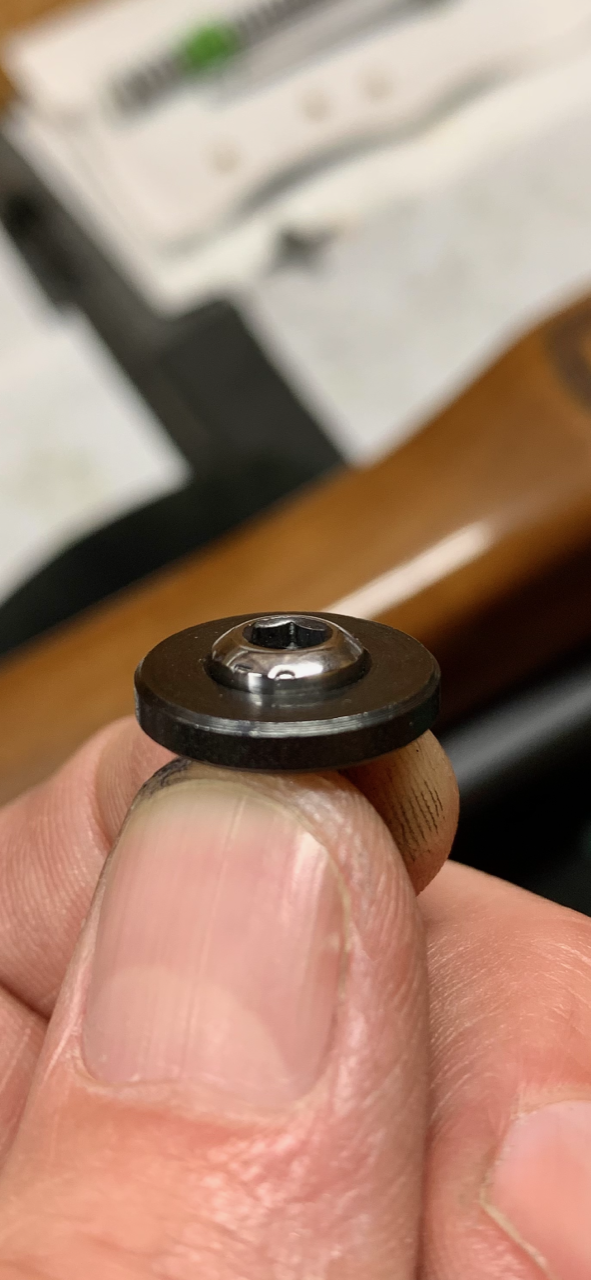
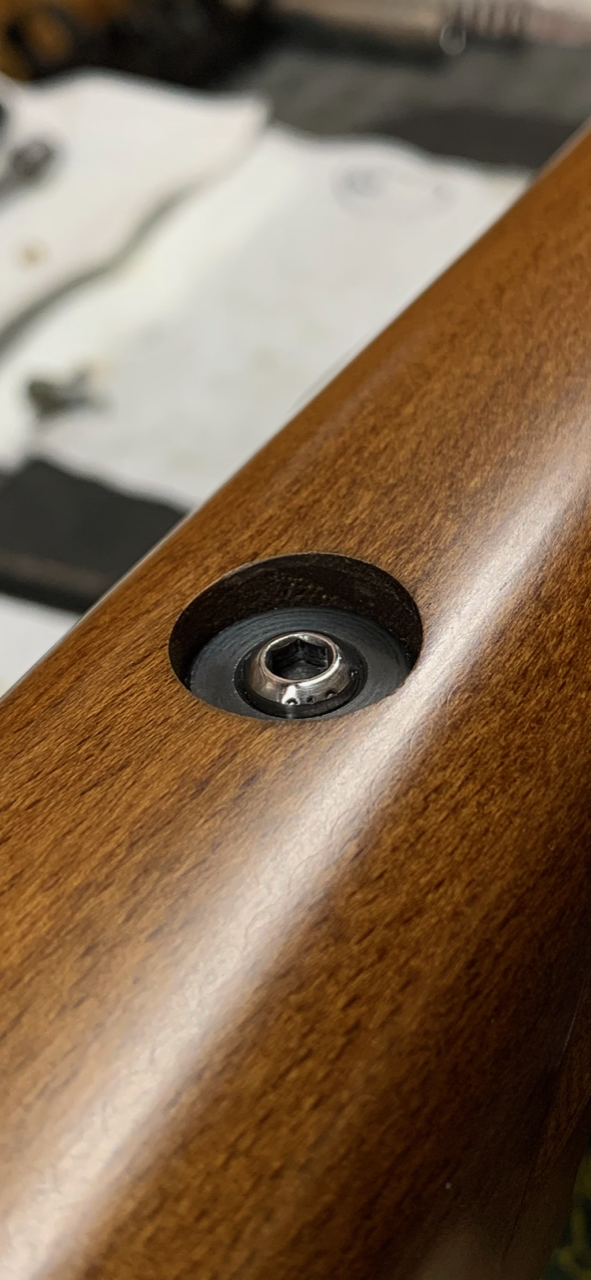
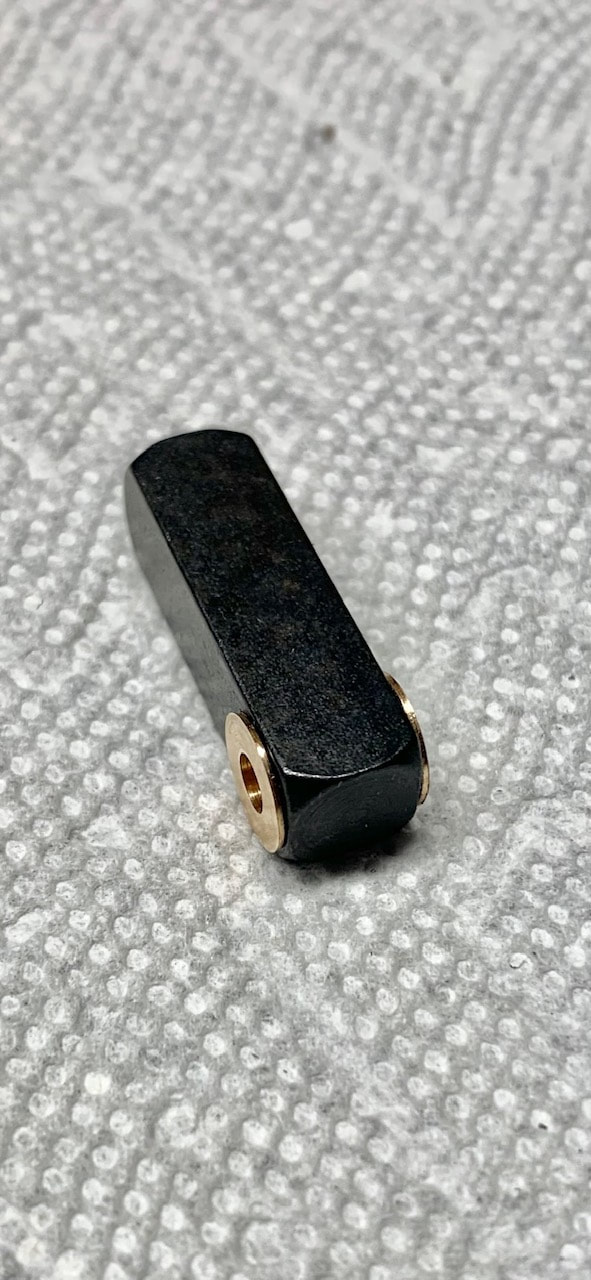
Apologies that I cannot post a picture, as we are in the process of analyzing the patentability of the device. Suffice to say that it is a "drop-in" device that needs the change of two screws in the original Stormrider architecture and still allows a wide range of adjustability.
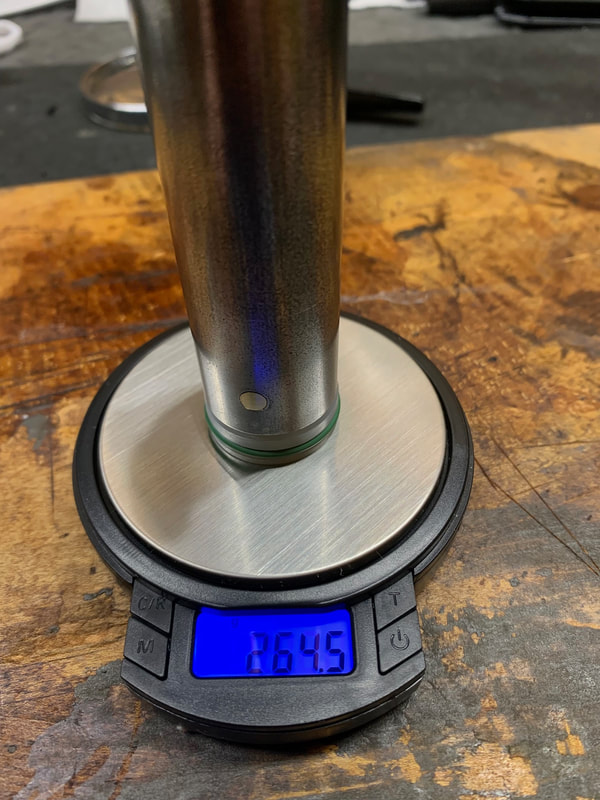
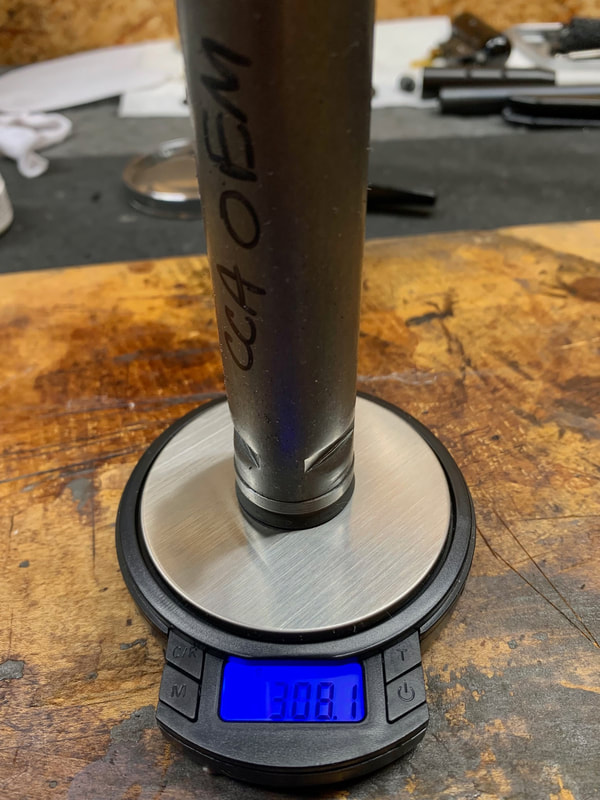
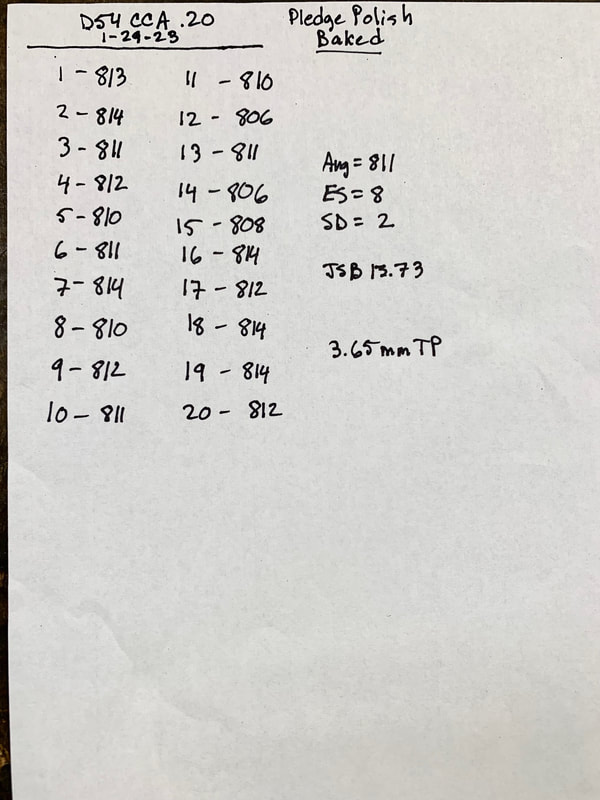
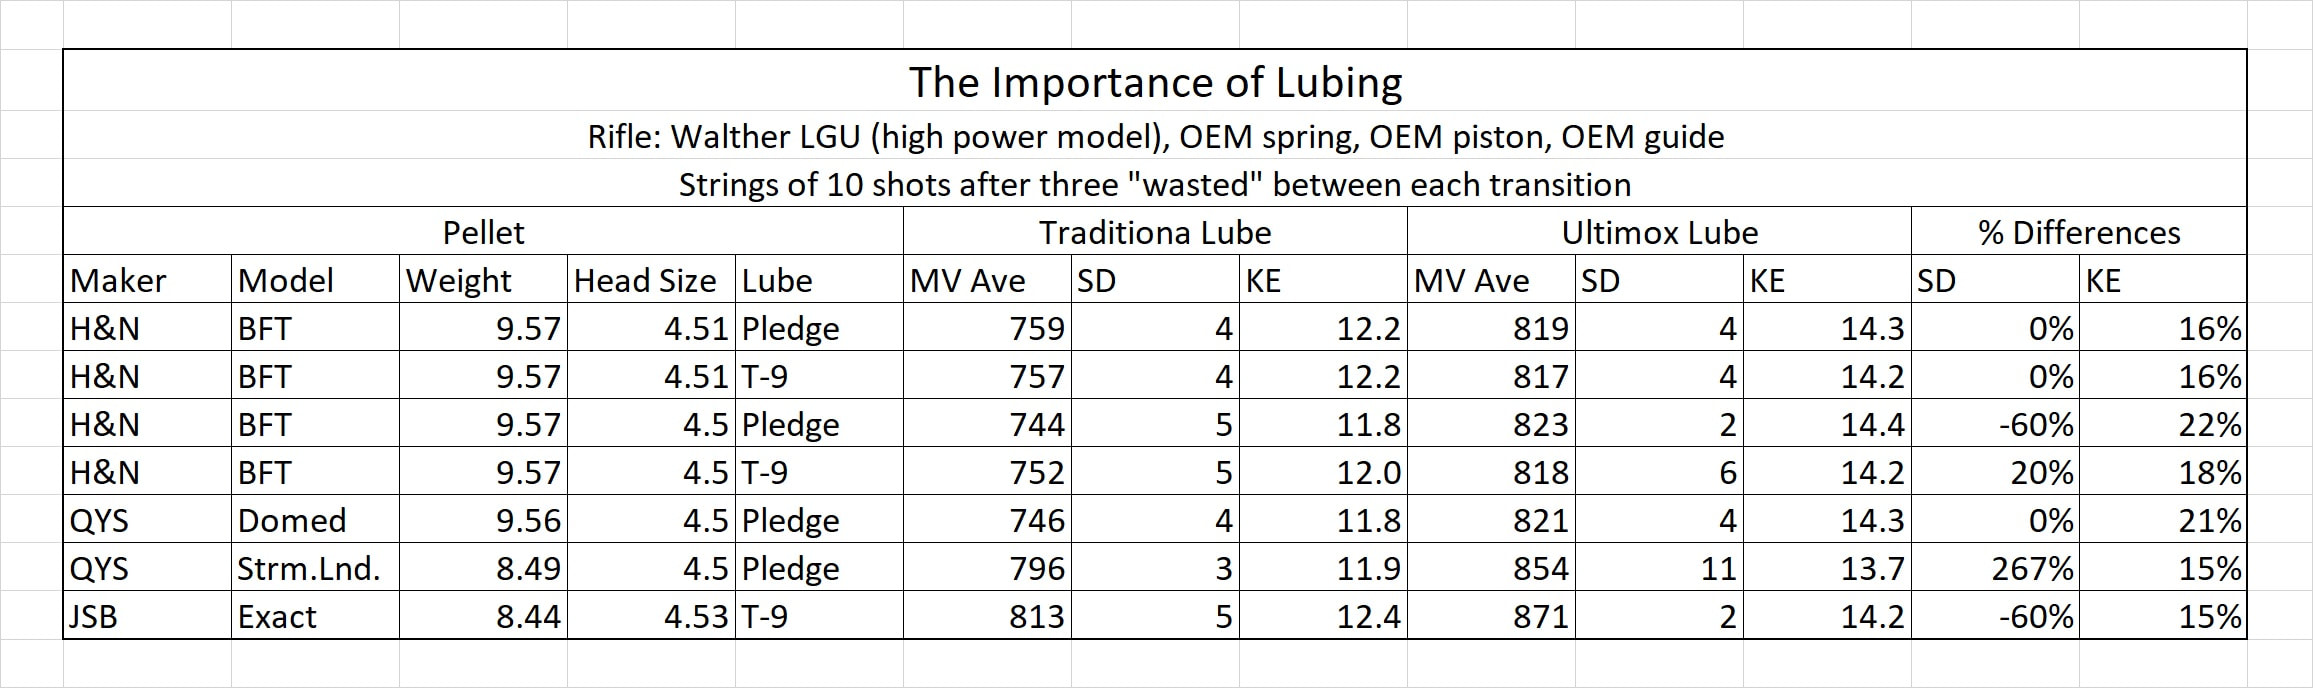
The results with this FFH device were quite good:
BLS supplied the DIANA Stormriders.
ALTAROS air solutions made the small run of vented regulators for this project.
And the project started.
I will not repeat the process detailed in the Army rifle's entry above mentioned, so I will concentrate on the "improvement" of the FFH device.
At first I thought that what had been an EXTERNAL FFH control just needed to be installed inside the action, but the first tests proved me completely wrong. There was not enough space!.
And then I understood why most modern PCP's that have the characteristic (call it FFH, Sling-Shot, or any other name it is the same thing, use a LONG space to accomplish this.
I did not have the space, so, somehow the system had to be "folded".
After many weeks, prototypes, and tests, I went back to my spring-piston roots and designed a system that is structurally self contained.
Apologies that I cannot post a picture, as we are in the process of analyzing the patentability of the device. Suffice to say that it is a "drop-in" device that needs the change of two screws in the original Stormrider architecture and still allows a wide range of adjustability.
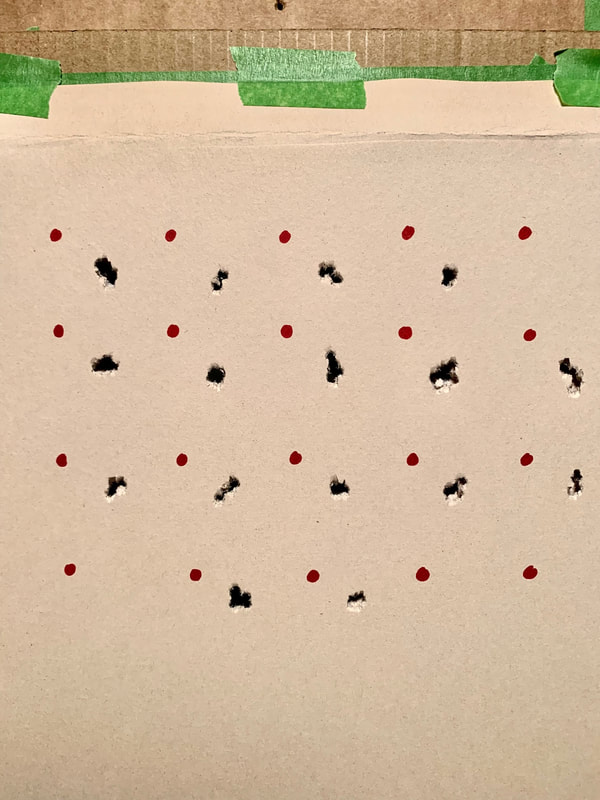
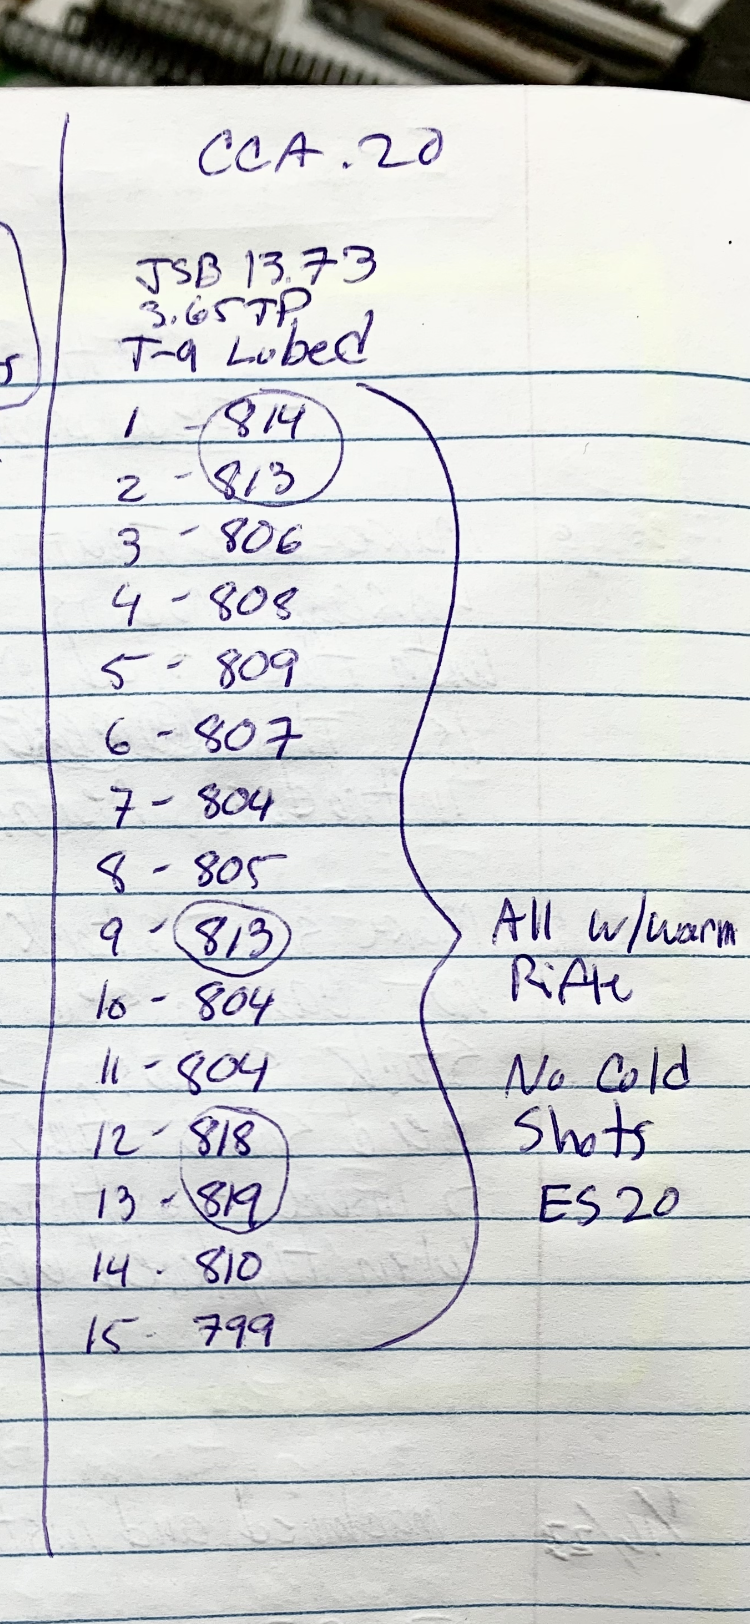
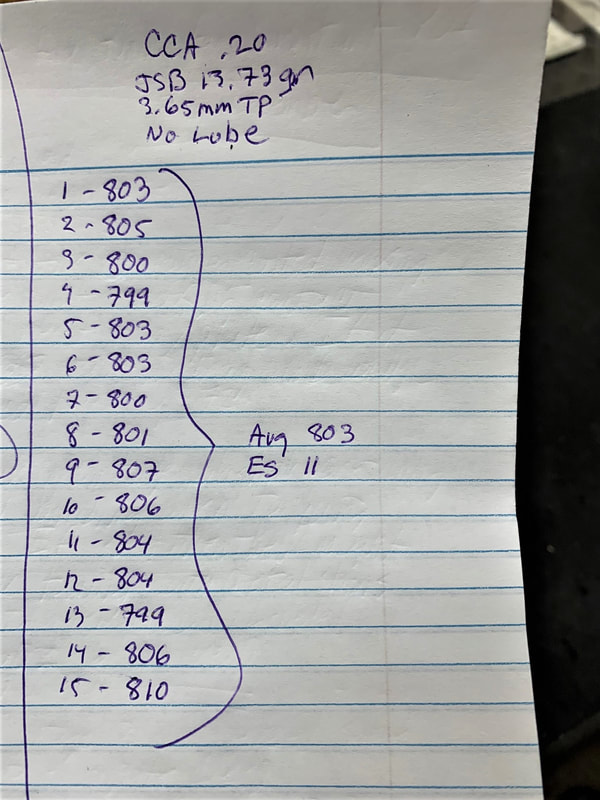
The results with this FFH device were quite good:


Remember that the International spec is 590 ± 25 fps, so were very clearly complying with the spec.
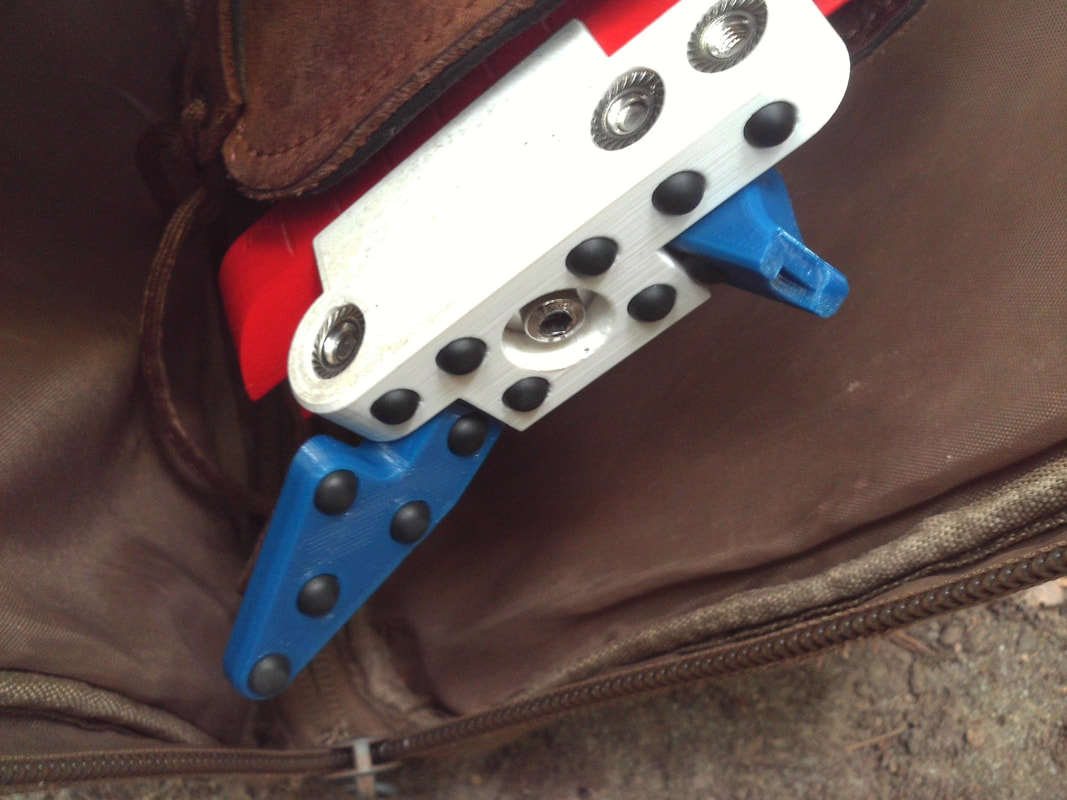
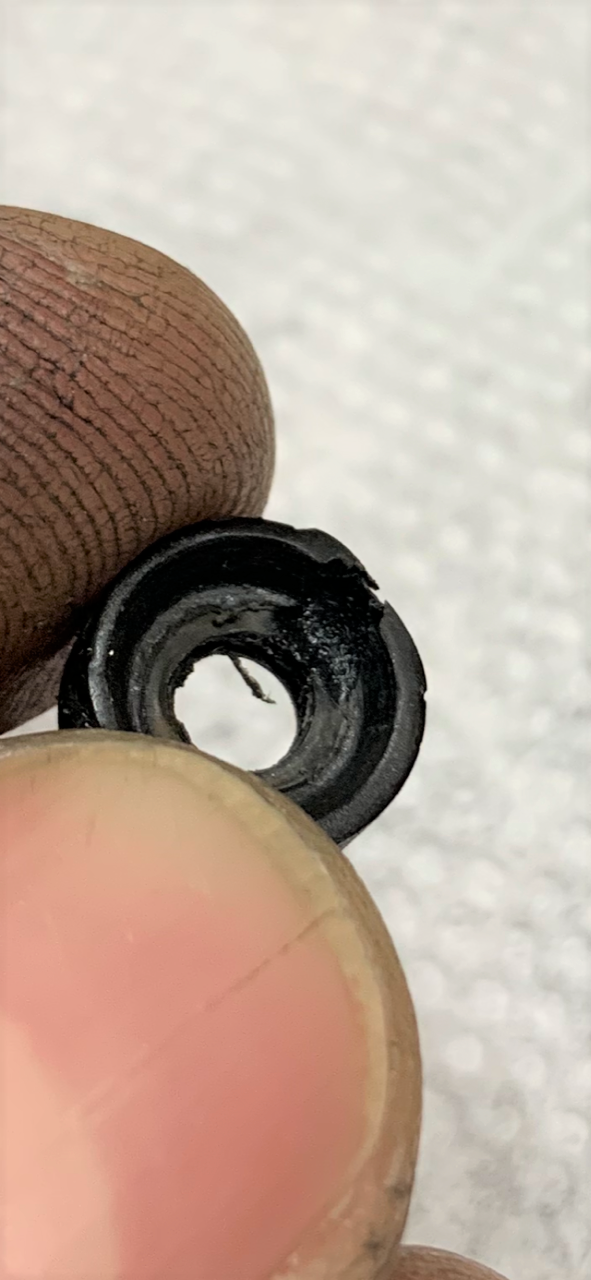
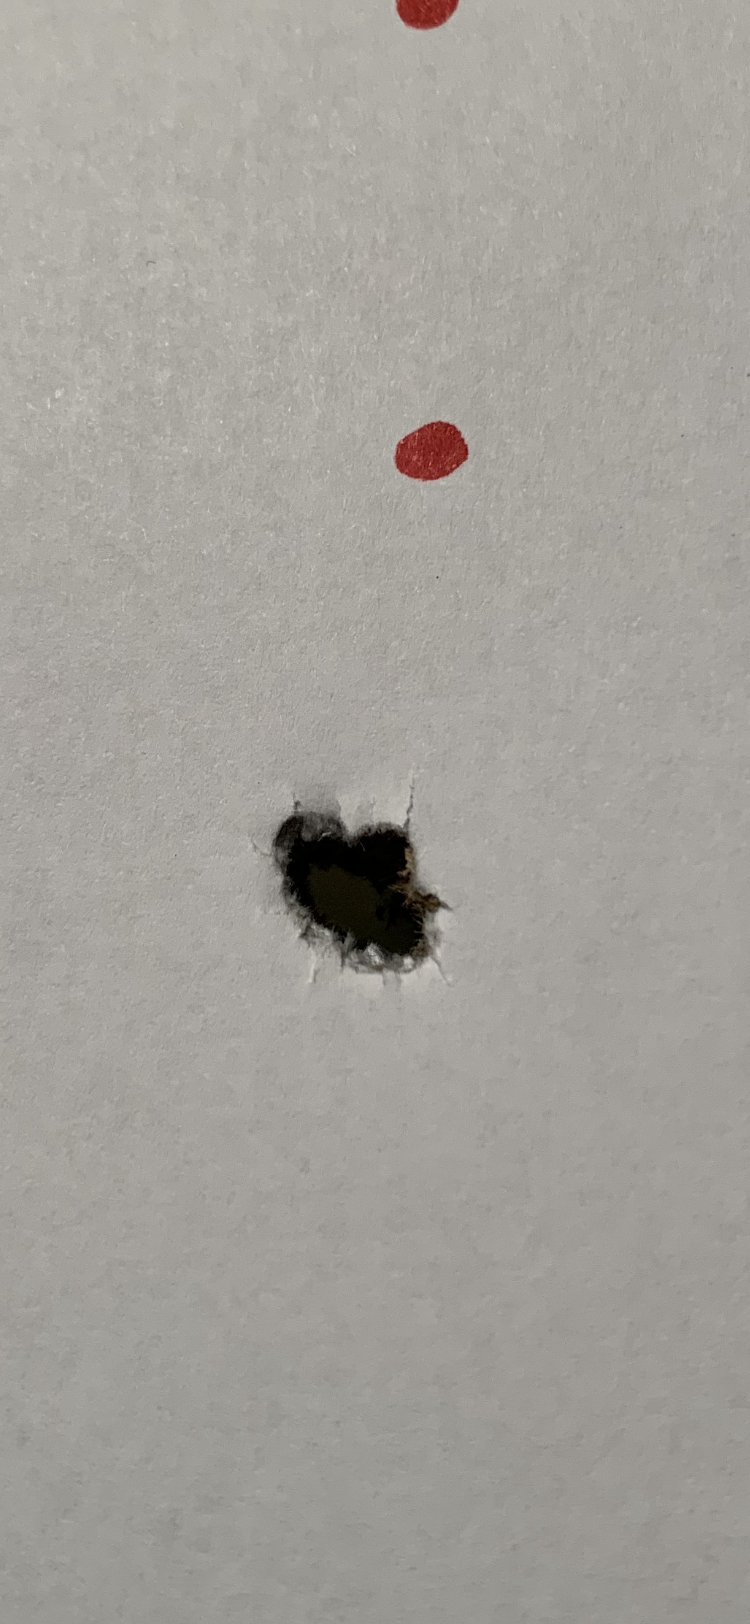
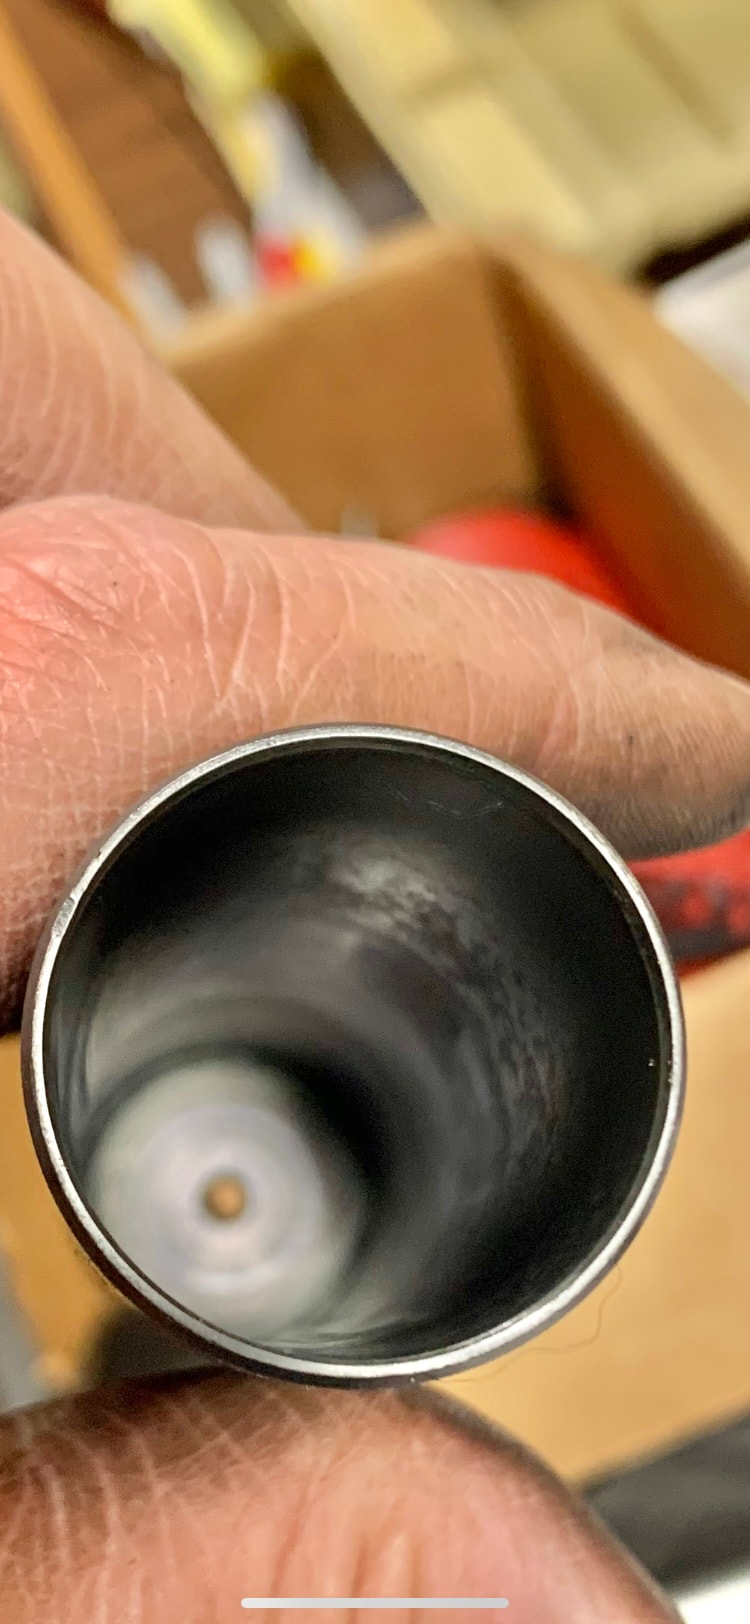
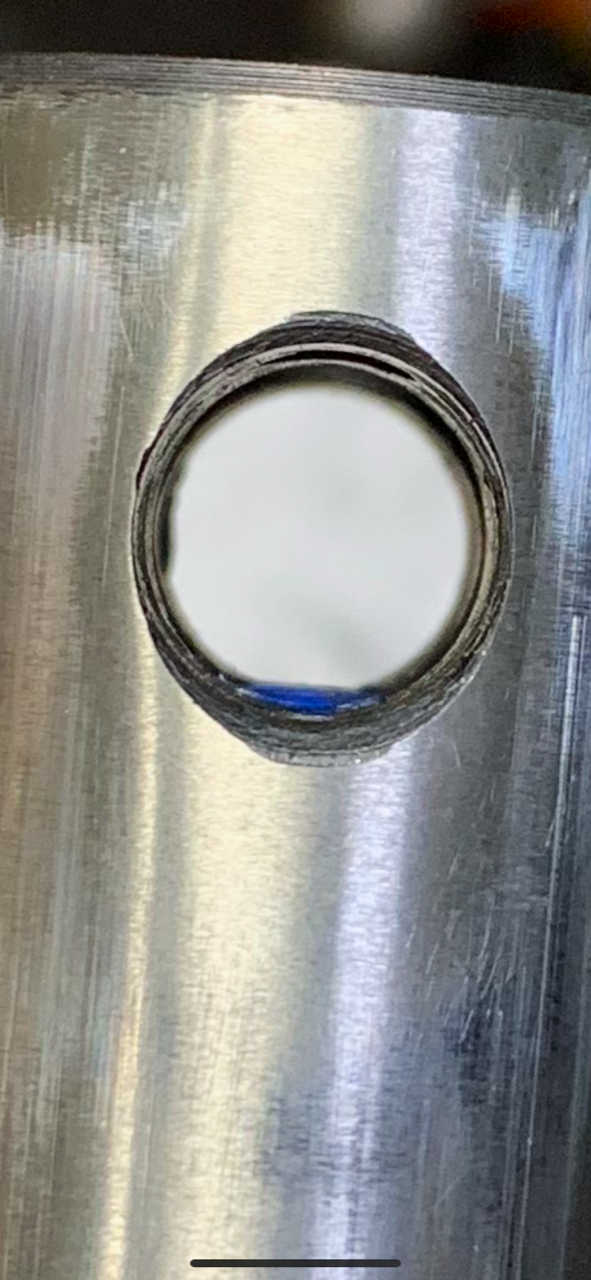
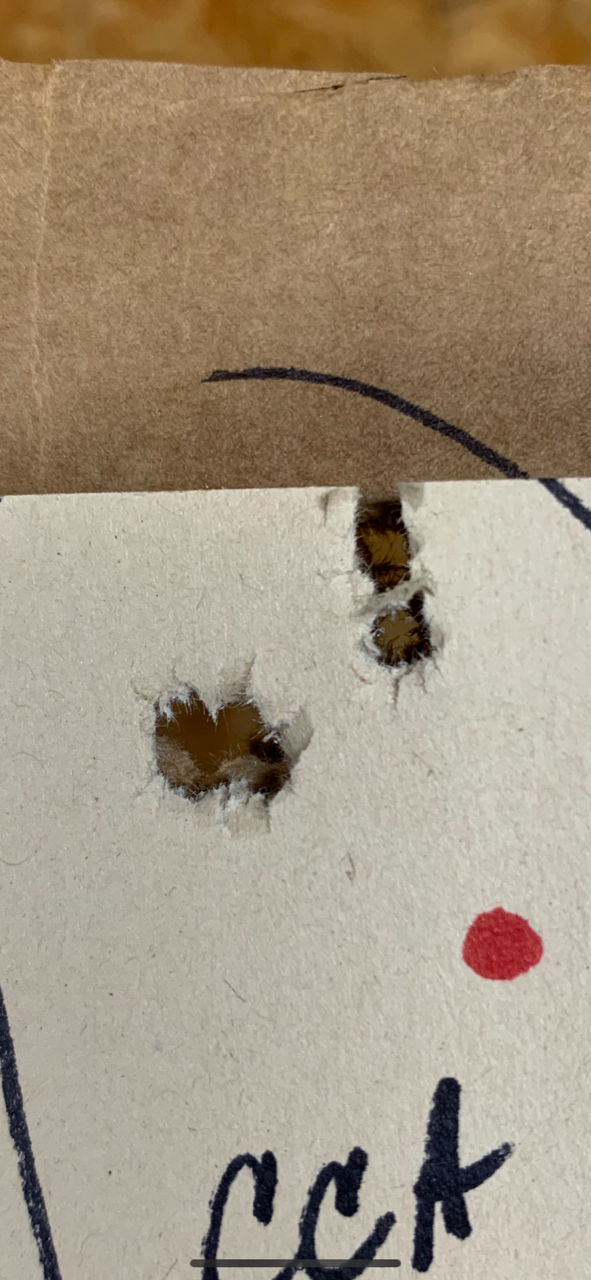
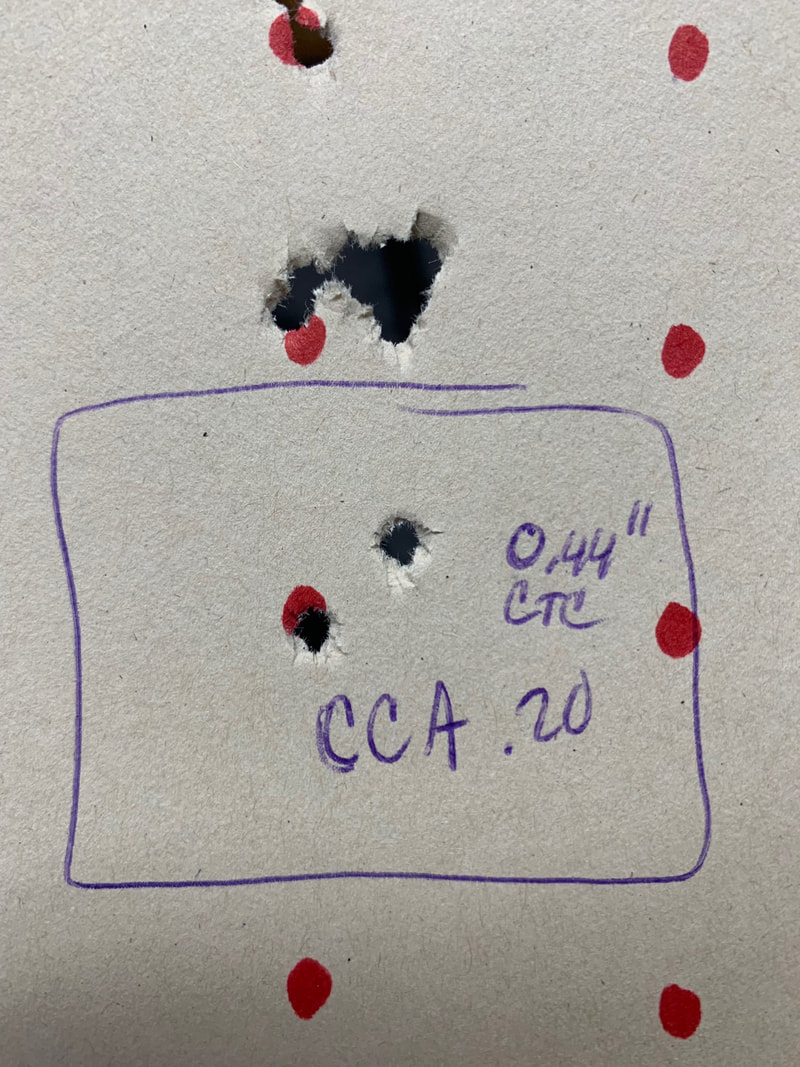
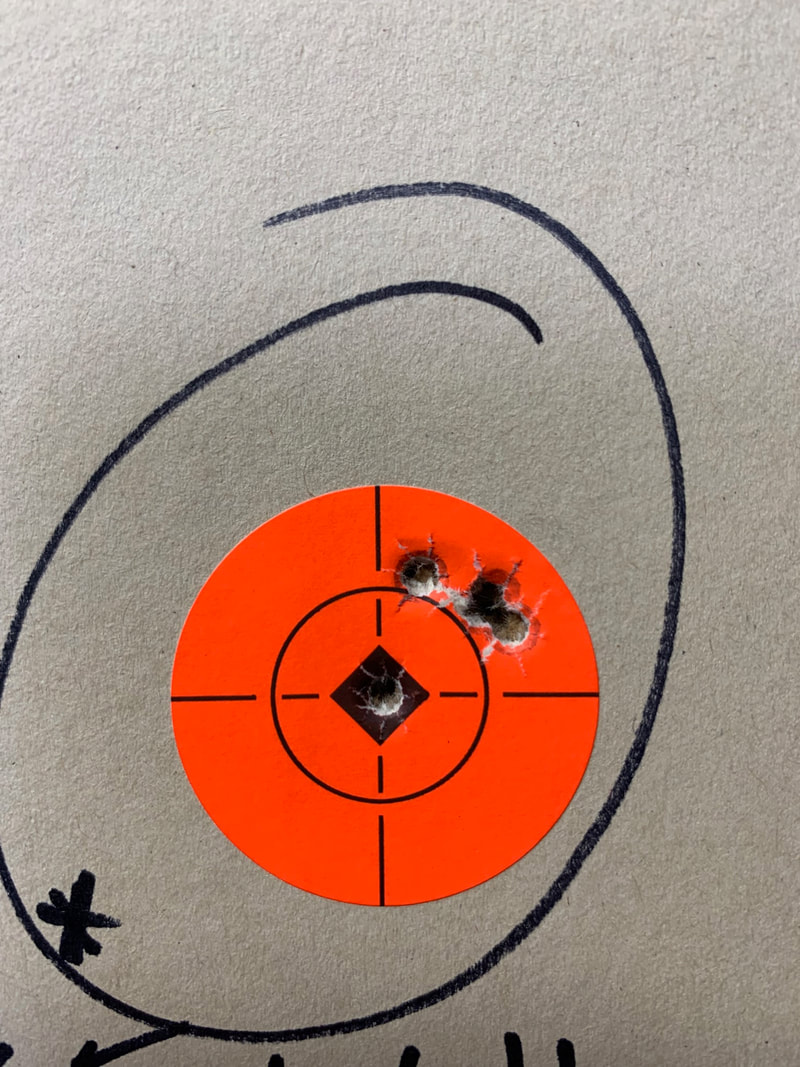
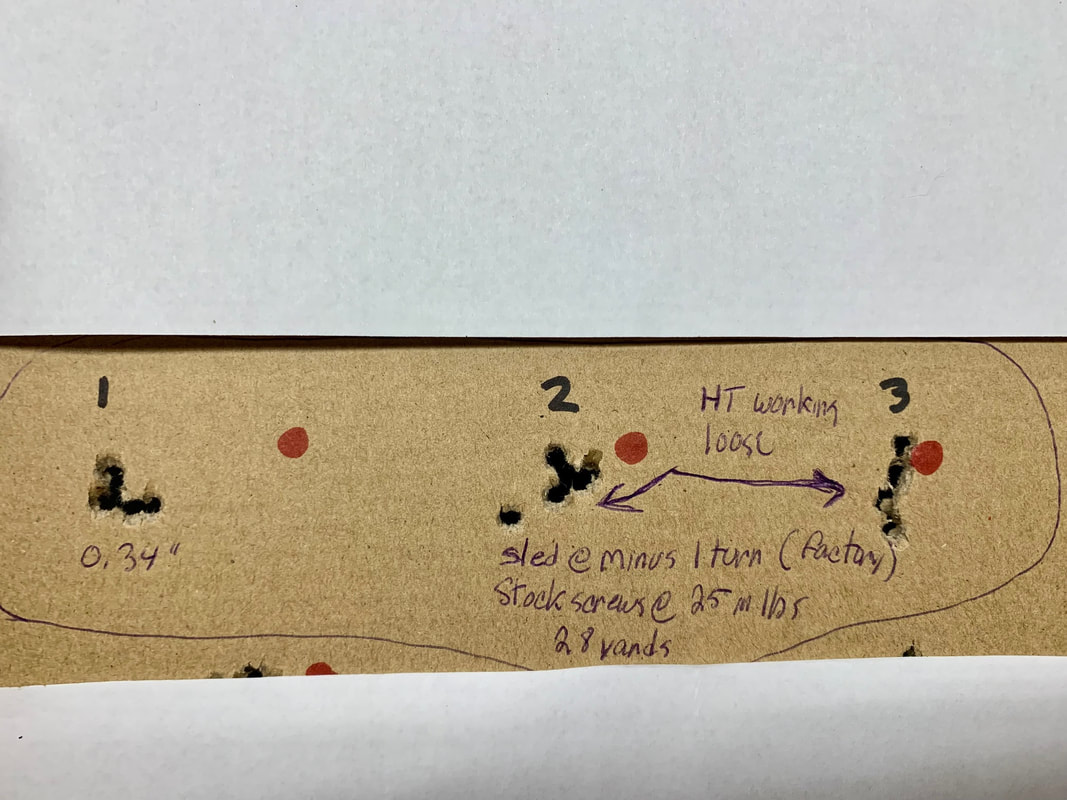
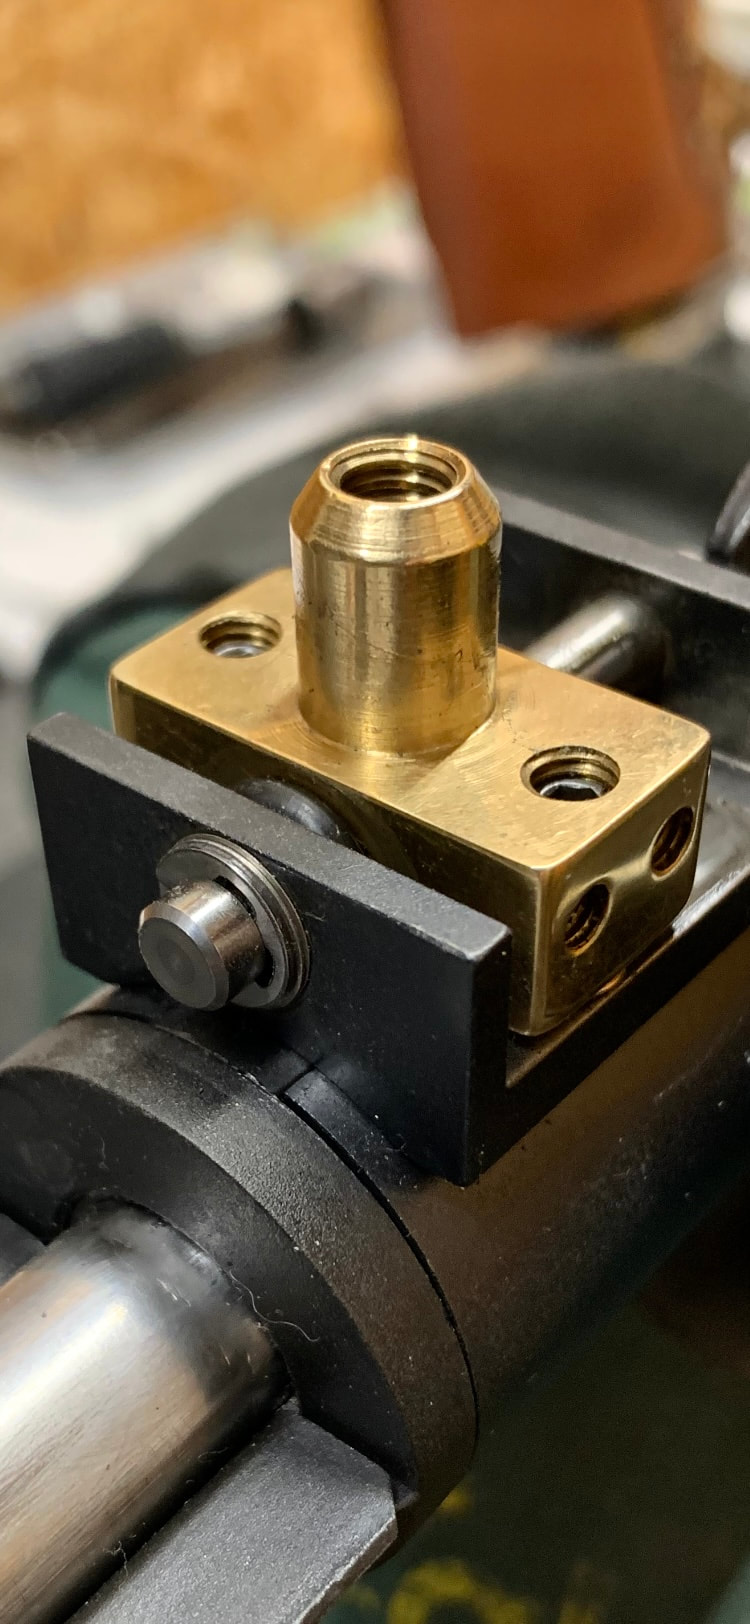
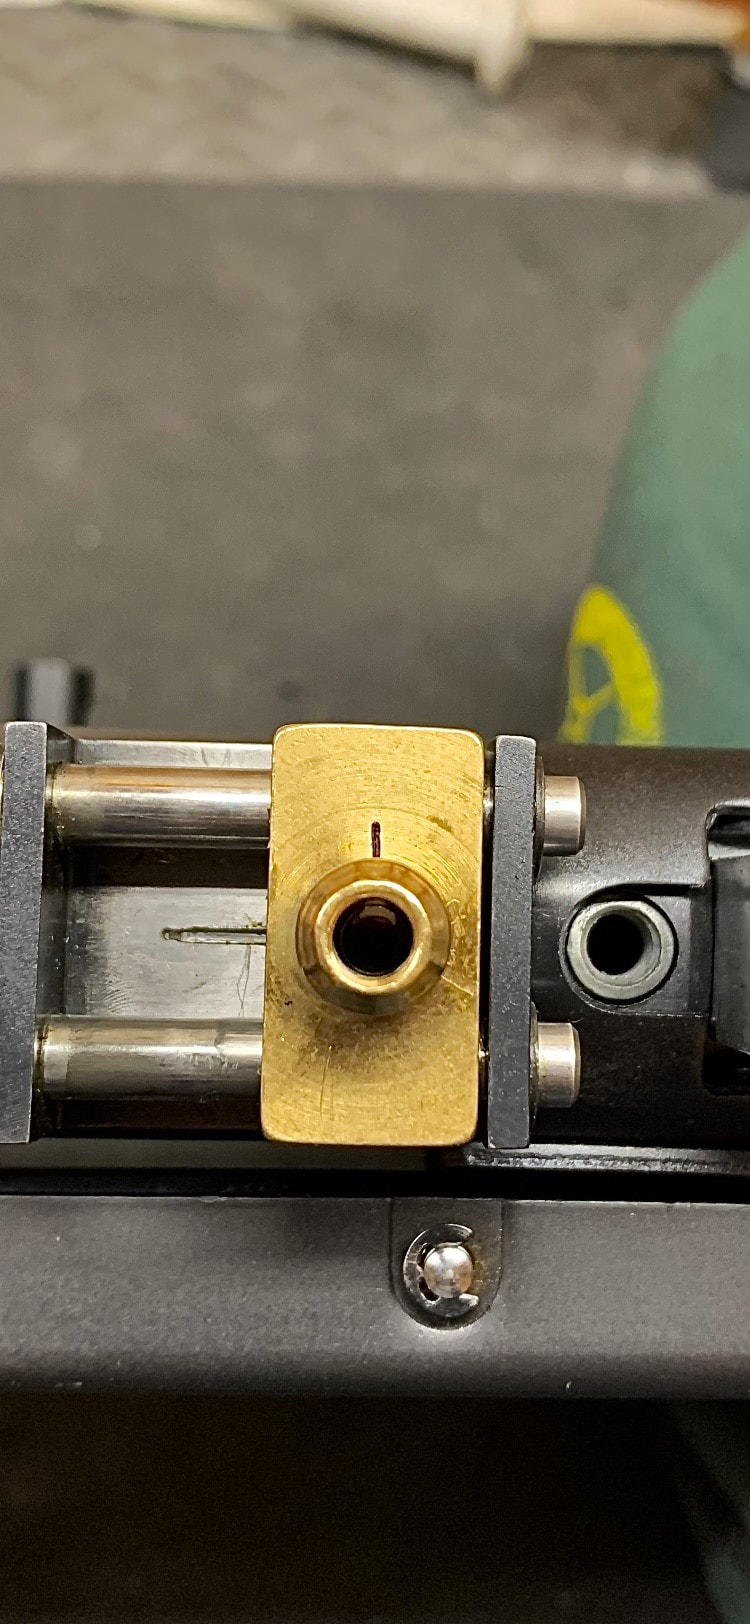
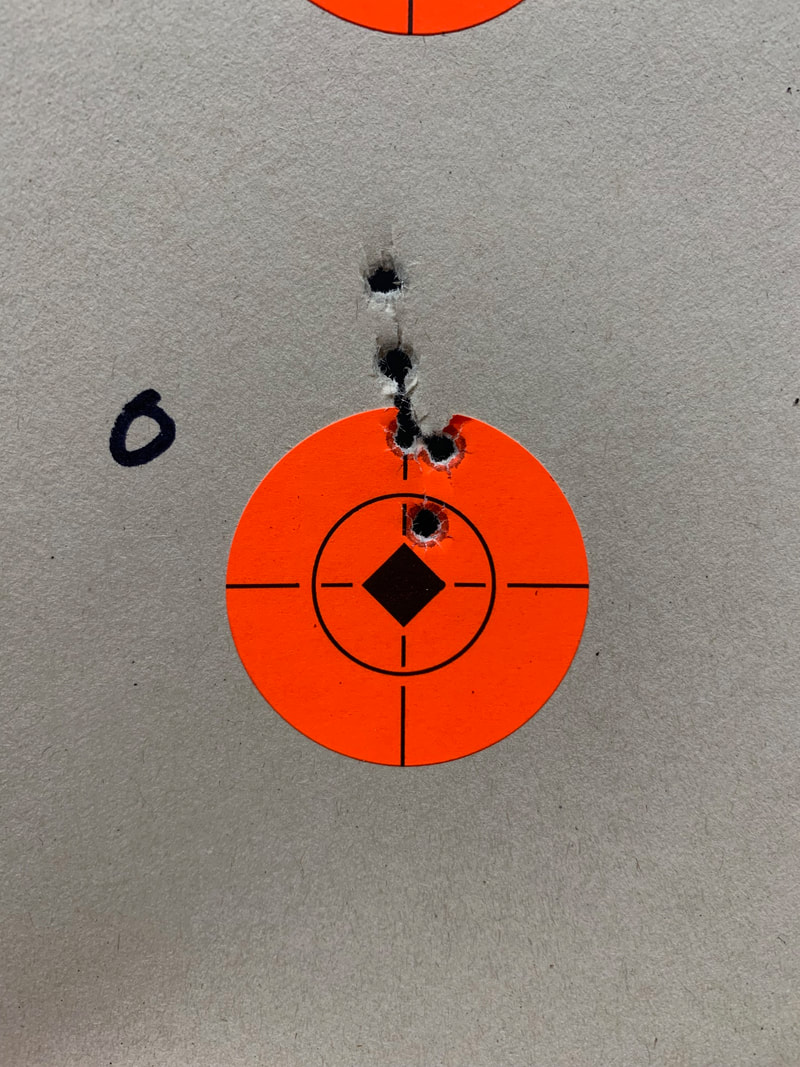
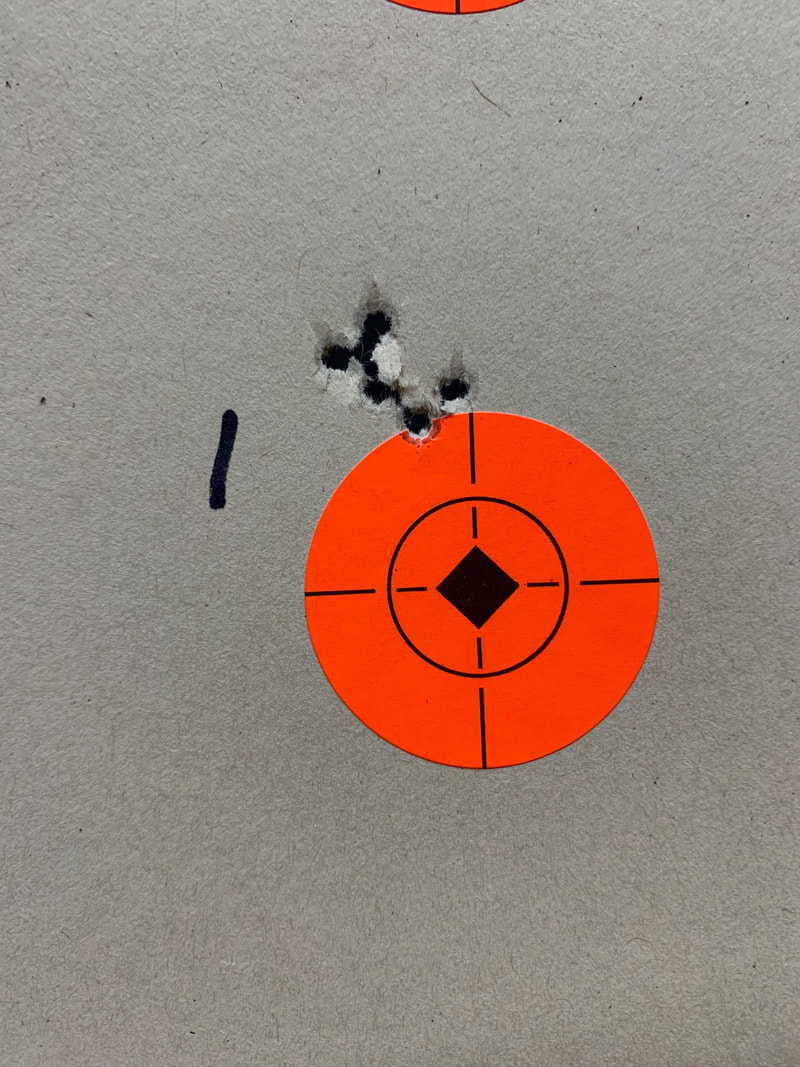
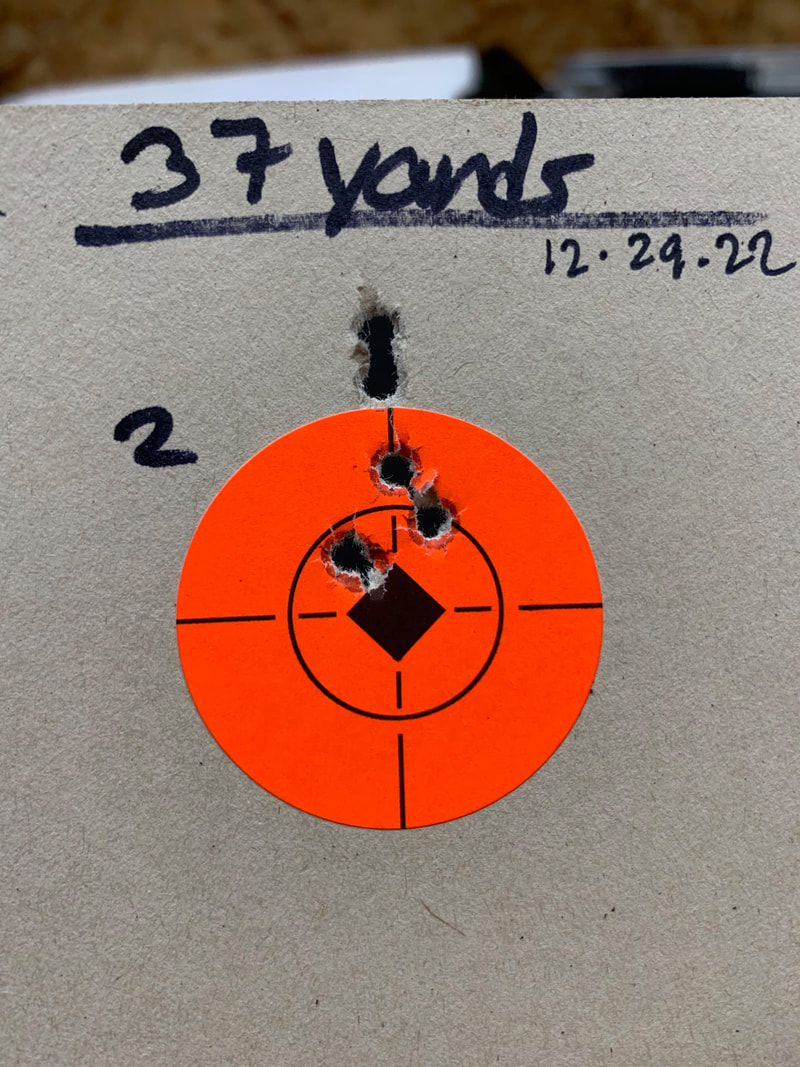
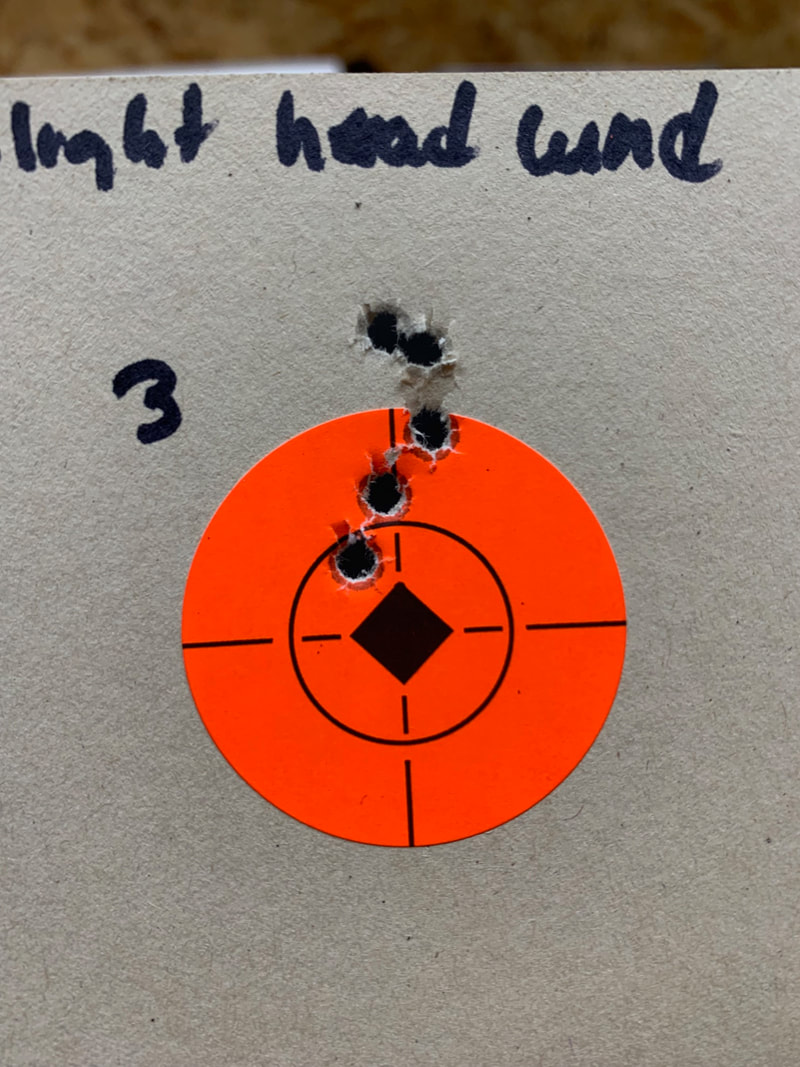
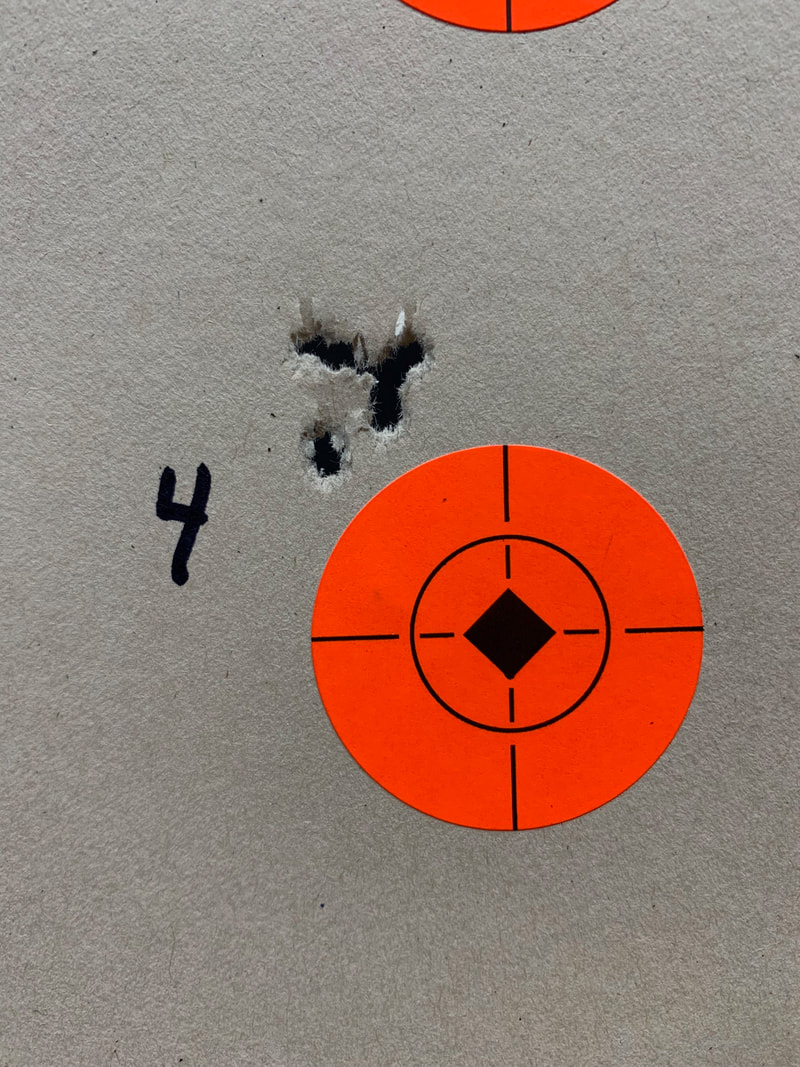
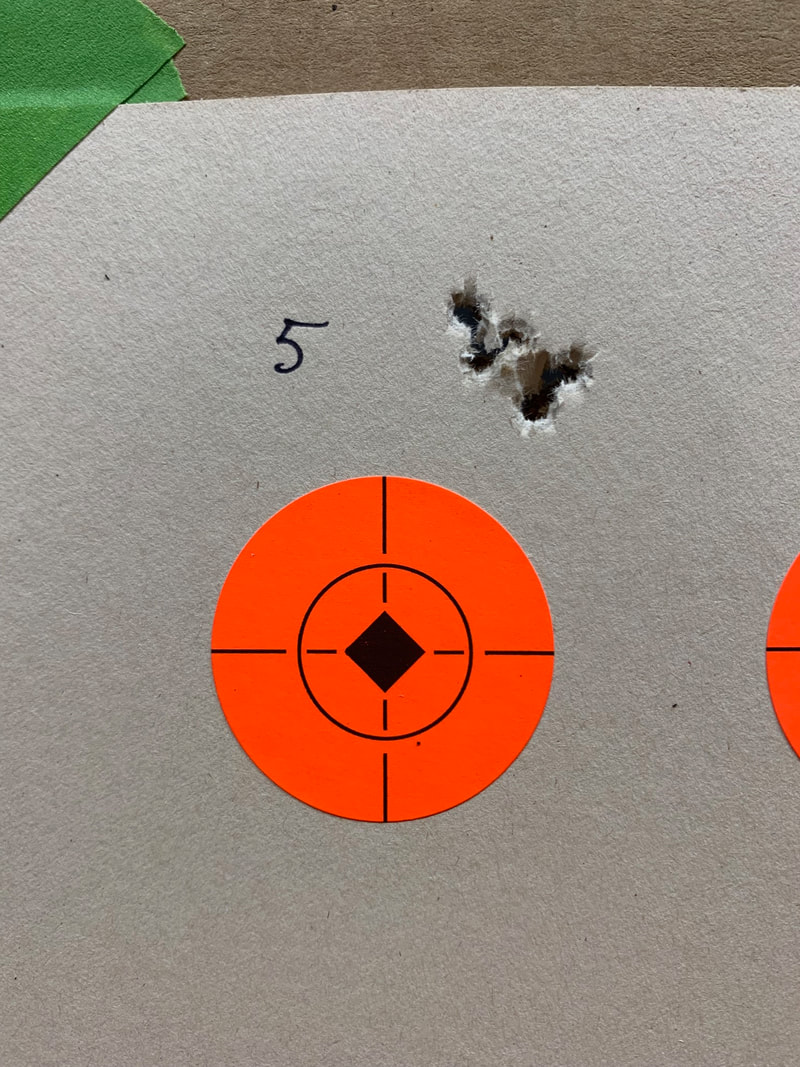
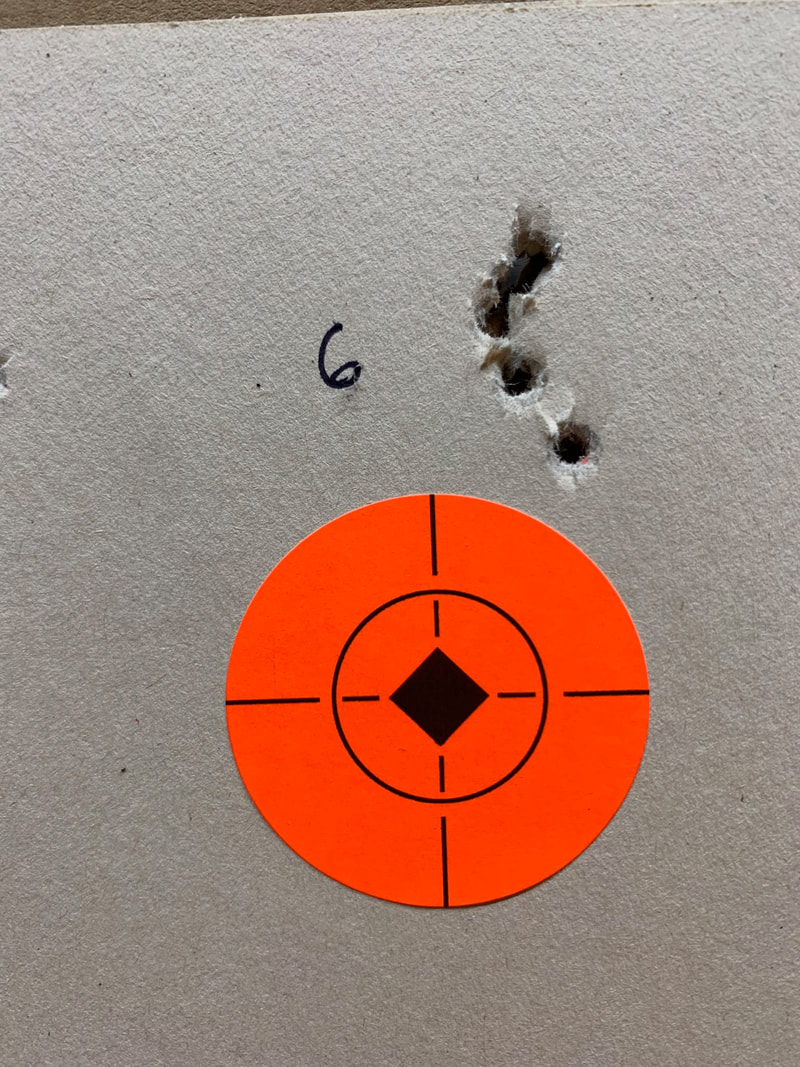
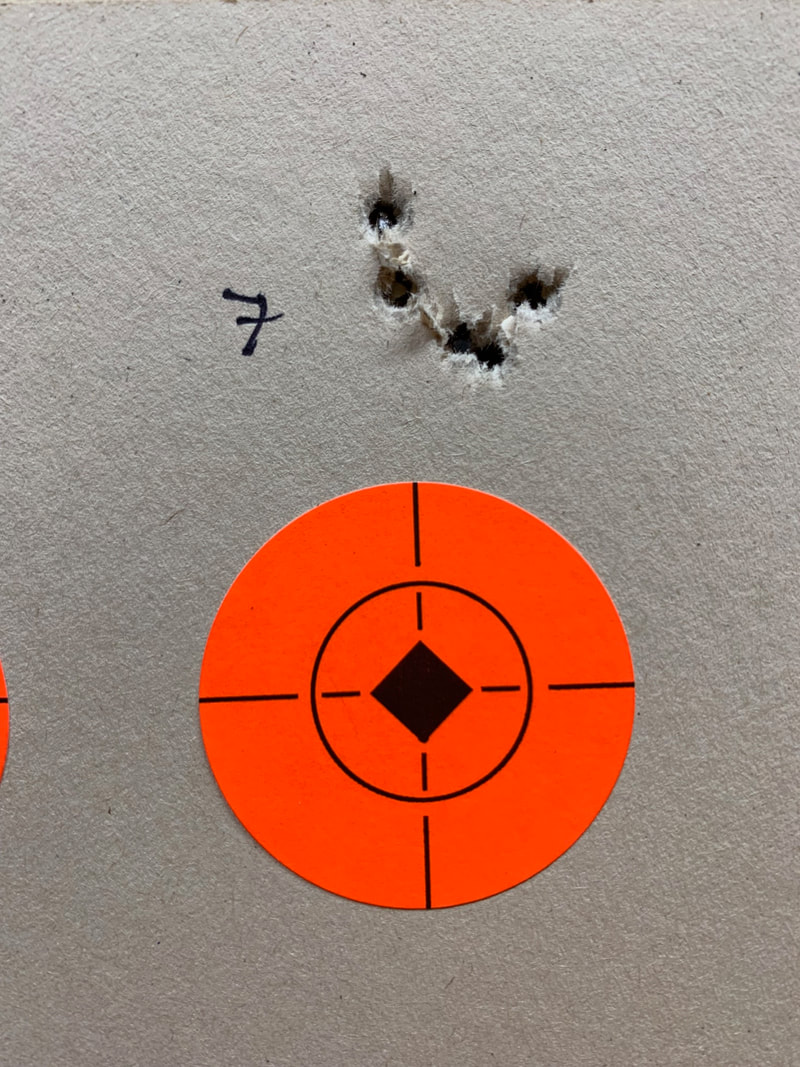
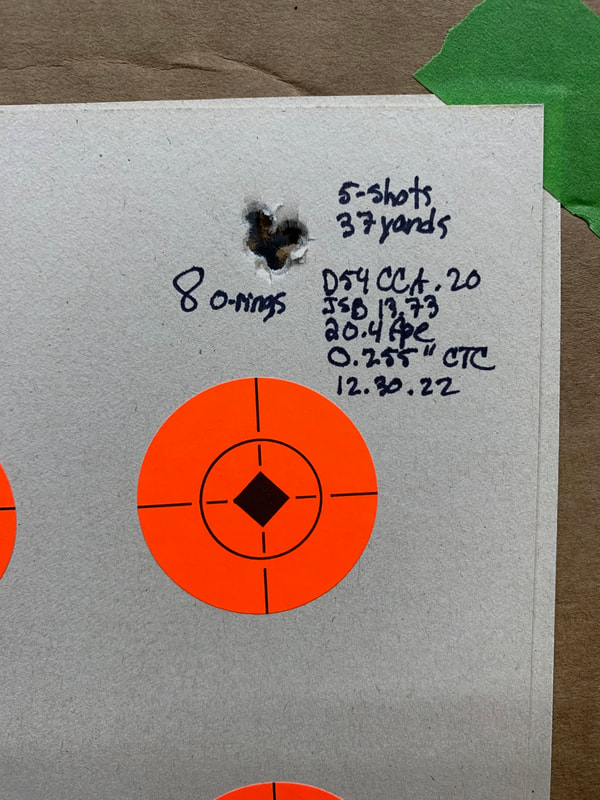
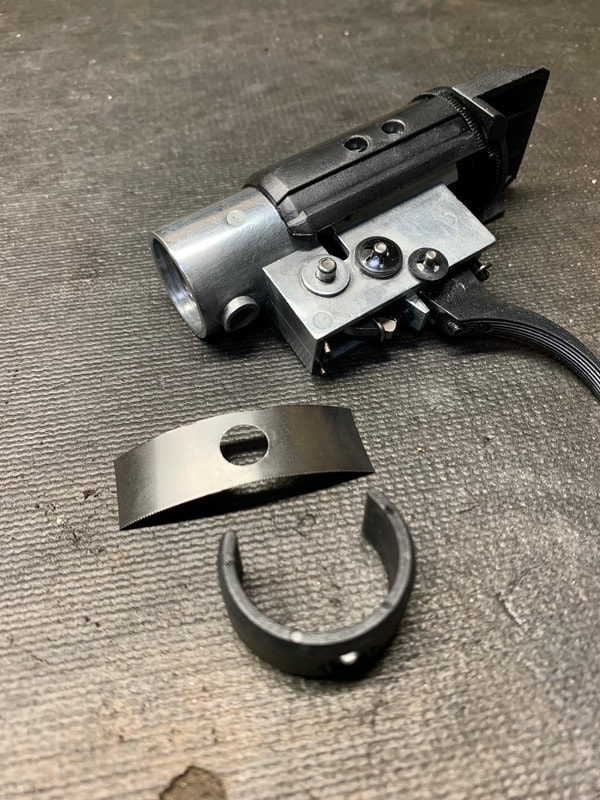
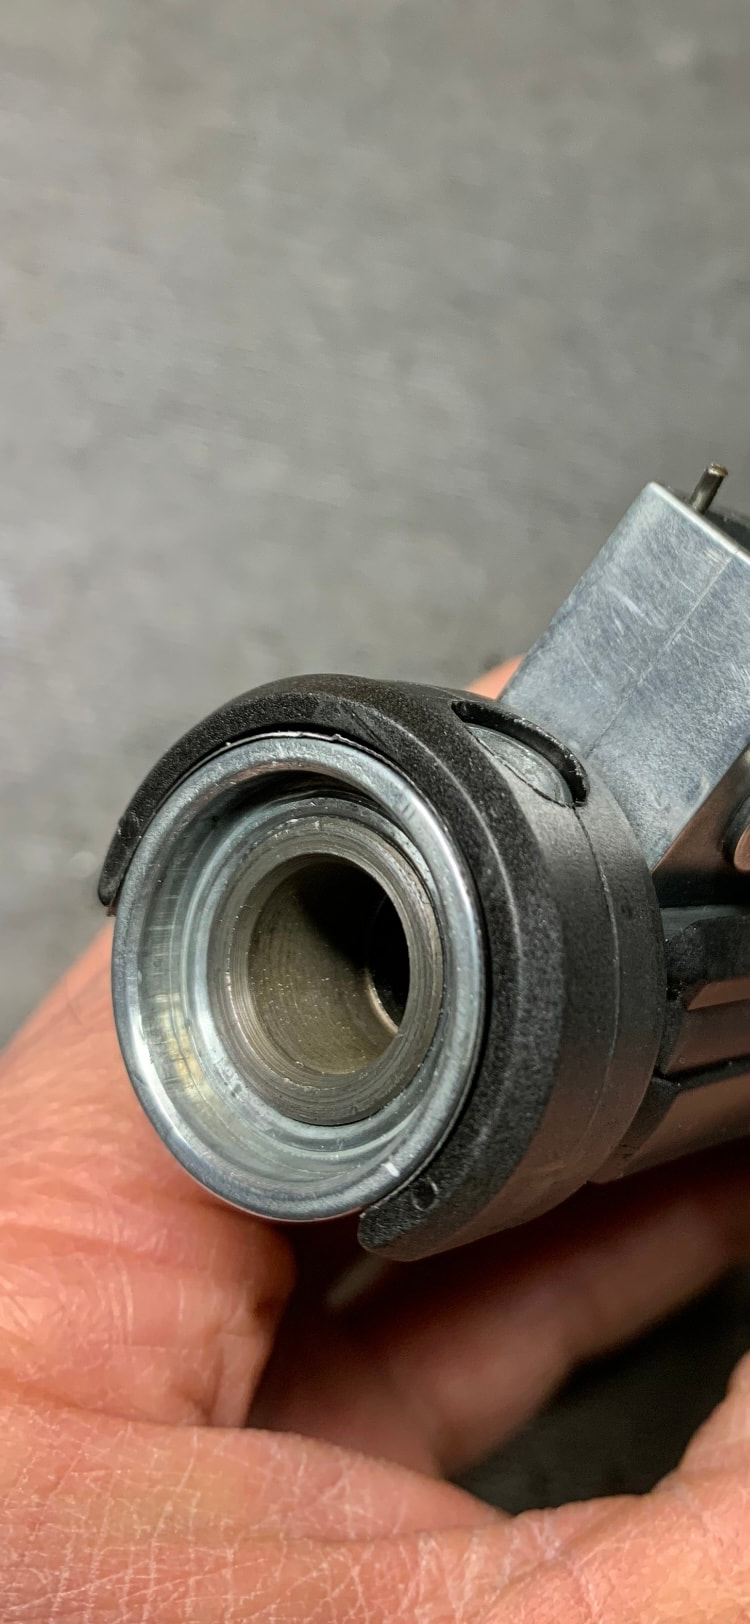
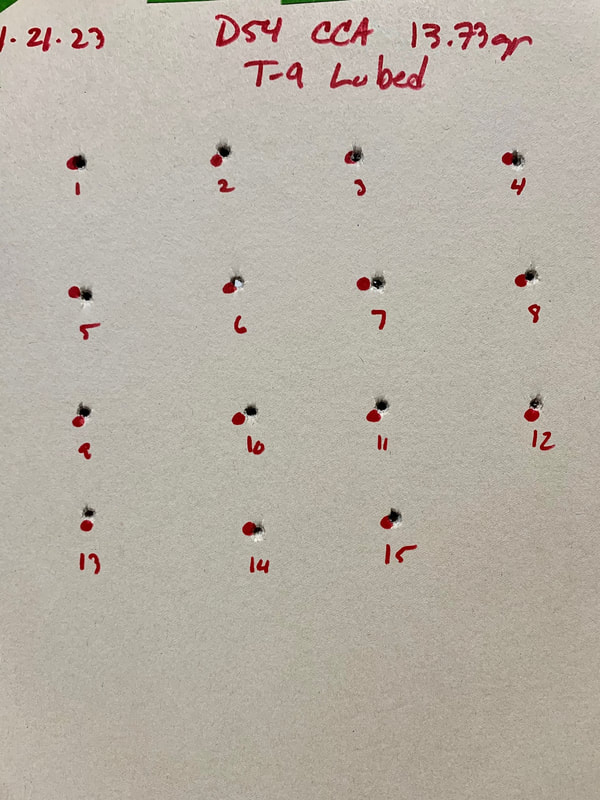
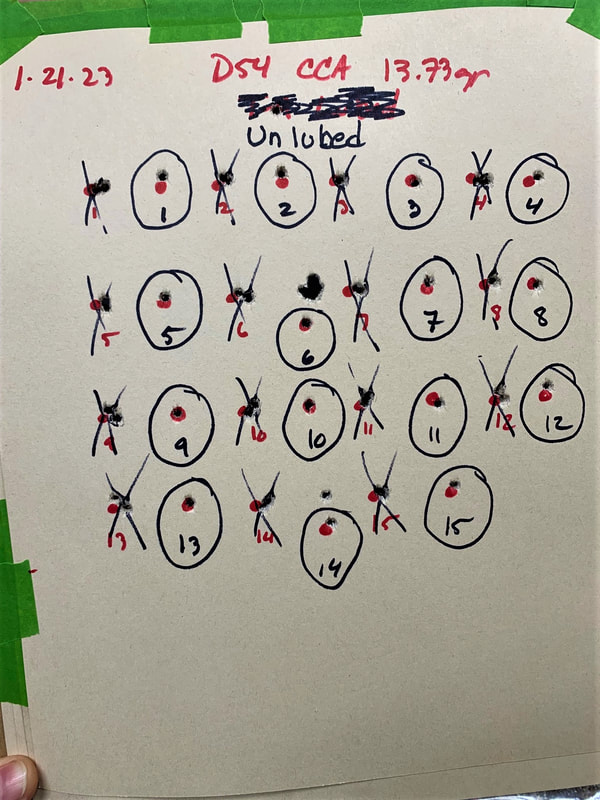
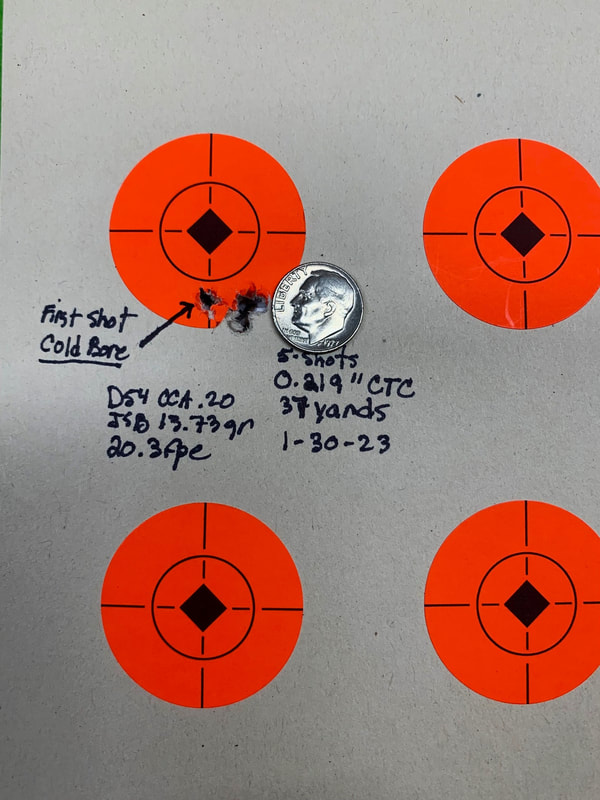
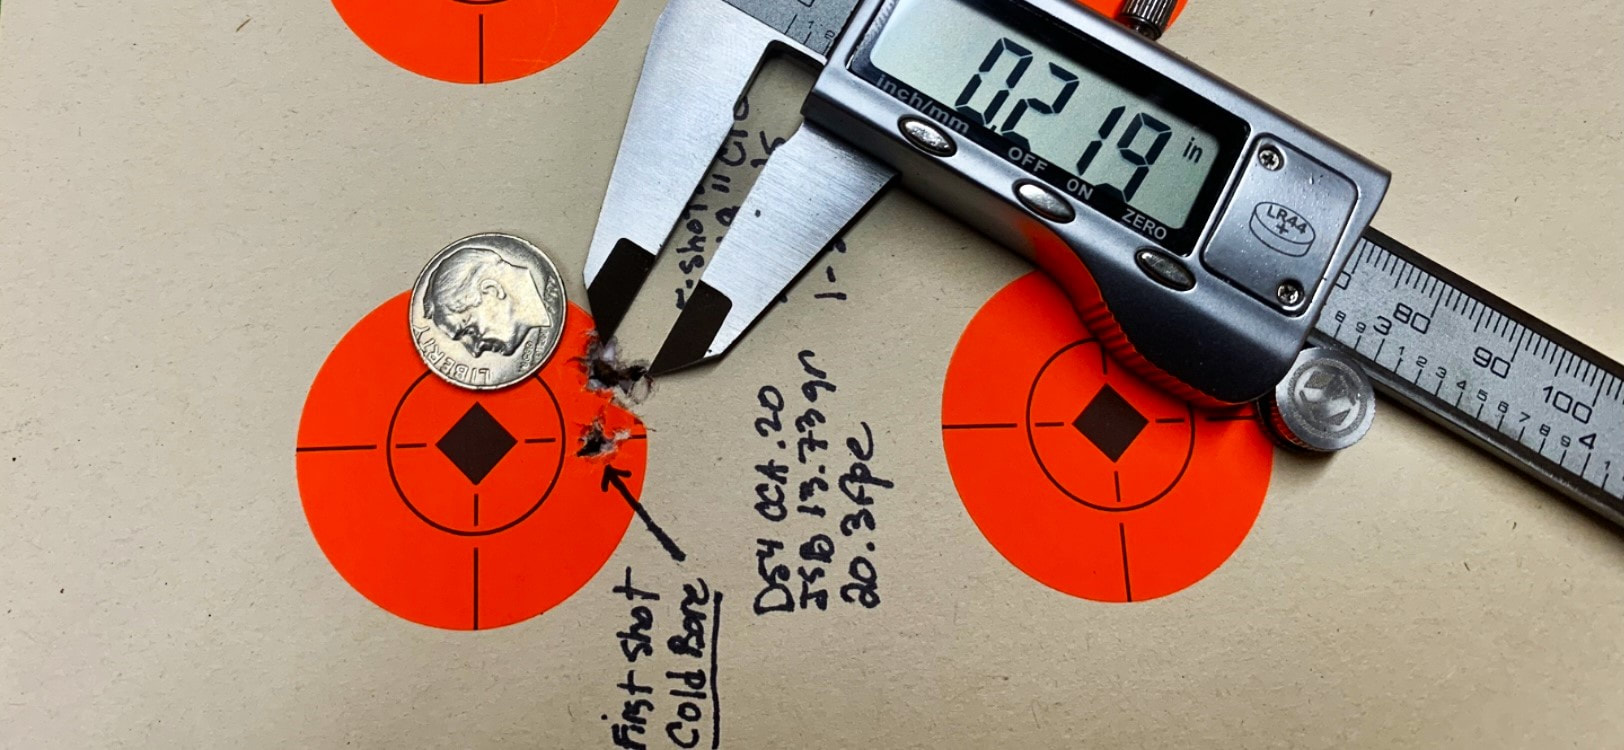
Additionally, my friends at the BRF requested the possibility to mount a laser pointer-sight, so a drooped Picatinny rail was added to the "tools", and tested at 5 meters (distance specced by the BRF), accuracy, for a smoothbore barrel shooting relatively fast for the projectile in question was not bad at all:
Additionally, my friends at the BRF requested the possibility to mount a laser pointer-sight, so a drooped Picatinny rail was added to the "tools", and tested at 5 meters (distance specced by the BRF), accuracy, for a smoothbore barrel shooting relatively fast for the projectile in question was not bad at all:
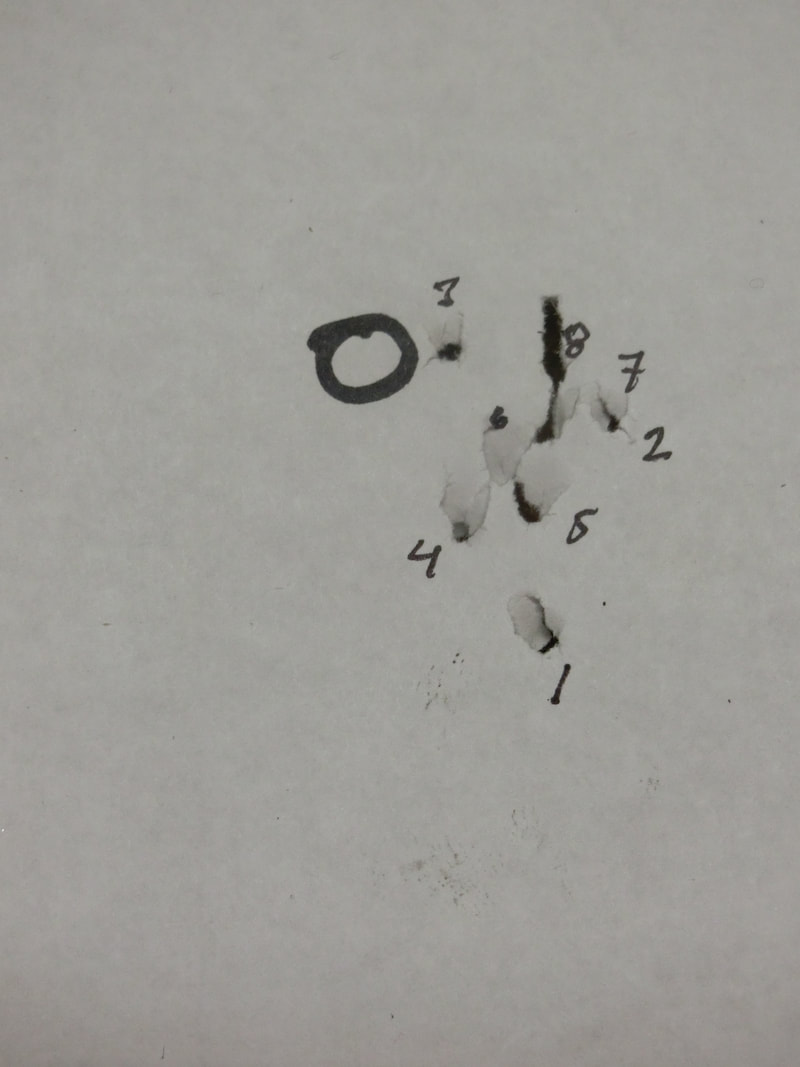
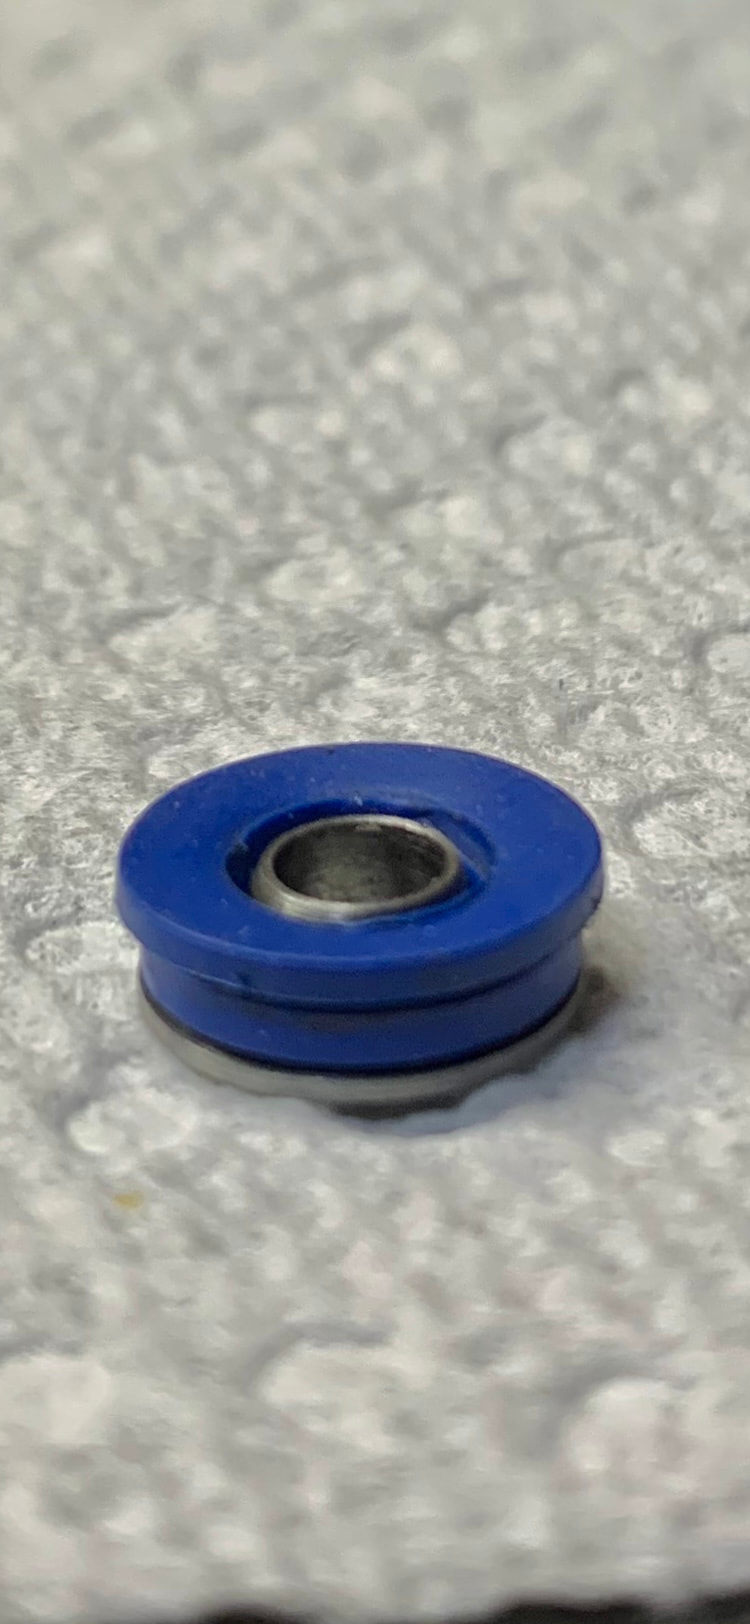
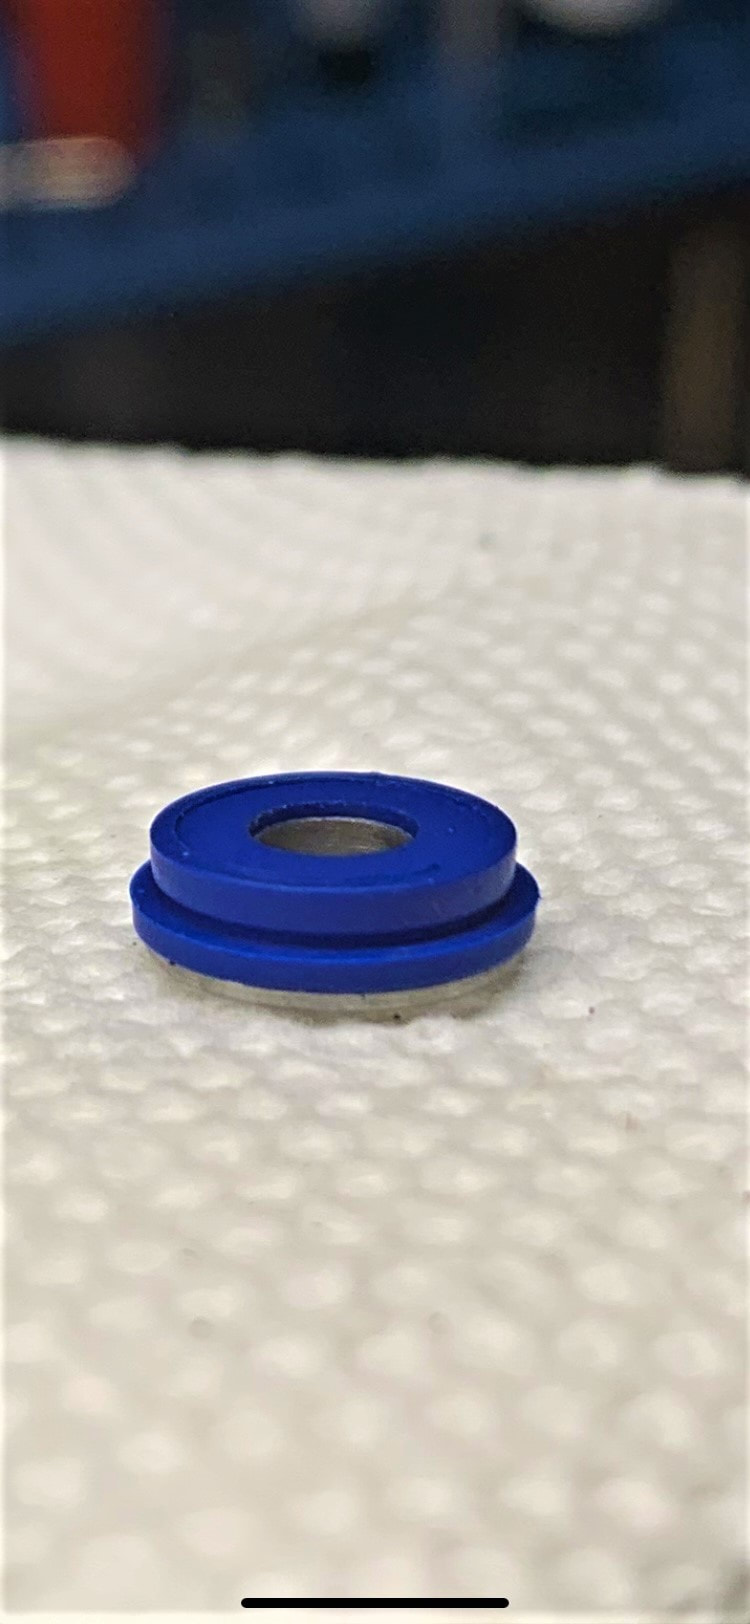
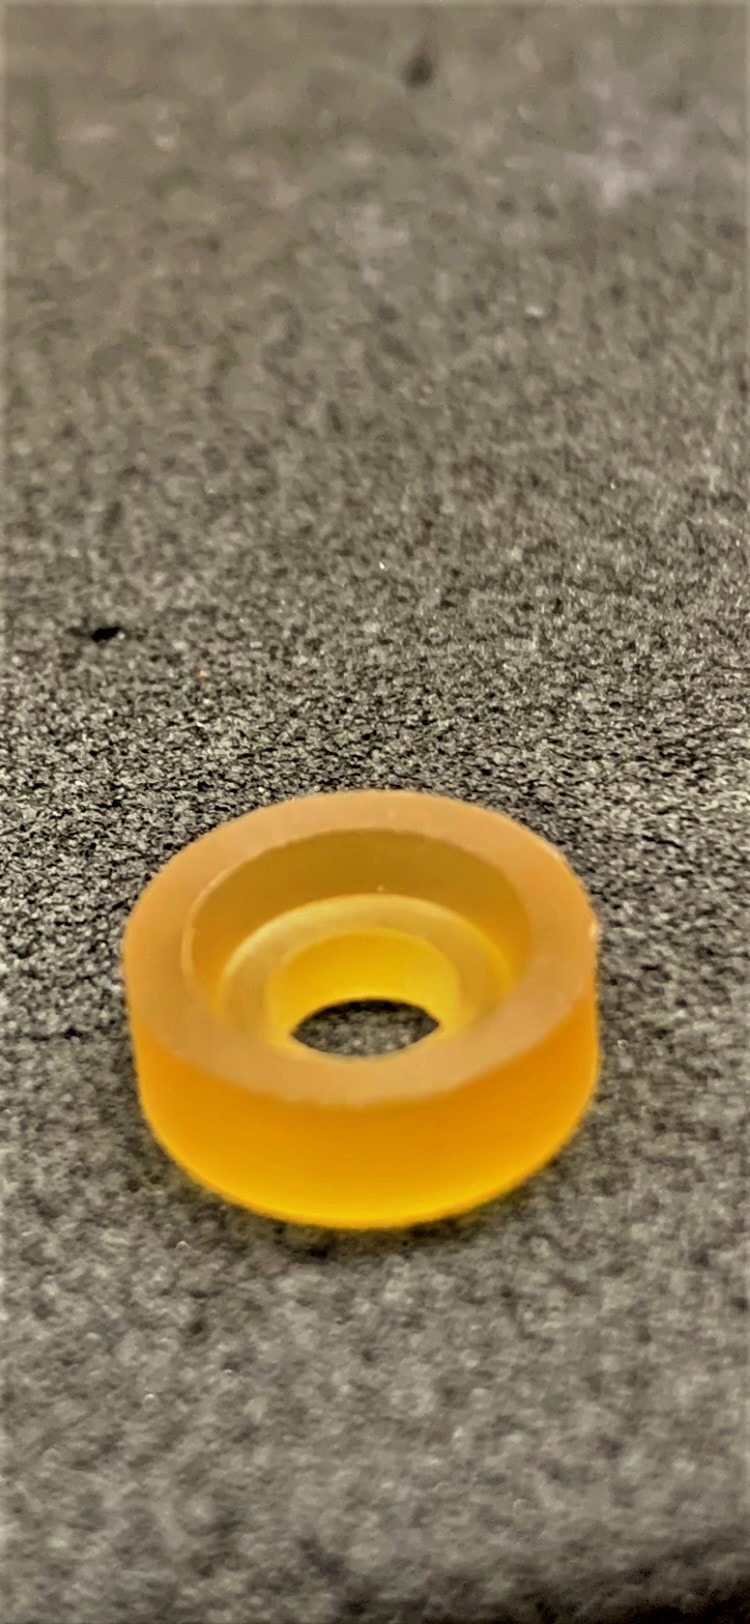
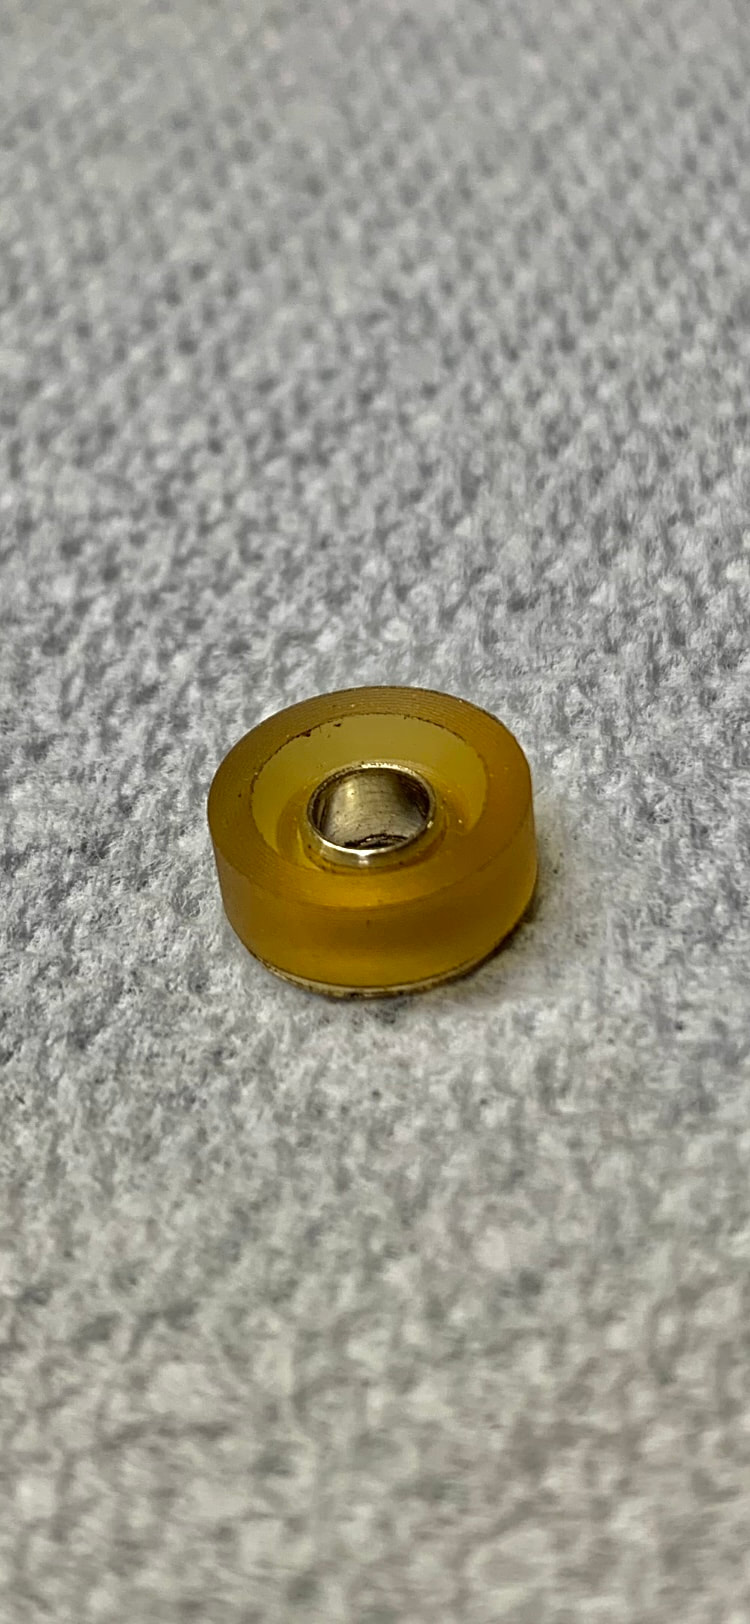
The little doughnut is 7 mm's across.
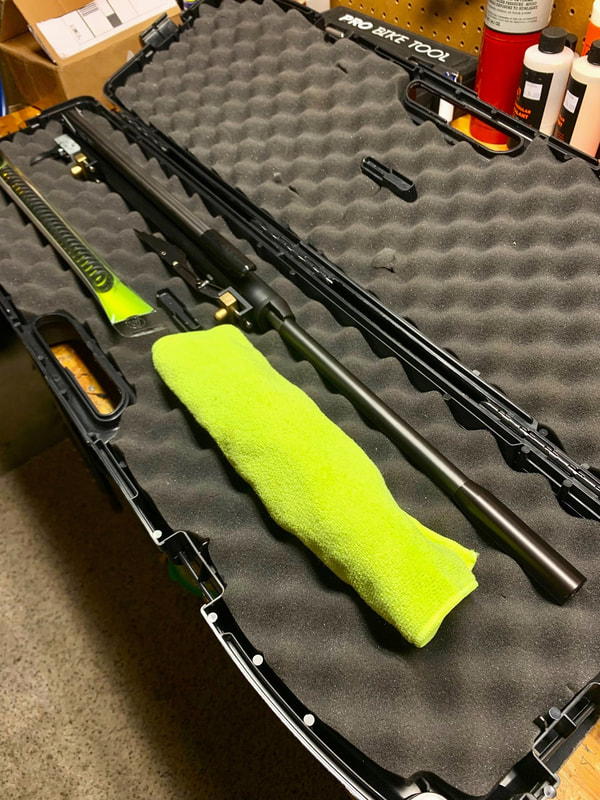
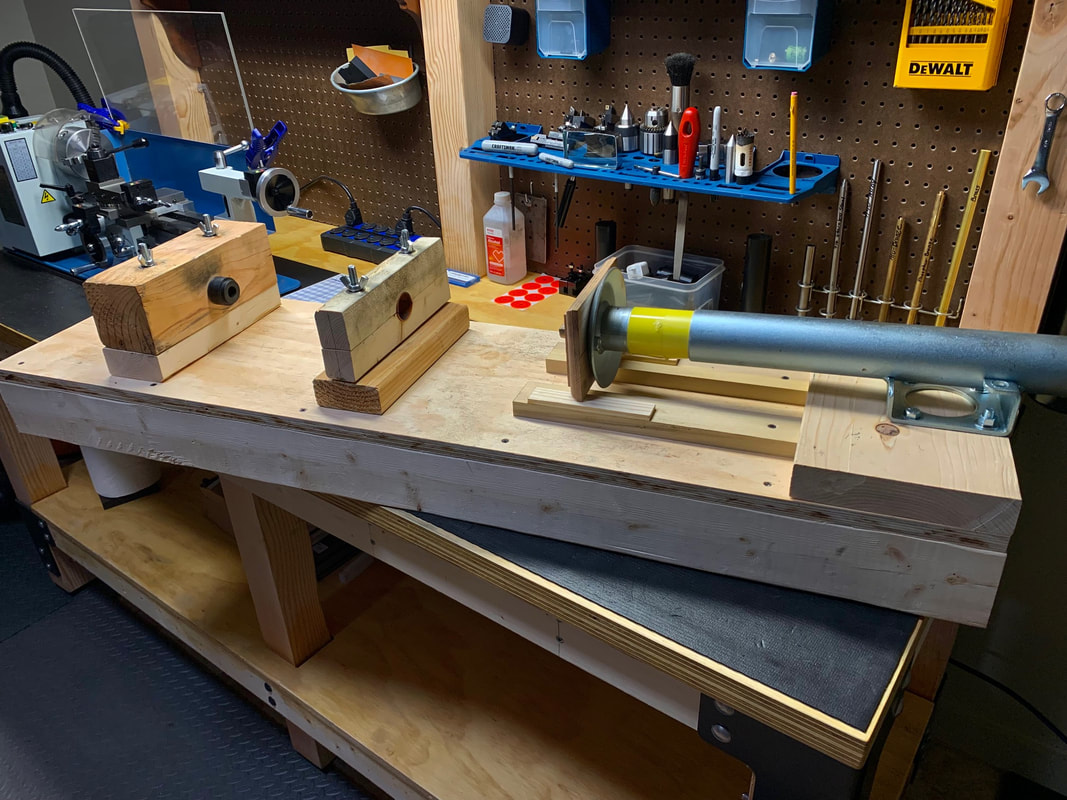
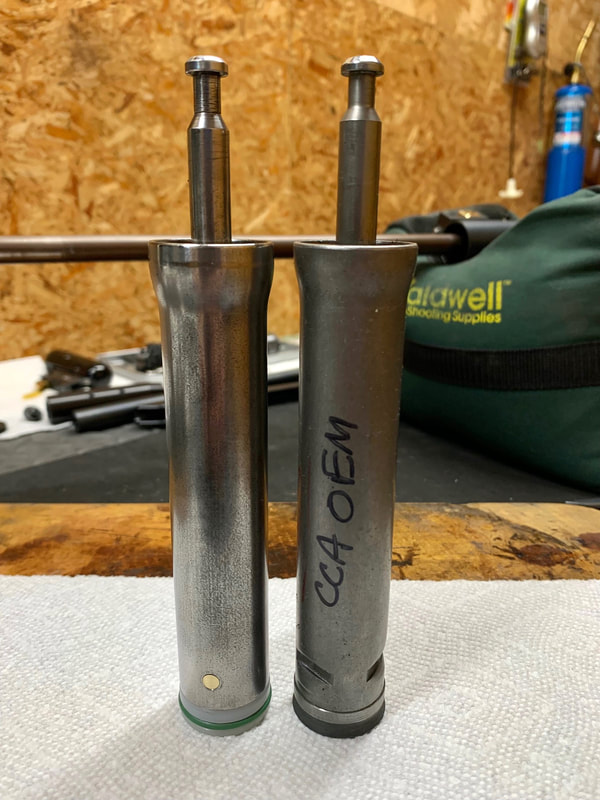
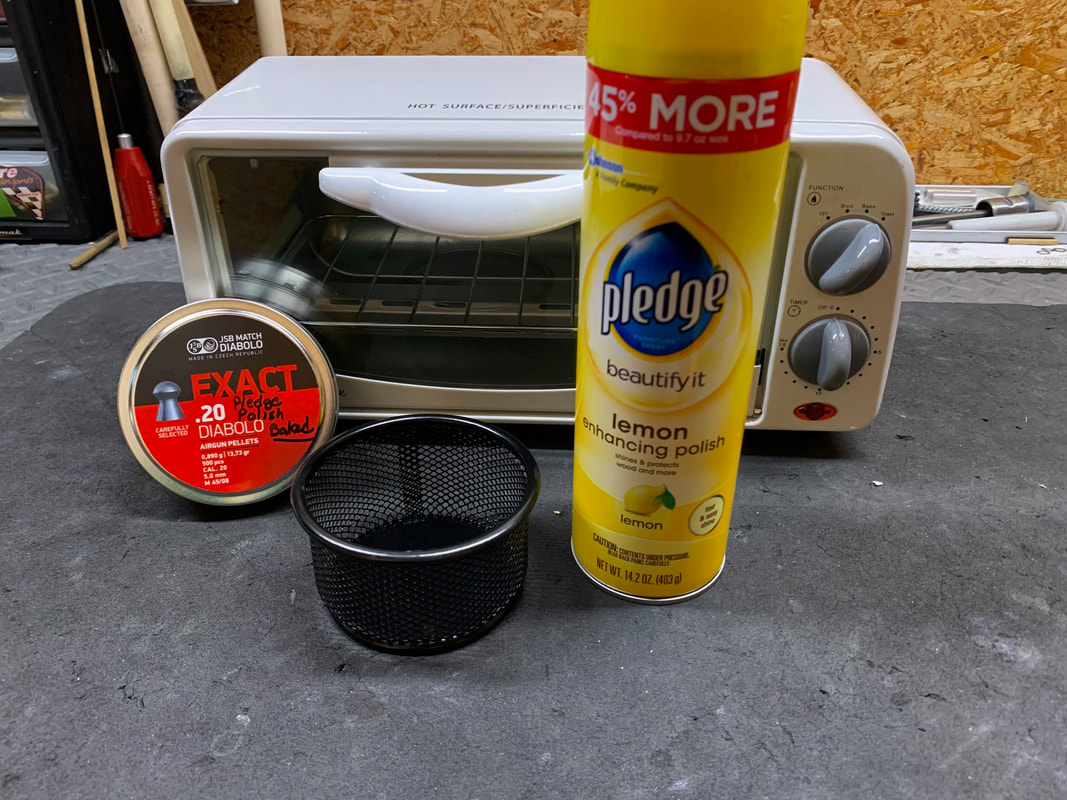
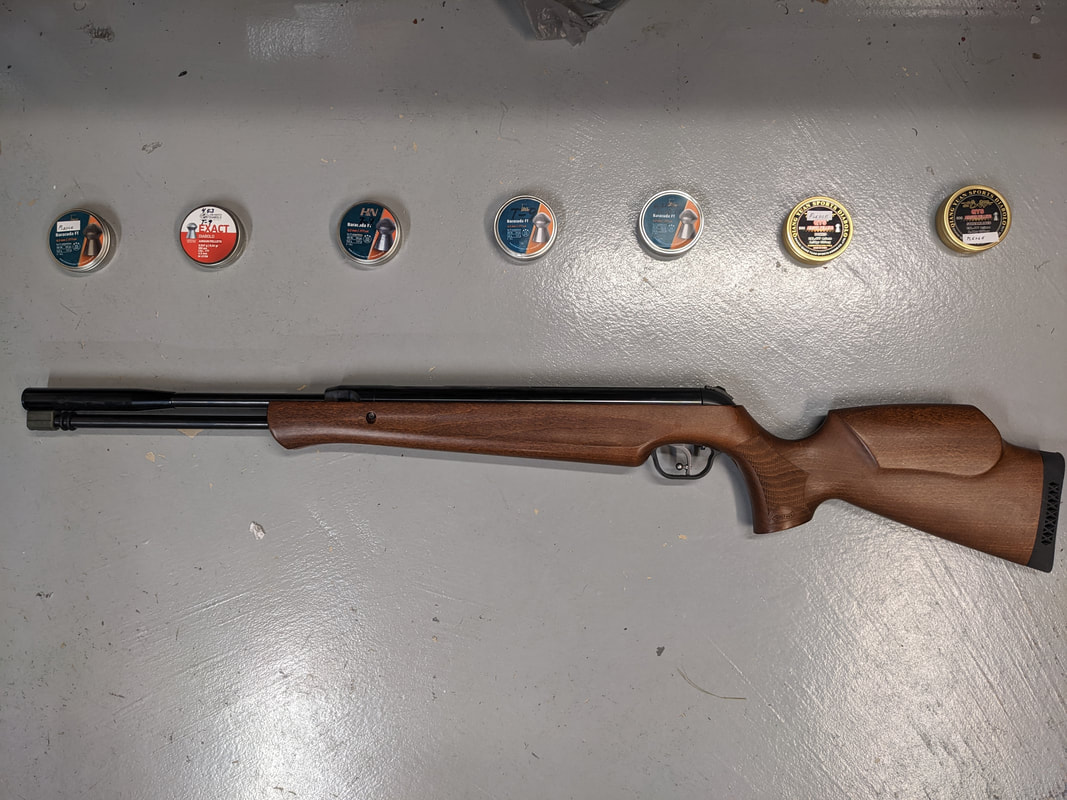
As I was getting ready to ship the three tools to Alabama, I sent a "Manual of arms" for their use and review and it was then that I was told that the "tools" had to be painted "safety blue" as they were non-guns. And so, I had to disassemble and paint the stocks:
As I was getting ready to ship the three tools to Alabama, I sent a "Manual of arms" for their use and review and it was then that I was told that the "tools" had to be painted "safety blue" as they were non-guns. And so, I had to disassemble and paint the stocks:
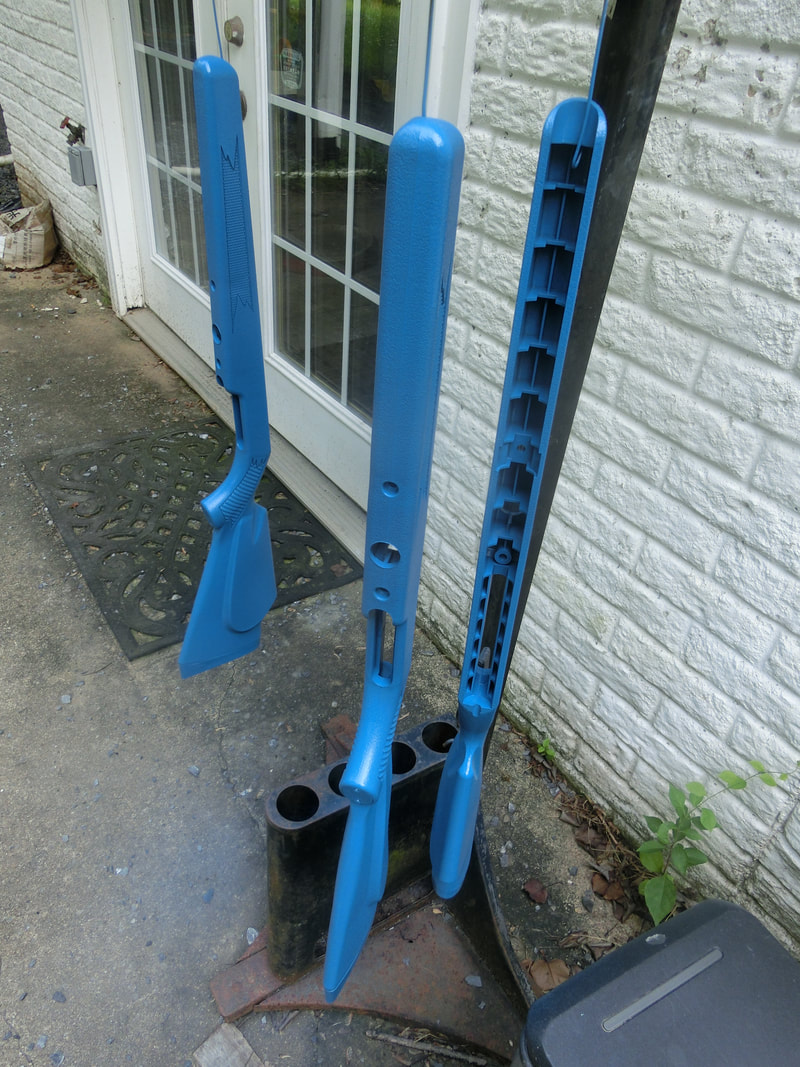
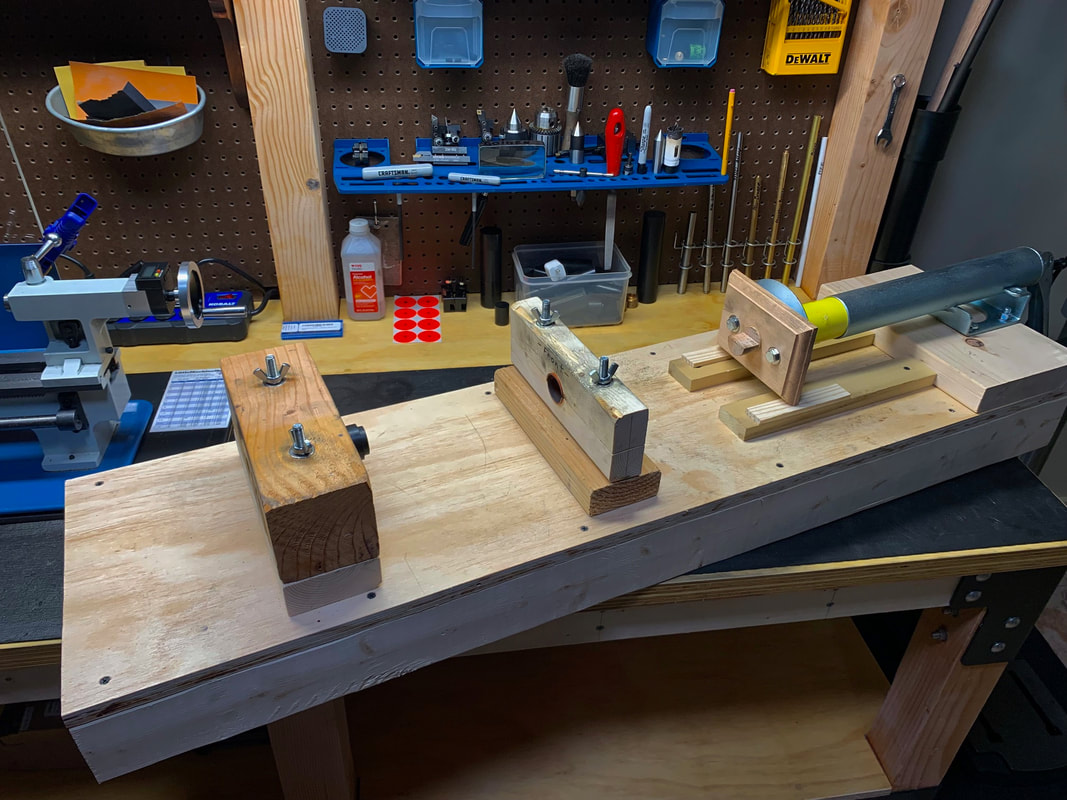
If anyone says "SMURF" I'll personally kick him if we ever meet! LOL!
They are "cute" as my 6 year old daughter would say:
They are "cute" as my 6 year old daughter would say:

Looking back on the project, I do have to say that it was, again, a pleasure and a privilege to be able to serve these two institutions. They have a difficult job to do, and the BRF is, on top, also a "Go To" certified laboratory even for foreign entities.
Dealing with technically excellent people is always a pleasure.
Their patience and understanding of the process of innovation is commendable.
We are often told that without the US Defense budget's support of private enterprise we would not have many of the tech gadgets we so much enjoy (just consider the story of the transistor as an offshoot of the mixer diodes used in the early radar systems, and all that the little buggers detonated), but this is a first hand example.
Thanks and acknowledgements need to be presented to the components' developers and suppliers:
DIANA-BLS for the basic rifles
Altaros Air Solutions for the vented regulators
Lothar Walther for their excellent barrels
CARM for their very well made magazines
Daisy for superbly consistent BB's in their "Premium" line.
UTG for their Picatinny rails.
And, again, to the BRF for their patience and genuine interest in the micro-enterprise.
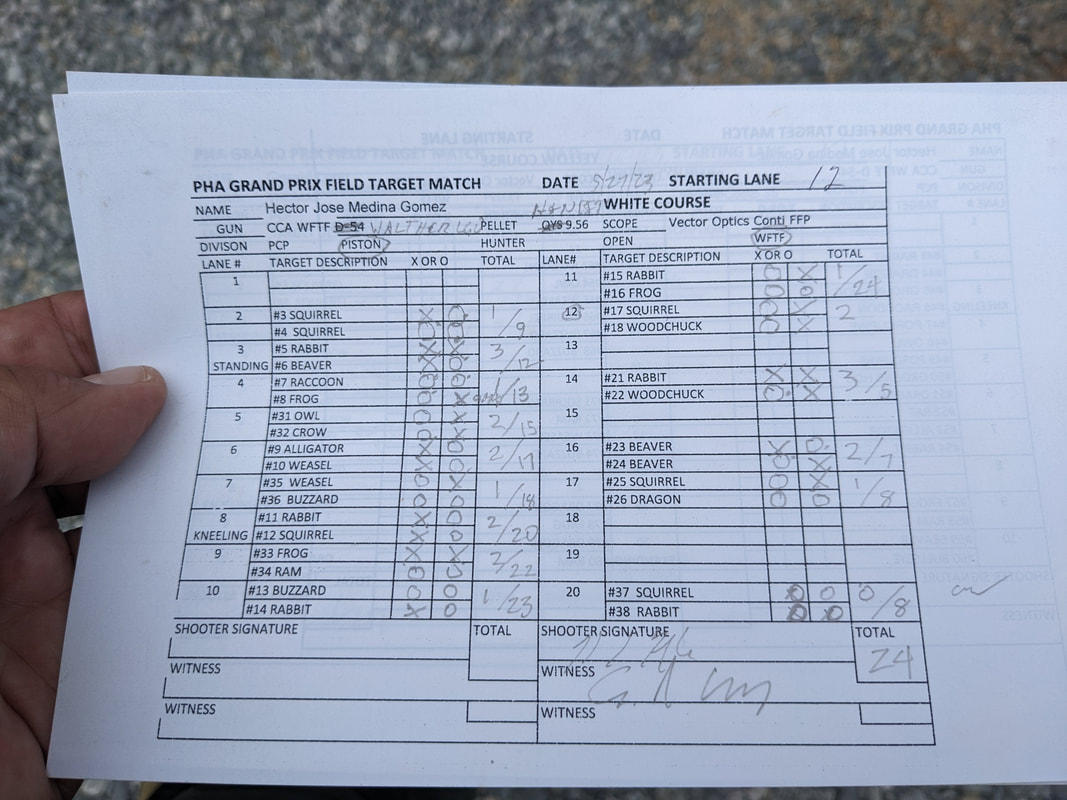
In the immediate future, we will report the application of the FFH device to the creation of specialized FT rifles for Jr. Shooters we hope to recruit from the Izaak Walton League's Wildlife Achievement Chapter, but that is another story.
Keep well and shoot straight!
HM
Dealing with technically excellent people is always a pleasure.
Their patience and understanding of the process of innovation is commendable.
We are often told that without the US Defense budget's support of private enterprise we would not have many of the tech gadgets we so much enjoy (just consider the story of the transistor as an offshoot of the mixer diodes used in the early radar systems, and all that the little buggers detonated), but this is a first hand example.
Thanks and acknowledgements need to be presented to the components' developers and suppliers:
DIANA-BLS for the basic rifles
Altaros Air Solutions for the vented regulators
Lothar Walther for their excellent barrels
CARM for their very well made magazines
Daisy for superbly consistent BB's in their "Premium" line.
UTG for their Picatinny rails.
And, again, to the BRF for their patience and genuine interest in the micro-enterprise.
In the immediate future, we will report the application of the FFH device to the creation of specialized FT rifles for Jr. Shooters we hope to recruit from the Izaak Walton League's Wildlife Achievement Chapter, but that is another story.
Keep well and shoot straight!
HM


 RSS Feed